VEGAN KITCHEN – Dandelion HONEY & TOFFEE – LOCK DOWN SPECIAL
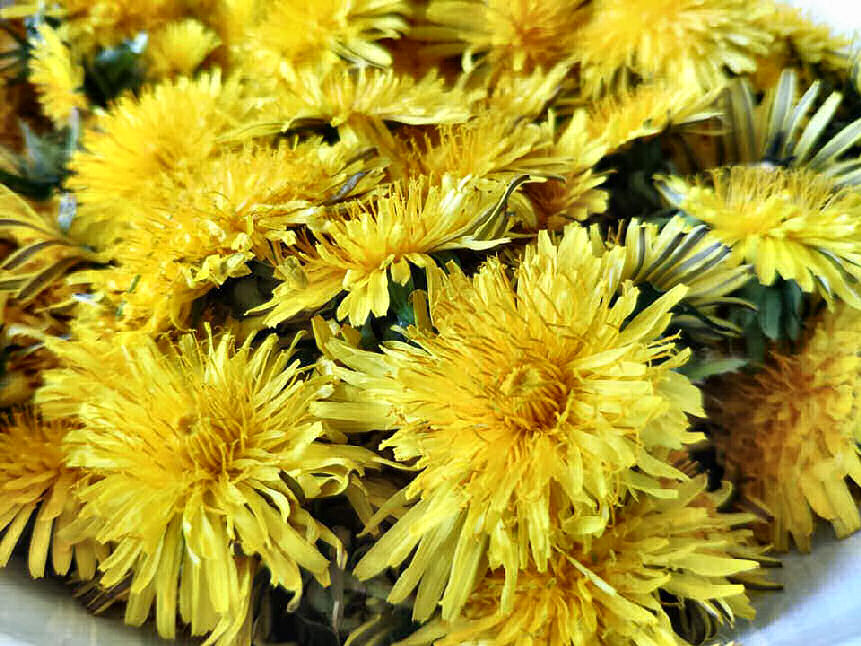
Foraging and home growing networks have exploded all over the UK since the Coronavirus Lock down. top of the list in the headline must try go to’s is Dandelion Honey (miel de pissenlit) and its spin off’s, Dandelion root, dandelion tea, dandelion jam (camaillotte) dandelion toffee and even cough syrup.
Dandelion Honey is another great Vegan alternative to Honey, and properly done has a negligible environmental impact. Other great things about Dandelion’s are that hopefully they will impact business away from Bee exploitation and slavery.
We took a deep dive into the good and bad, the pro’s and cons of Vegan Dandelion Honey:
The main area of concern that was being aired was to NOT harvest the dandelions as they were food for bees to make honey for themselves and therefore still part of the problem. we took a look..
Our steps to manage this concern:
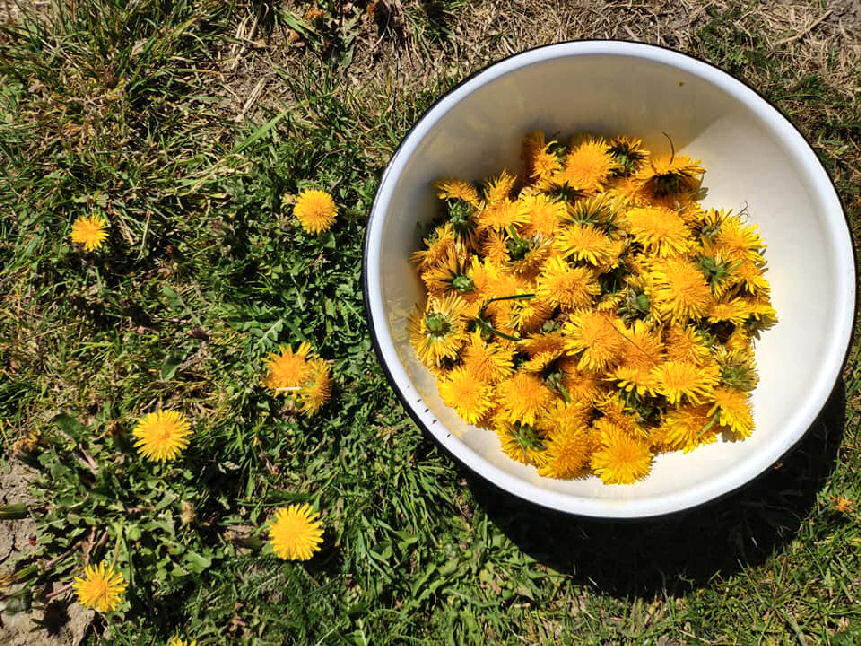
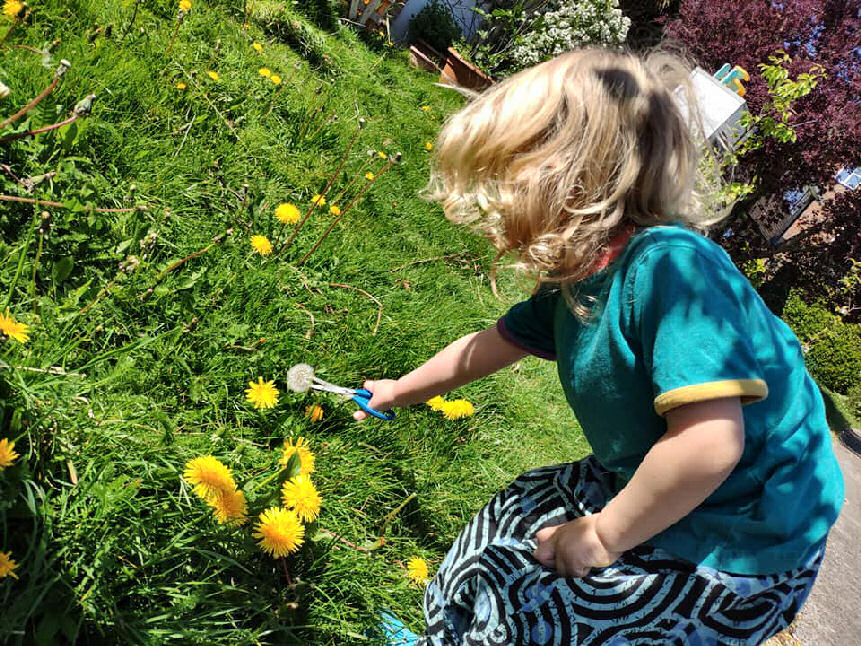
For the dandelions that we harvested, we identified council roadside verges and edge ways that were thick with dandelion though scheduled for cutting so the dandelions were being taken anyway, we then harvested in these areas the day before cutting.
If you can’t check this with your local council, or, are not living in a suburban area that has council management the next step is to apply a 1/3 harvesting rule. Only take 1/3 of the dandelion heads in any specific area to ensure there are sufficient supply for insects or all shapes and sizes.
In any area where there are dandelions, some will be ready for seeding, ensure you blow all seed heads in the immediate area where you are harvesting to boost flower numbers.
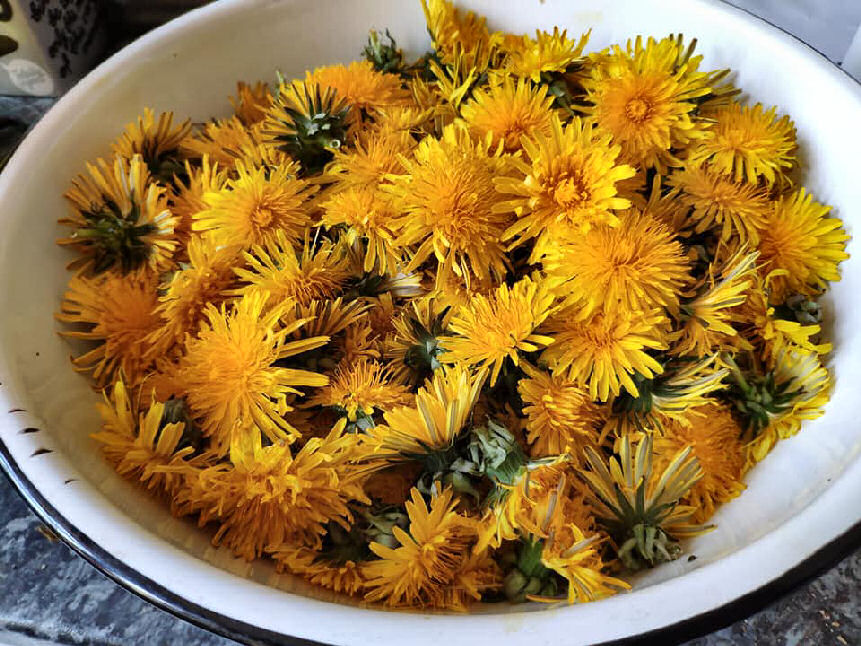
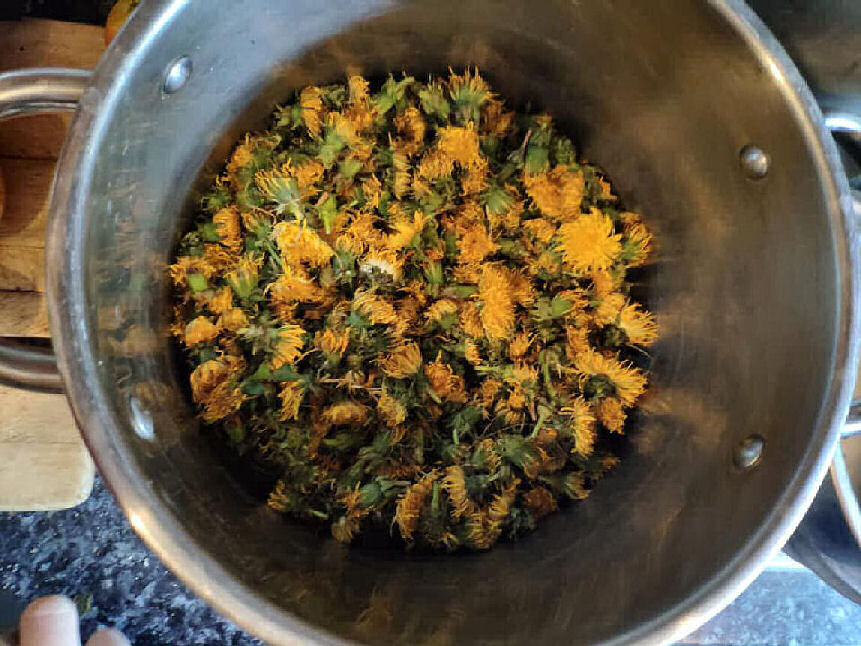
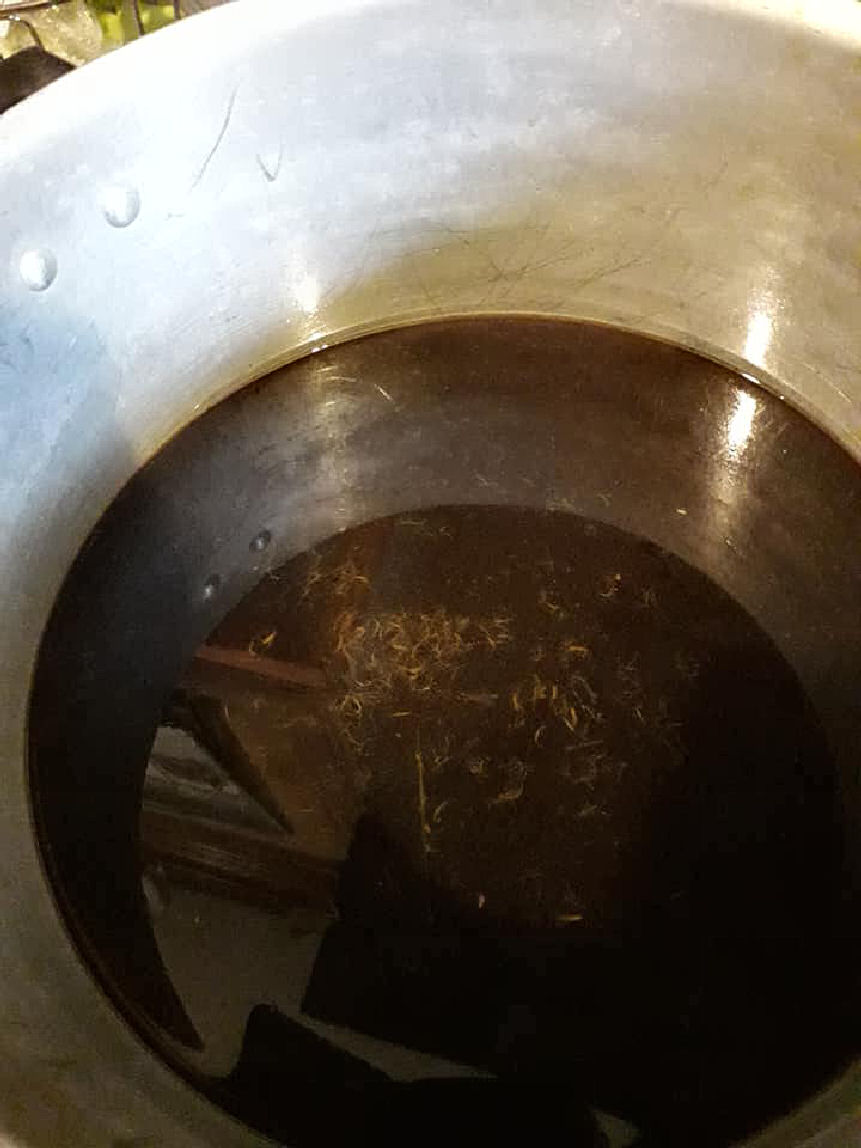
When you have taken the heads, lay them out to allow any insects to crawl out if any. In our batch of 200+ heads we had two black ants who we returned to the dandelion patch where we harvested the flowers from.
Dandelions are pointed out in most circles of thinking, though not all, as the first food for bees in February so delay your dandelion honey making until end of March April when fruit tress are in bloom and other flowers are available for the bees.
Some studies actually push to harvest as many heads as possible from March on as they point out behavioral patterns around Bees change with dandelions, if there are dandelions the bees ignore flower and fruit blossom and focus on dandelions. in this argument the recommendation is to seed wild flowers early in the area and harvest up and remove as many dandelion as possible, basically the point is ensure you leave blossom food and flower behind you.
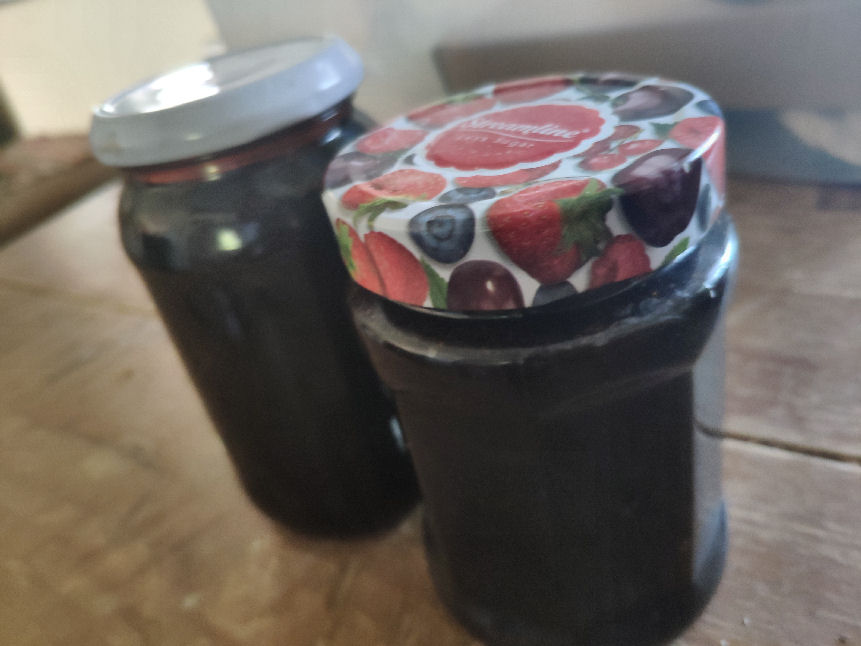
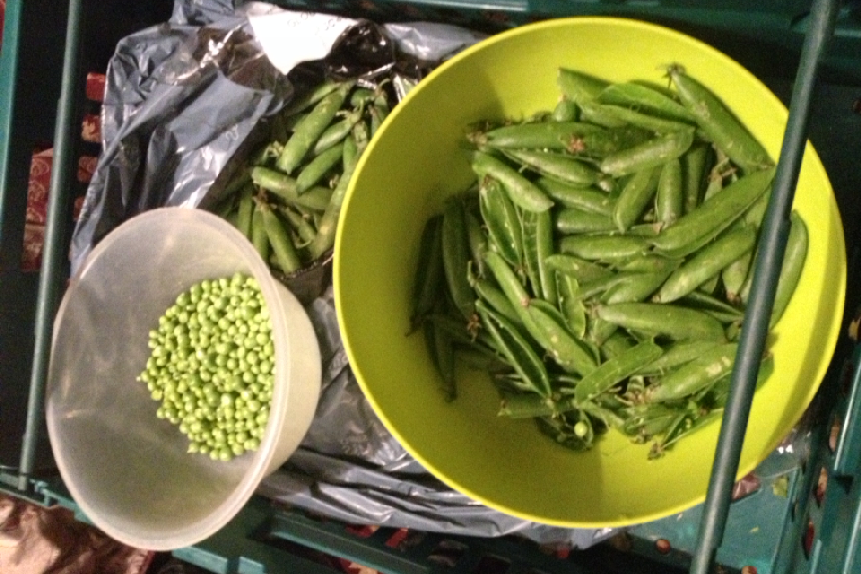
Either way a responsible harvesting rule leaves nature to work out the rest. A pot of Dandelion Honey takes 100 head of flowers, two hundred head is a bowlful and two jars lasts months so your harvest rate is very low overall.
The other main area of concern was around the amount of sugar involved in making flower honey:
It is indeed true, recipes are looking at up to 5 and in some even 7 bags of sugar to make a couple of jars of flower honey which though is ethical in the sense that no animals are factory farmed for it, it is a bit of a health nightmare and on a par with golden syrup .
White granulated sugar is what keeps the dandelion honey looking like “Bee” Honey. Messing with the sugar changes the colour of the Honey, and to an extent the taste. We just couldn’t do it to our bodies on a full sugar hit.
To get a healthier more “bee honey” like flower honey we looked at sugar alternatives and settled on Organic Coconut Sugar, its a Lidl staple in the baking section so easy to find and has, like Bee Honey, a lower glycemic index coupled with lower amounts of fructose making coconut sugar a better alternative to granulated white table sugar.
Regular table sugar and synthetic high-fructose corn syrup don’t contain any vital nutrients and therefore supply “empty” calories. whereas coconut sugar retains, in part, the nutrients found in the coconut palm most notable of these are being iron, zinc, calcium and potassium, along with some short-chain fatty acids like polyphenols and antioxidants and a fiber called inulin, which slows glucose absorption and explains why coconut sugar has a lower glycemic index than regular table sugar.
Coconut Sugar – What is and where does it come from ? it is made using a natural 2-step process: A cut is made on the flower of the coconut palm and the liquid sap is collected into containers. Then the sap is placed under heat until most of the water has evaporated leaving a brown and granulated product. Its color is similar to that of raw sugar, but the particle size is typically smaller or more variable. Coconut sugar is the dehydrated sap of the coconut palm.
Using Coconut sugar looses that golden Bee Honey colour and gives a very dark treacle colour to the flower honey. In the end its all down to personal taste, if you ate someone who eats branded sweets such as Nestle , Cadbury’s, sugar syrups or shop bought desserts etc then amazingly the amount of white sugar used in the recipe is nothing more than these branded products. If you, like us don’t buy into branded junk food then use a fruit sugar or even fruit pectin’s etc and take some of the “load” off the final product though regardless of all that remember that whether it is unethical Bee Honey or the ethical other alternatives, such as Syrup, Coconut sugar, whatever !!! it is ALL still Sugar people no matter what option you take.!!!
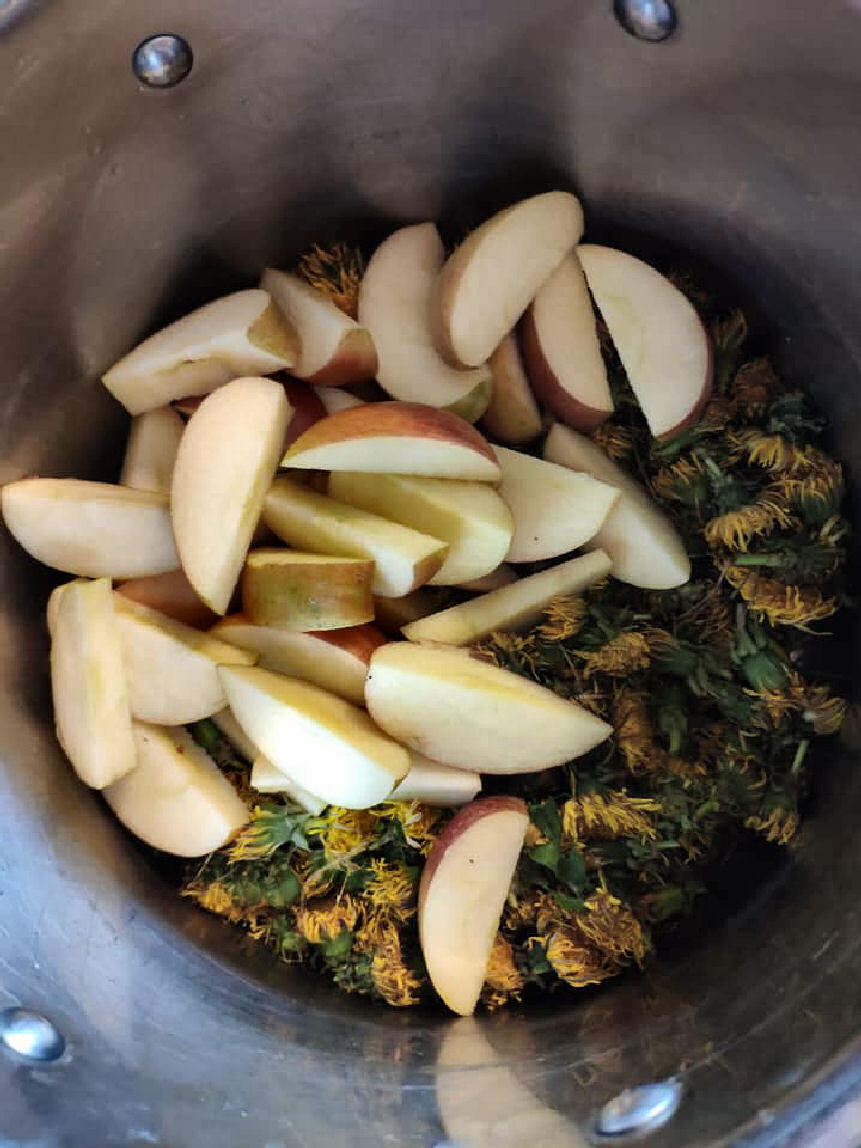
The recipe is for 100 head / 1 jar. As we used 200+ dandelions that we picked from road sidings (before the local council came the next day to mow down!) and some from our own area using the 1/3 harvesting rule.
We doubled the quantities in the recipe with a couple of of replacements, firstly, thanks to lock down, we were unable to source fresh lemons (WTF ! right) and so went with the bottled squeezed lemon juice, and second, 7 cups of white processed sugar seemed excessive for us so we went with the coconut nectar sugar instead.
Other than that we followed the recipe and tips pretty much as is..
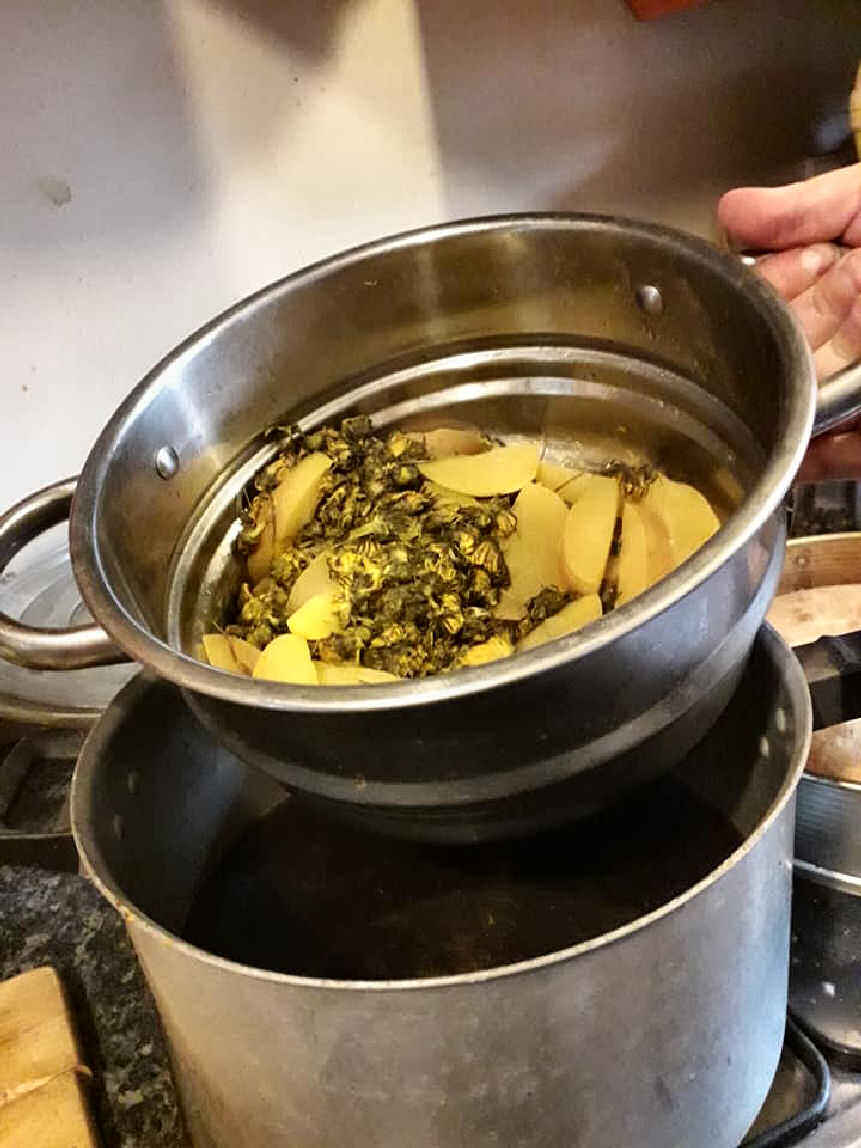
STAGE TWO:
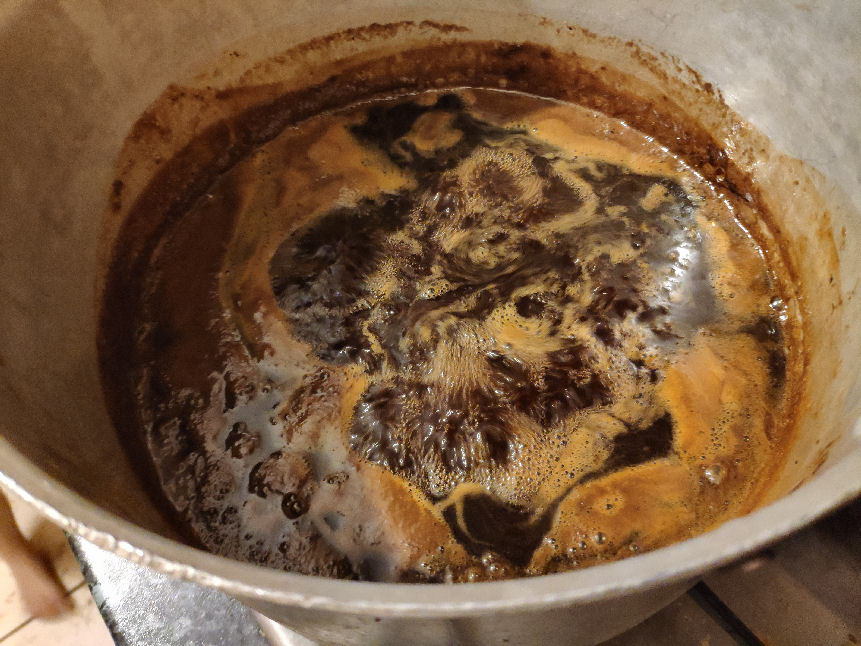
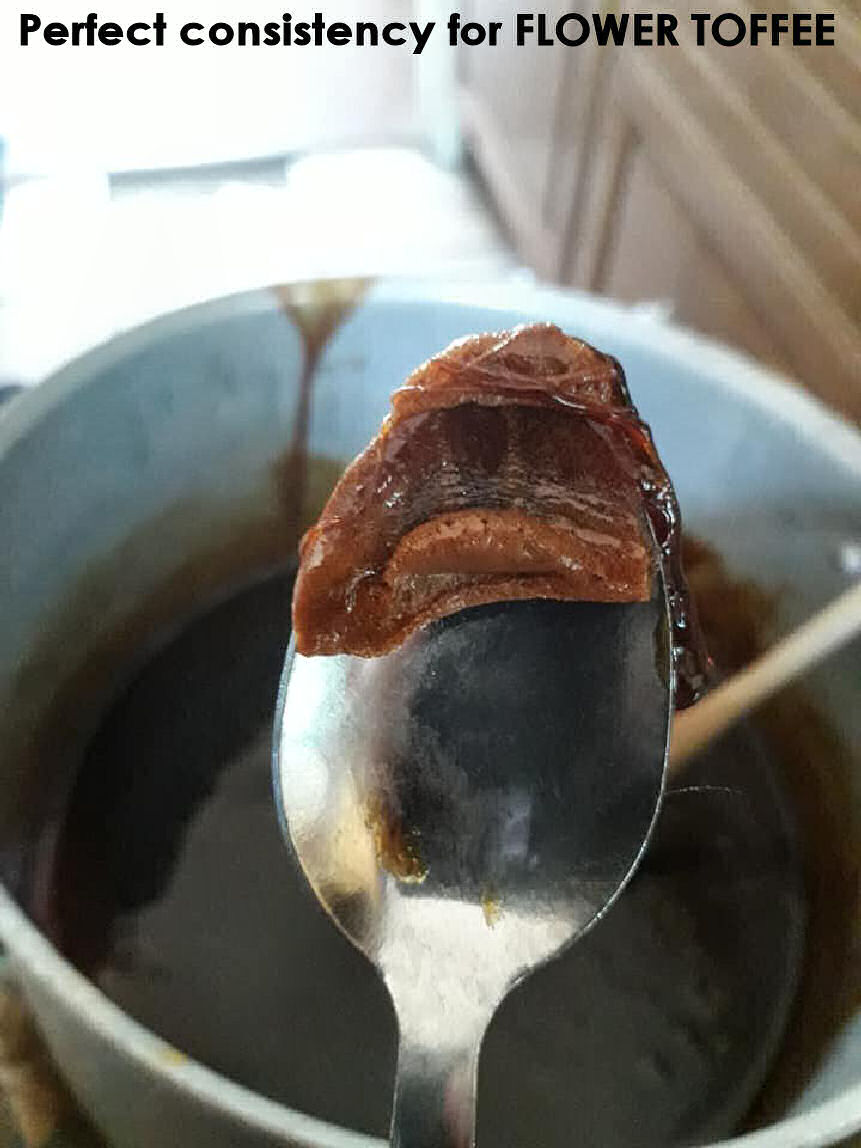
Add the sugar and start the extremely long low heat simmer, this was the deciding factor in getting the texture of the flower honey right. too much heat it burns, too little it has too much water..etc
The colour changes at this point depending on what sugar you use.
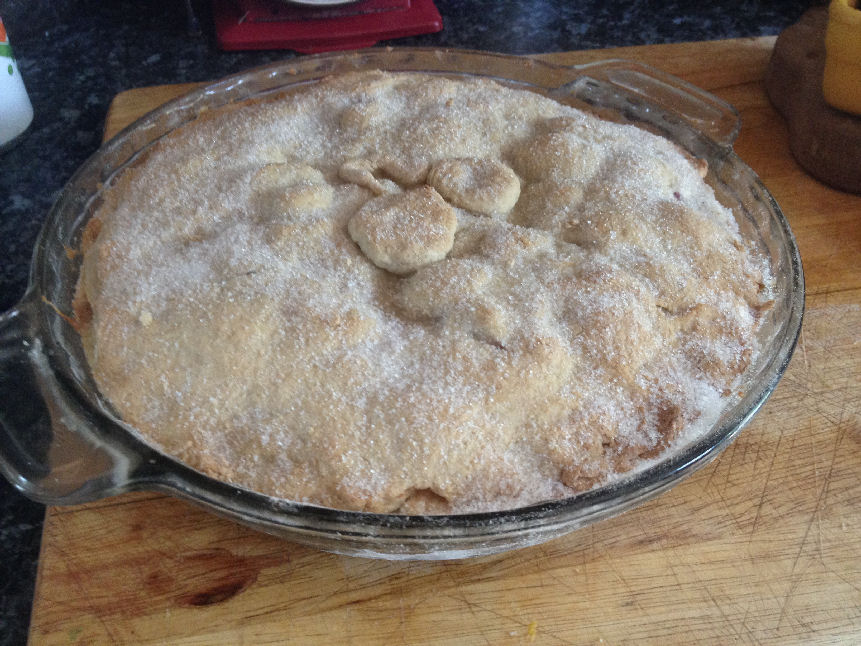
NOTEWORTHY:
The ‘simmer for several hours’ is a bit unclear but after adding the sugar in the second part of the recipe we simmered for approx 3 hours then left to cool over night.
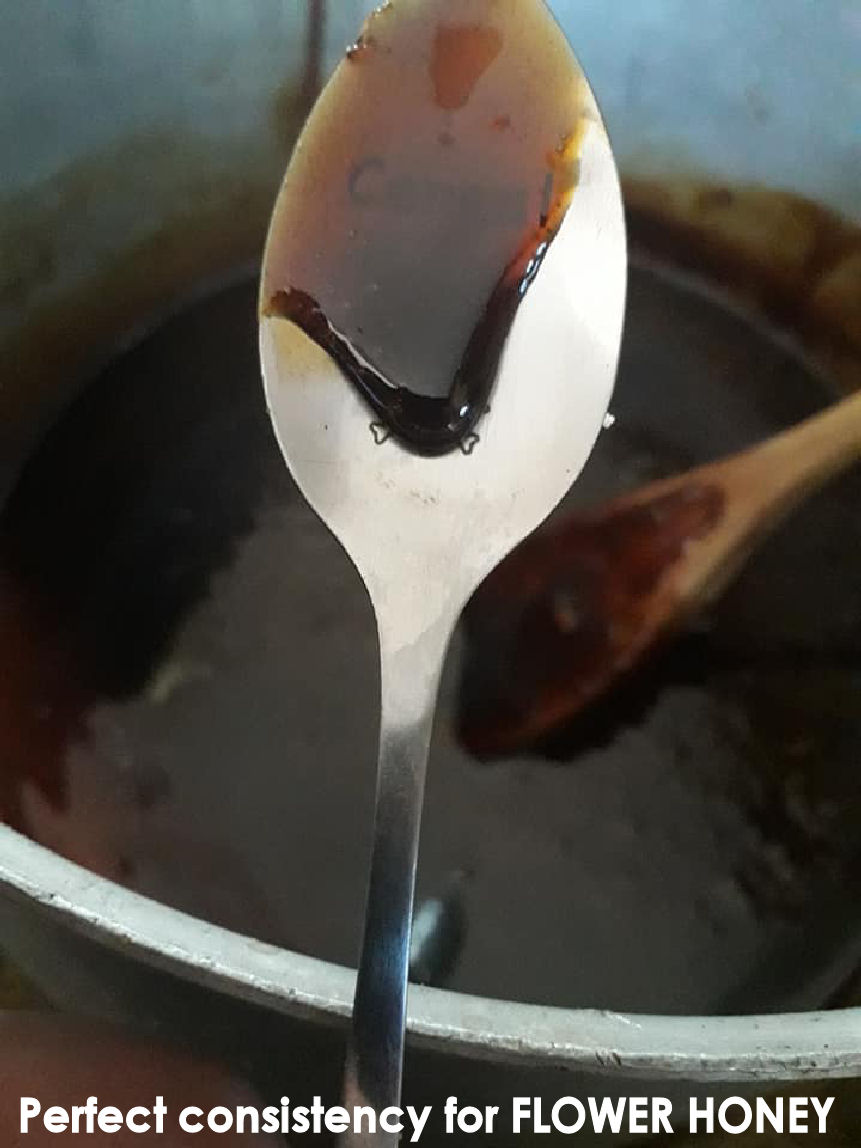
In the morning the mixture was still not thick enough so we popped it back on the hob for another hour which resulted in a good honey texture but after we cooled a bit on a spoon it set solid so we added some boiling water and stirred it in until we got the consistency we were after.
The coconut sugar took the colour of the flower water from a beautiful honey yellow colour to a dark treacle colour so you should expect a much more yellow honey if you are using only white sugar.
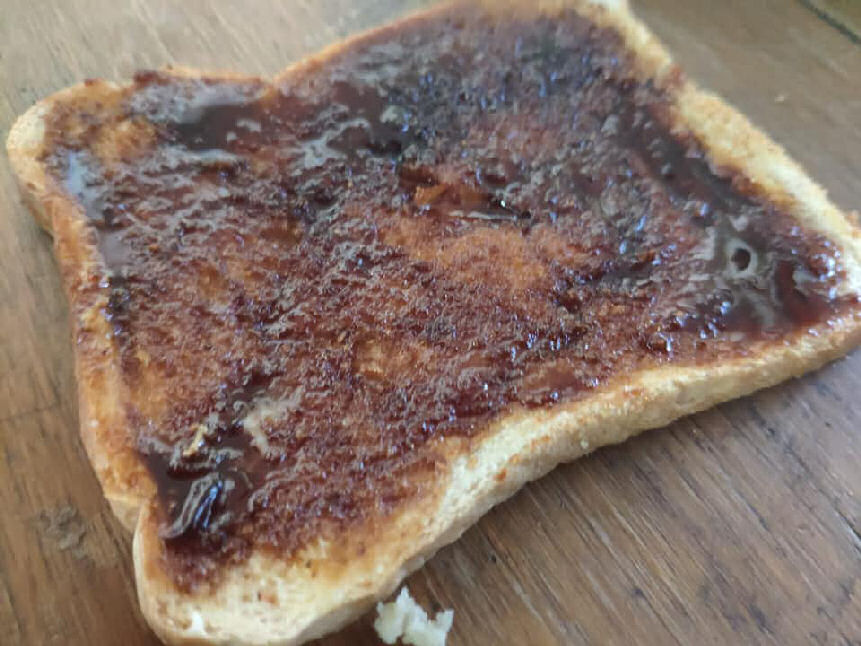
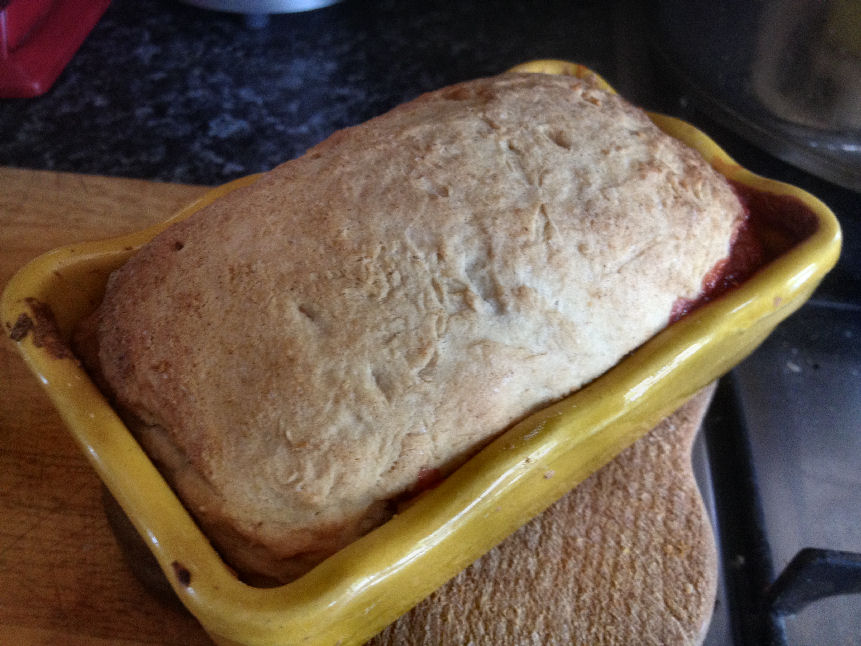
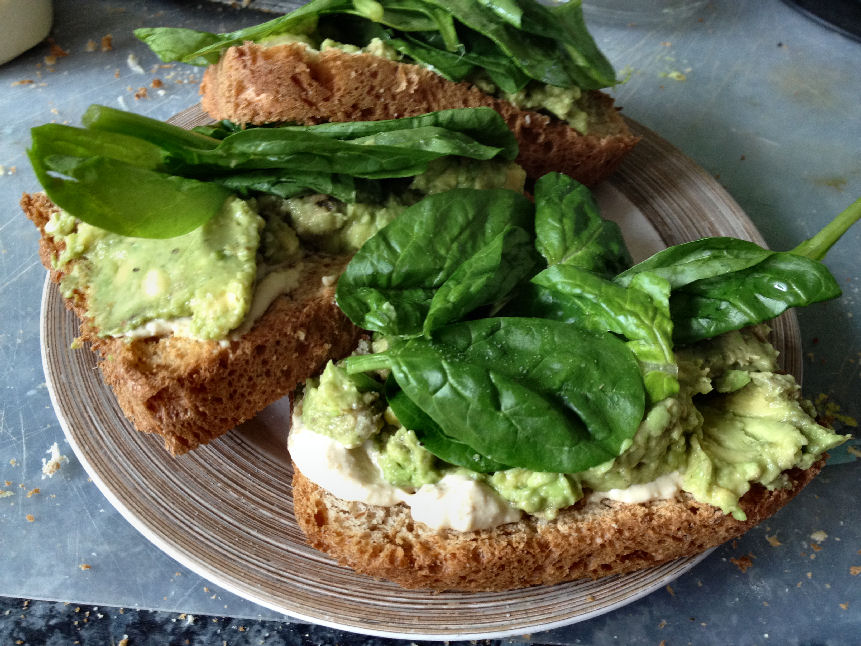
All in all we are happy with it and oh my is it amazeballs on toast!! 😋
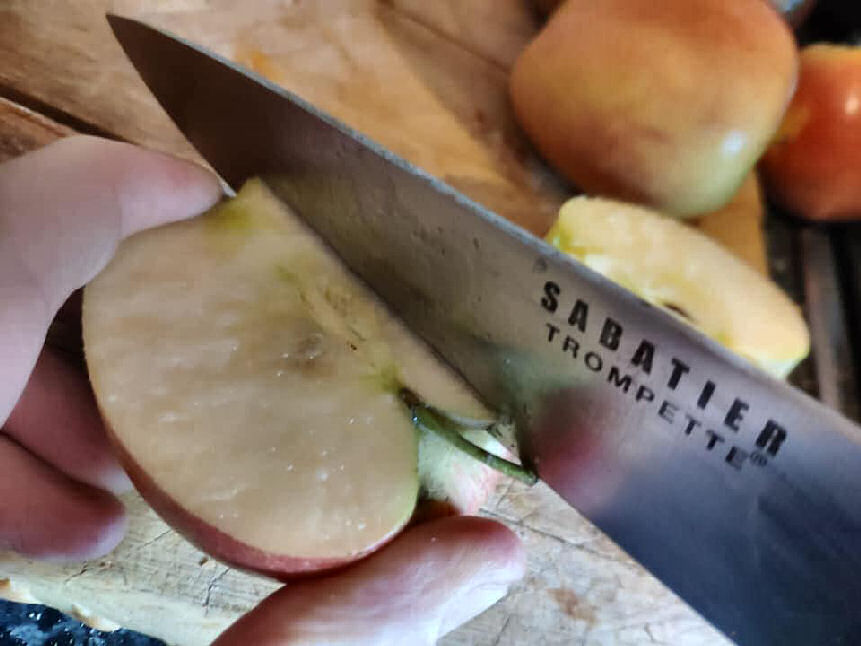
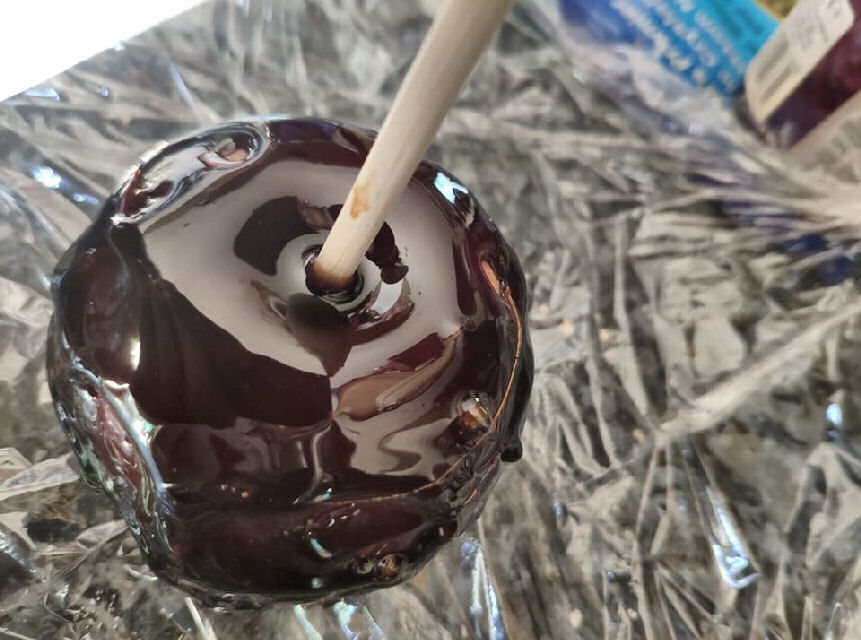
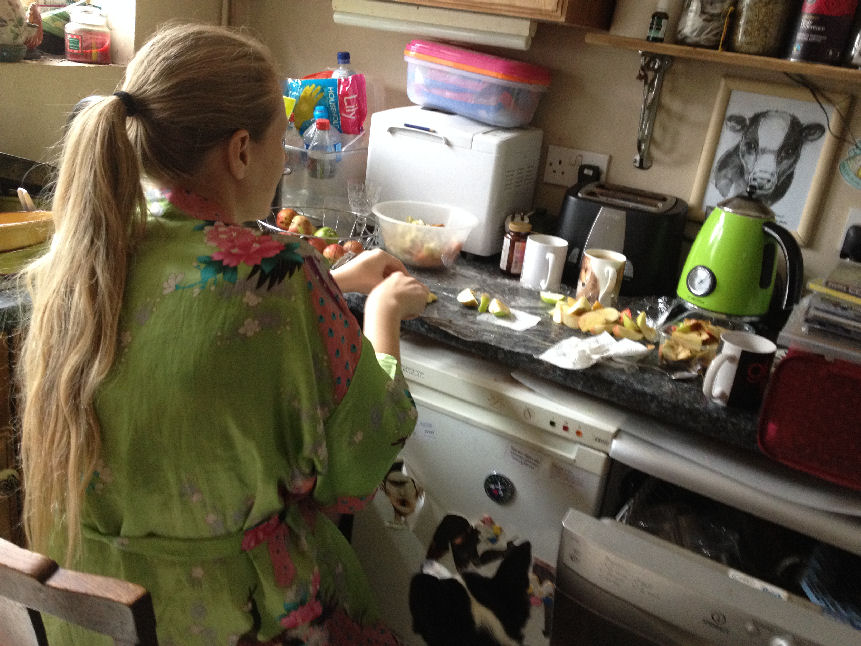
Once the Dandelion Honey was all transferred into jars we had some left overs which went back on the heat to make the toffee for a coupe of toffee apples.
making the toffee apples was extremely trick and messy, you need a few things… a chop stick, an apple, the toffee and some clingfilm. First we tried to do it by pouring out the toffee, off the boil into cling film bags around the apples…
failed.. lol
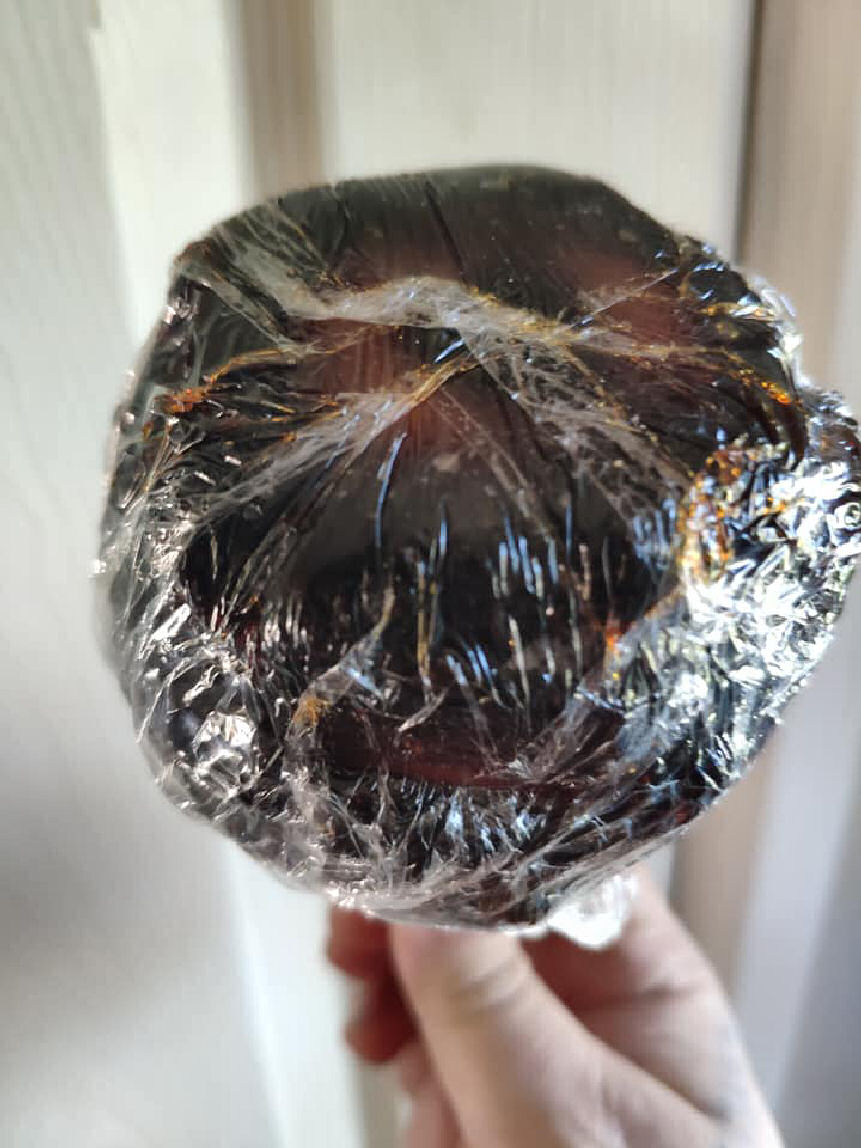
…next was to heat up the toffee until a bubbling black liquid, flip off the heat and tip the pan , as the toffee solidified we rolled the apple on the chop stick in the mixture, and, as its cooled it stuck evenly to the body of the apple then stand in cling film and wrap.
VEGAN KITCHEN – I think i’m cooking Japanese, I think i’m cooking Japanese I really think so
I’m cooking Japanese, I think I’m cooking Japanese , I really think so…
so here we are, one of those rainy nights, kids and dogs sprawled out all over the place and kids asking when dinner is , when dinner is , when dinner is… A Jumanji movie is standing in as a surrogate parent whilst we whip up a little Japaneses special…
Fancied a Wagamamas, but alas they don’t deliver and hey who can afford it anyway so a good old rummage in the magic cupboard provides all the ingredients for a kick-ass Japanese meal…
Its more than Sushi , you see…
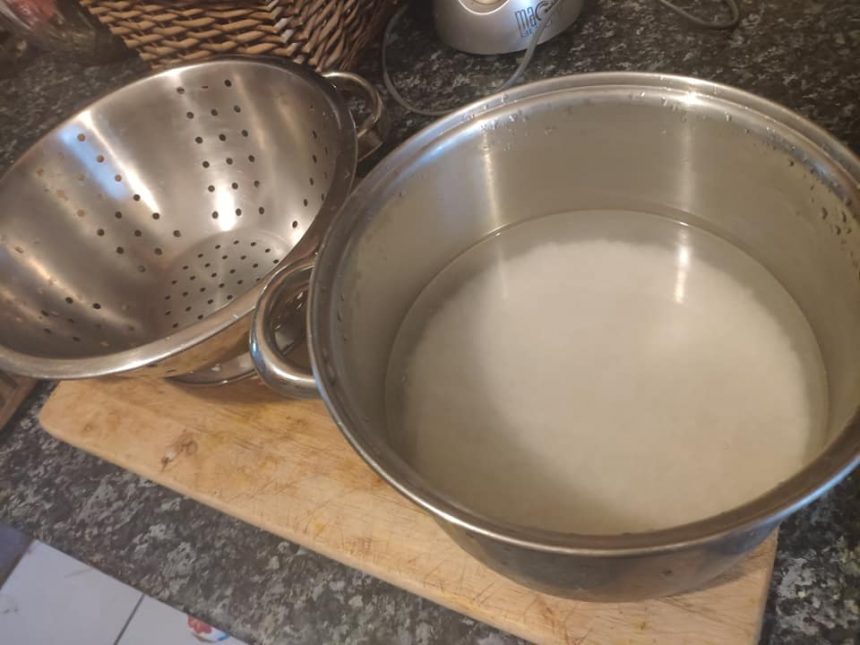
First up is the rice,.
We Recommend you use Sushi Rice or at least a risotto rice, after all you want it thick and you want it sticky.
Wash your rice 5 times until water runs clear then cover with water , a one inch top, heat and then put a lid on the pan. Switch off the gas and allows to steam for 15-20 minutes under its own heat..
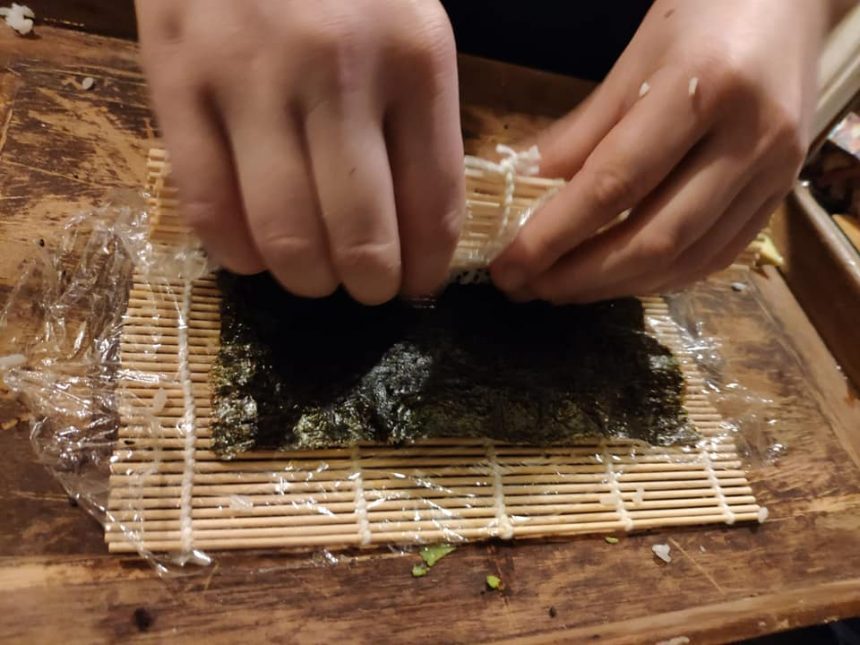
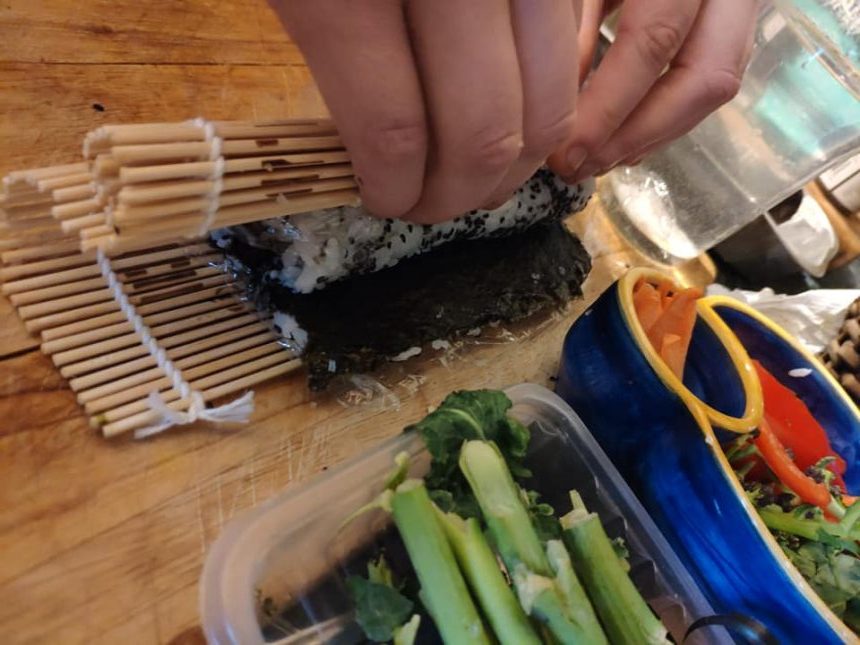
For rolling you need a rolling mat and also Nori sheets, you need the right kind of seaweed so pick up a pack or Sushi Nori Sheets. Nice and thick and perfect for rolling sushi, you can also use thinner snacking seaweed sheets if you dont have the sushi sheets or are using up whatever in the back of your cupboard for ingredients, though you will have to work a bit harder to get it looking crisp and neat if you use the latter.
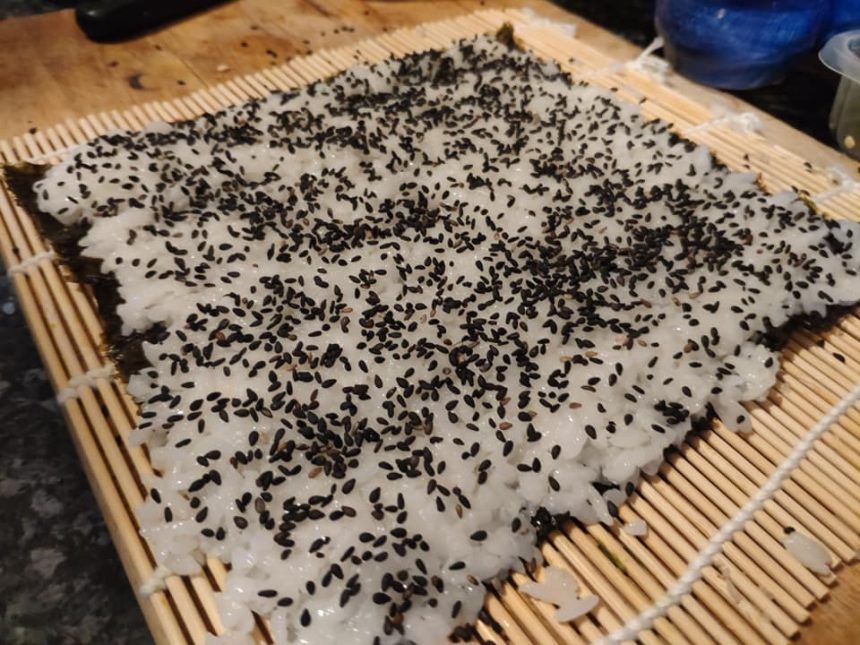
By now your sushi rice should be nice and cool, if not , go have a cup of tea and read a book for a bit until its cooled off then when ready cover your Nori sheet with a layer of your sushi rice and flatten it evenly and gently with the back of a large plastic paddle or wooden spoon.
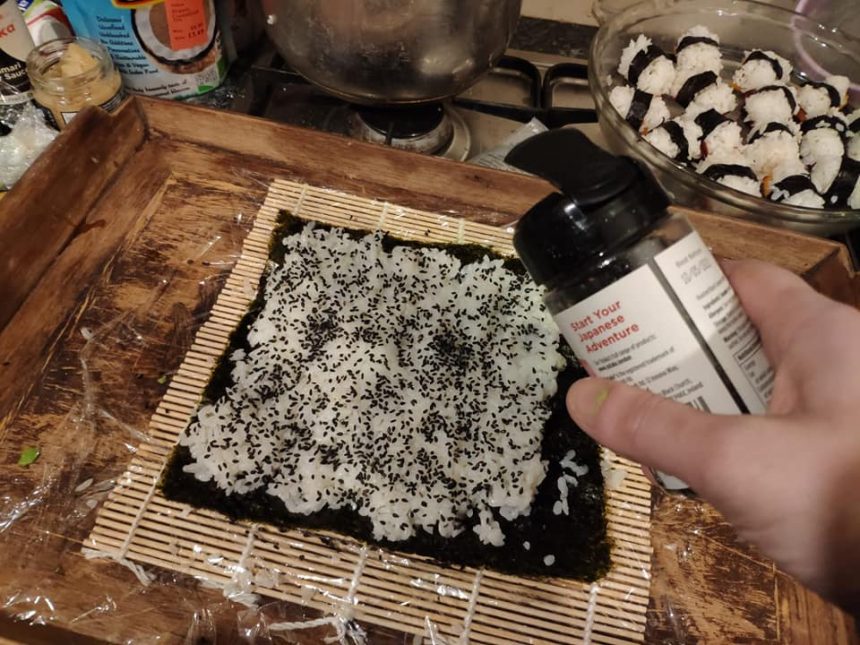
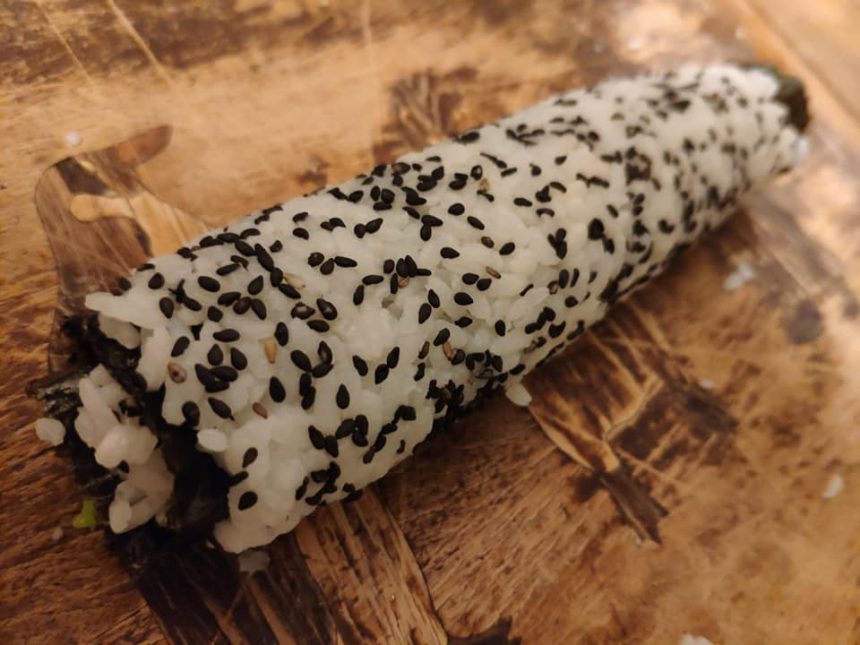
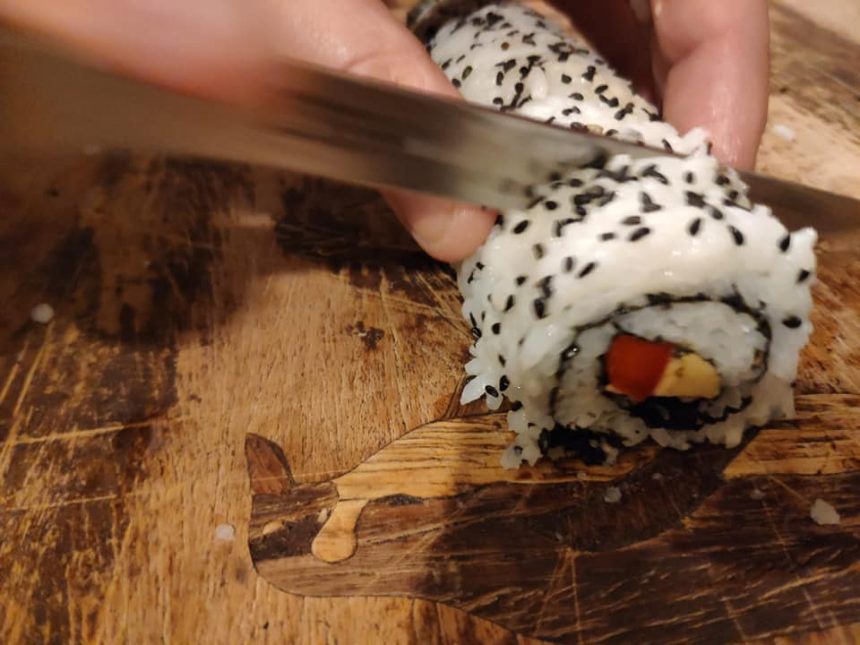
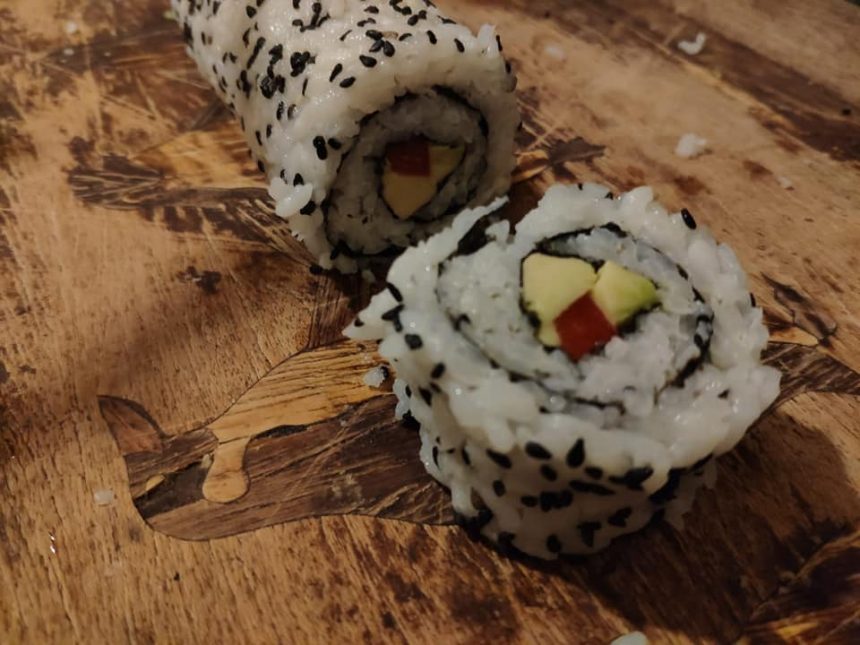
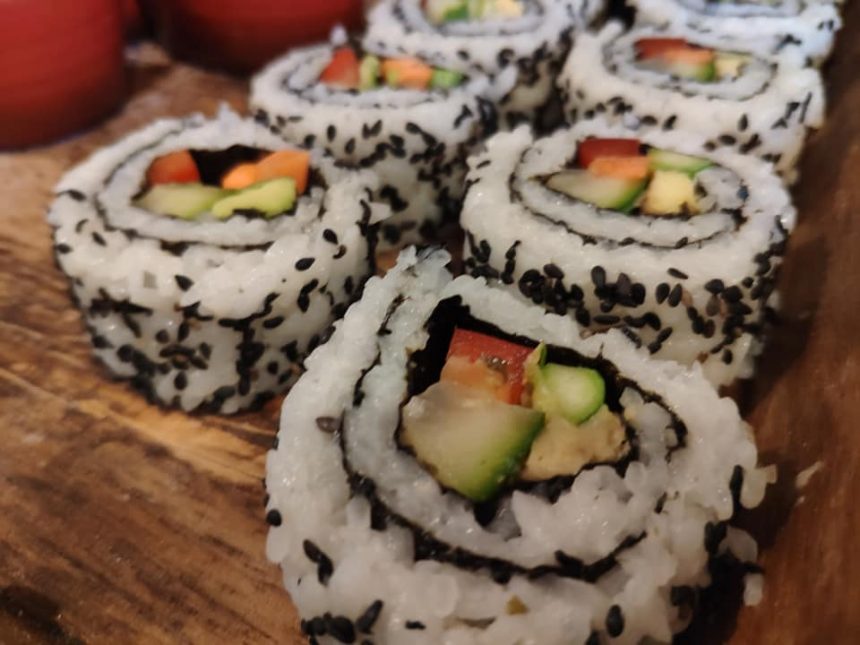
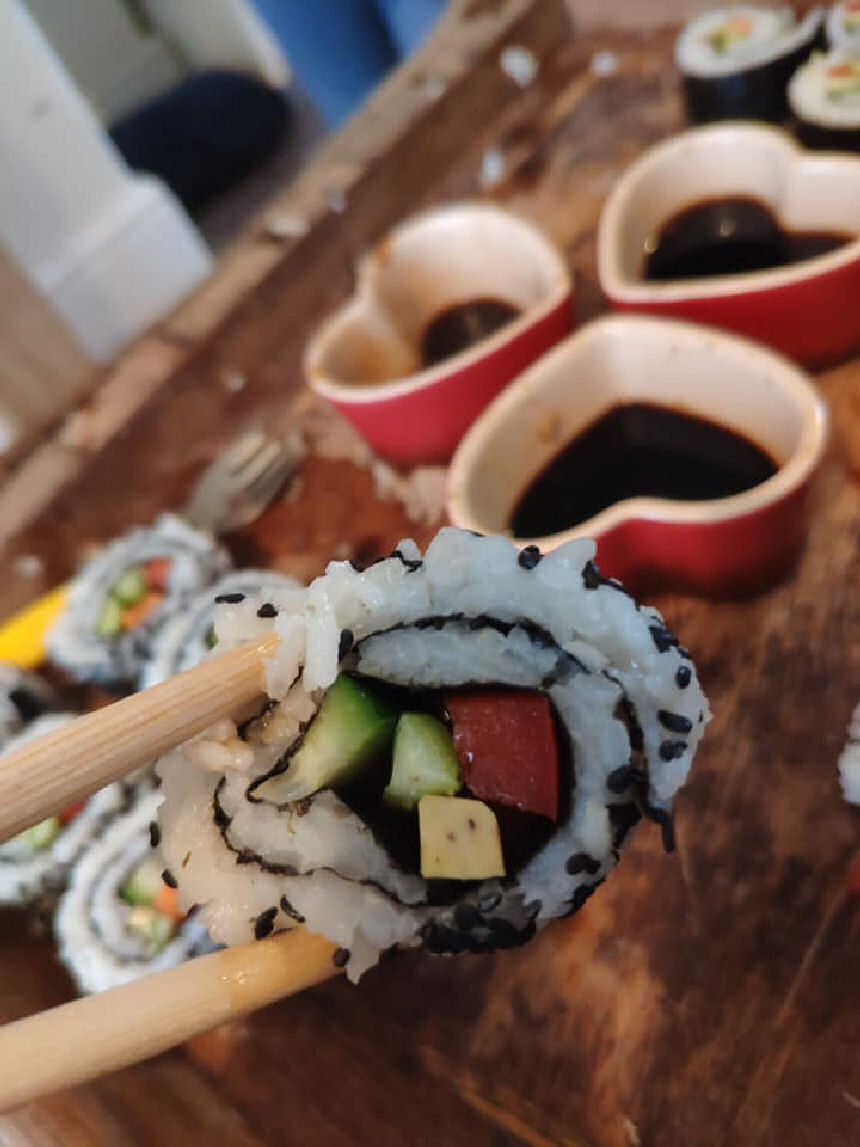
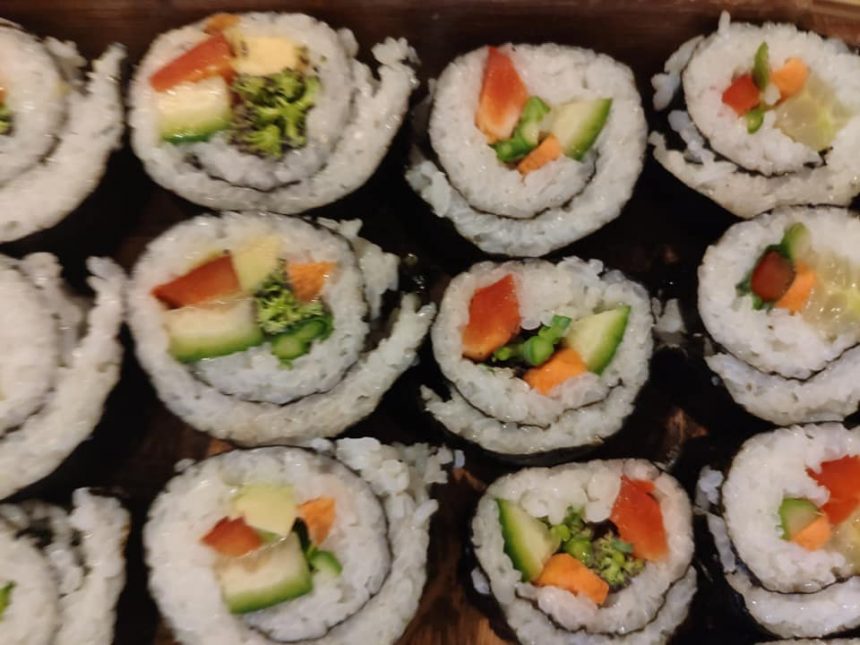
Next up sprinkle black sesame seeds as evenly as possible over the sushi rice and layer your main vegan filler ingredients across one length of the Nori sheet in a straight line, usually towards the top of the roll so that it centers in the fold as you turn it over (as shown below) and slice the roll at two centimetre lengths with a super sharp mother fucker of a killer knife so it slices straight through without losing the shape.
Avocado, Cucumbers, Pickled Ginger (Sushi Ginger) , Carrots and even broccolli are great filler ingredients.
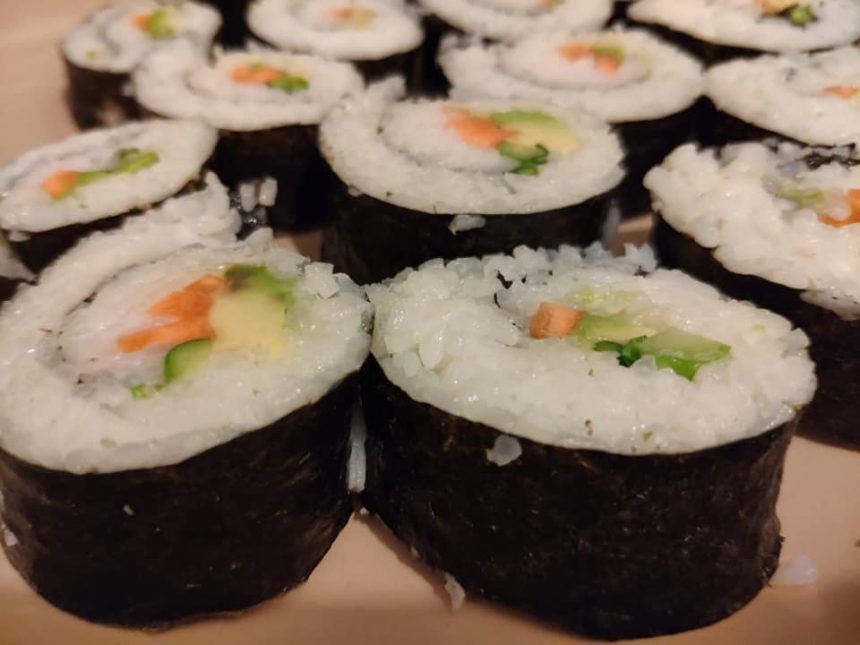
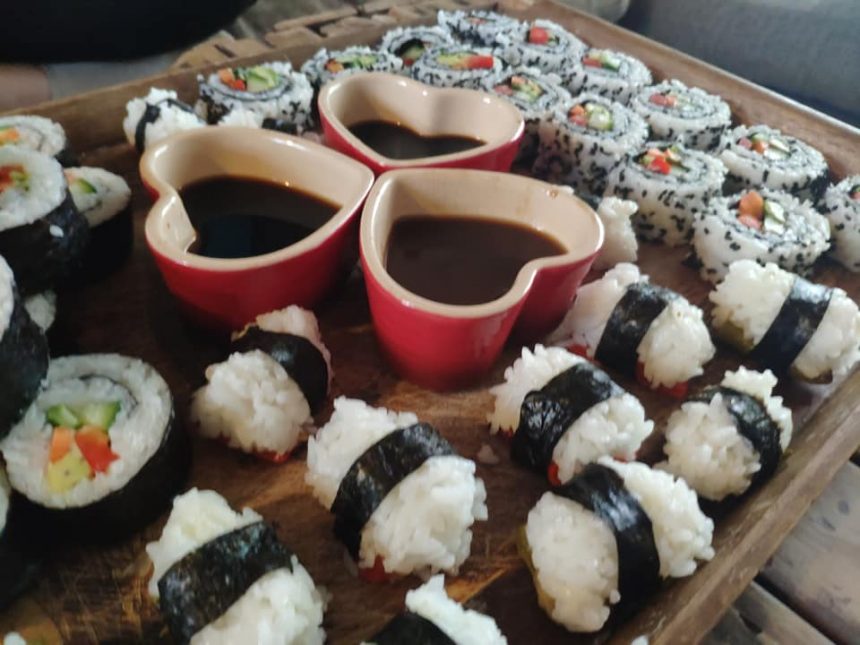
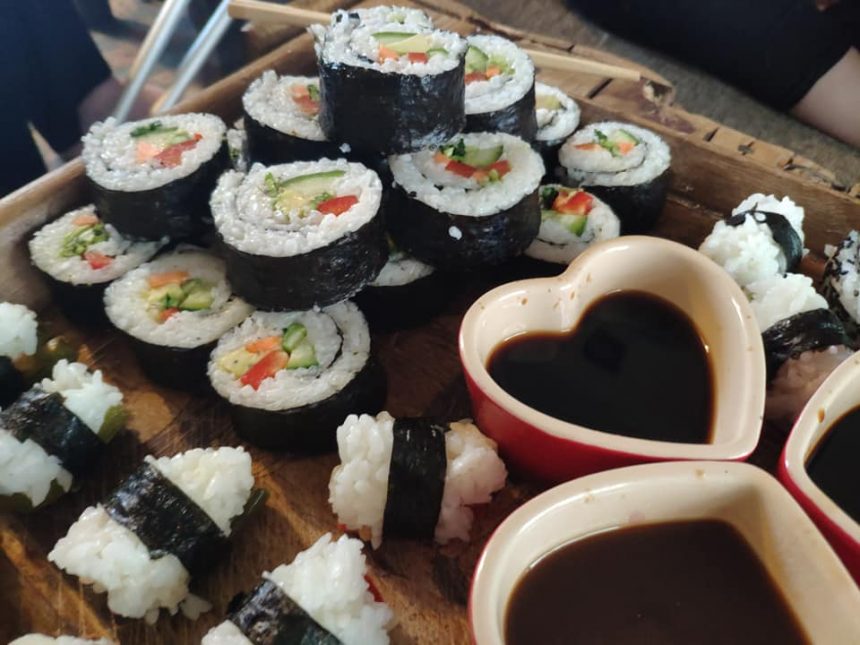
Variations with Full Nori Sheet….
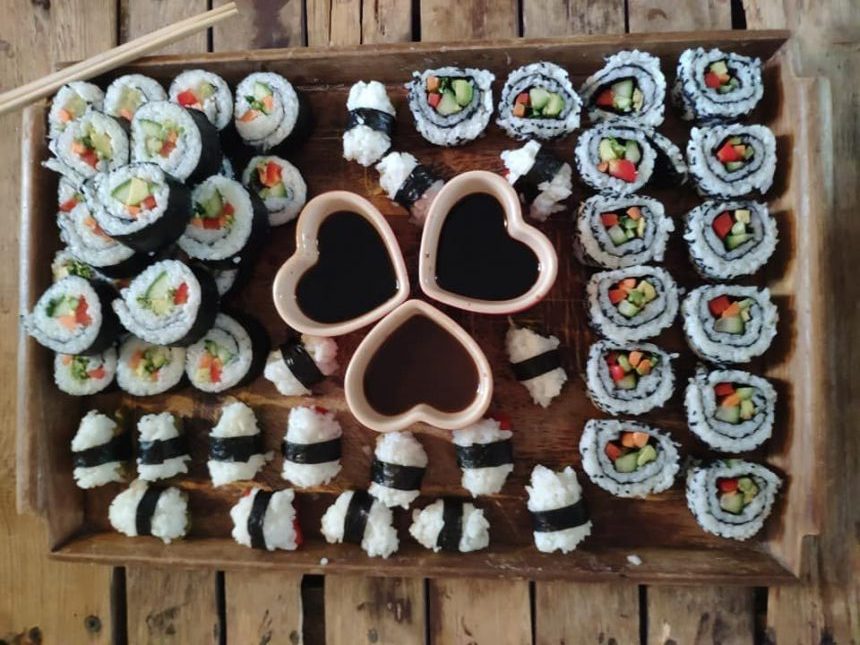
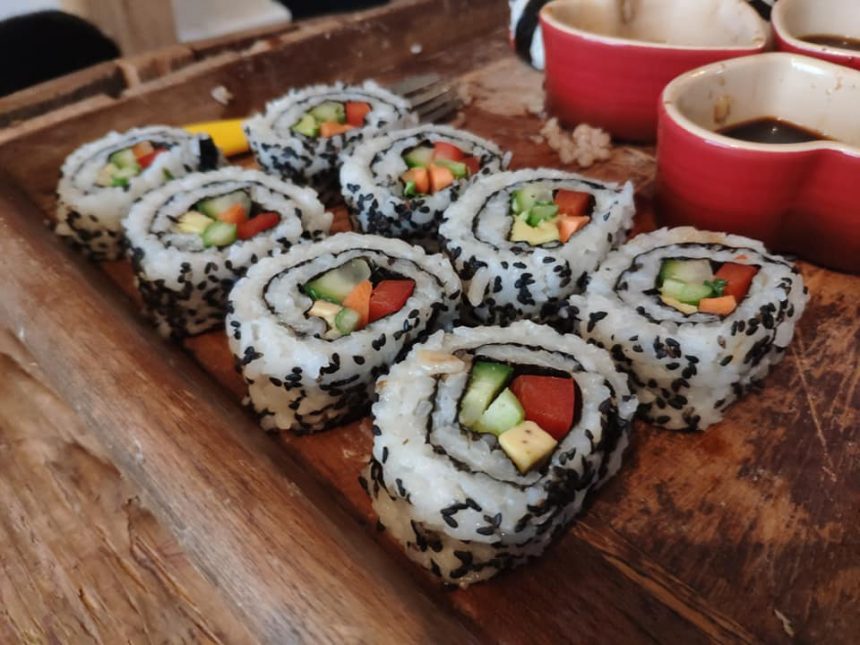
All Done… Now for the dips, Soy sauce, Tamari Sauce and Teriyaki Sauce make great dips, and if you have time make up the spicy sushi sauce by mixing Veganaise, Sriracha sauce, lemon juice and sesame oil.
The rest is all in the presentation,. lay out the sushi and dips and grab those chop sticks.
Once you have stuffed your self with Sushi its time to get up and go make Ramen. Should have done that before you sat down with the sushi right ? lol
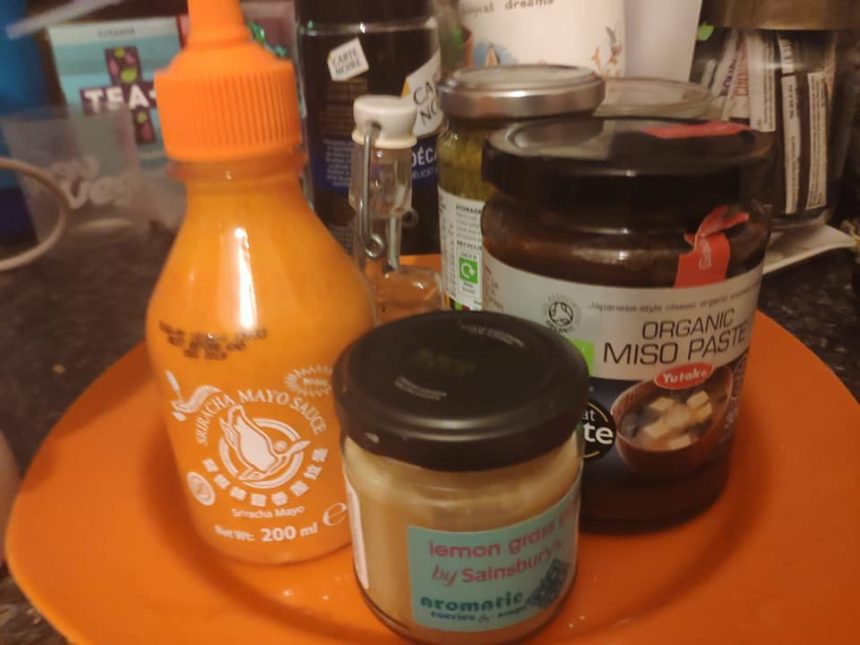
Ramen, a healthy filling Japanese soup,. lots of ingredients, go into this in a two stage process, so make sure you have everything on the list below before you get started
6 garlic cloves
Pickled sushi ginger, couple of good spoons
3 tbsp organic miso paste
1 tbsp neri goma (white sesame paste) or tahini
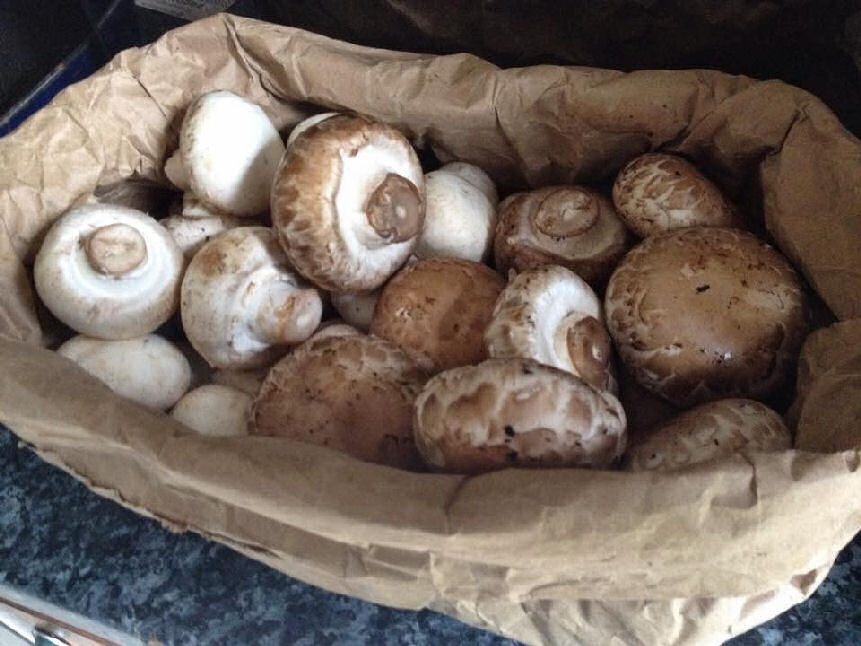
Half box button mushrooms split into 2 for section 1 and 2
1 large teaspoon of vegan stock
1tbsp of pickled lemon grass
6 tbsp soy sauce
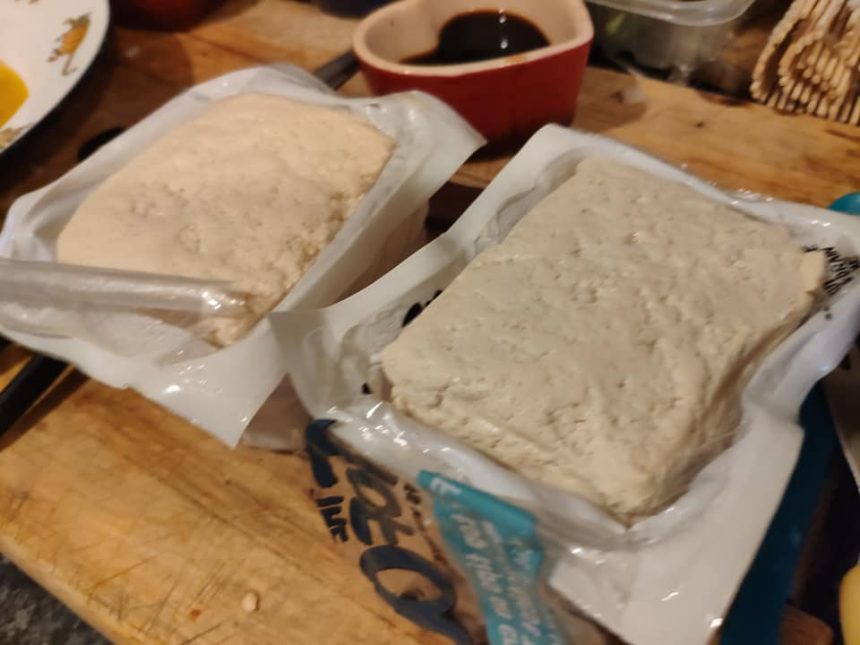
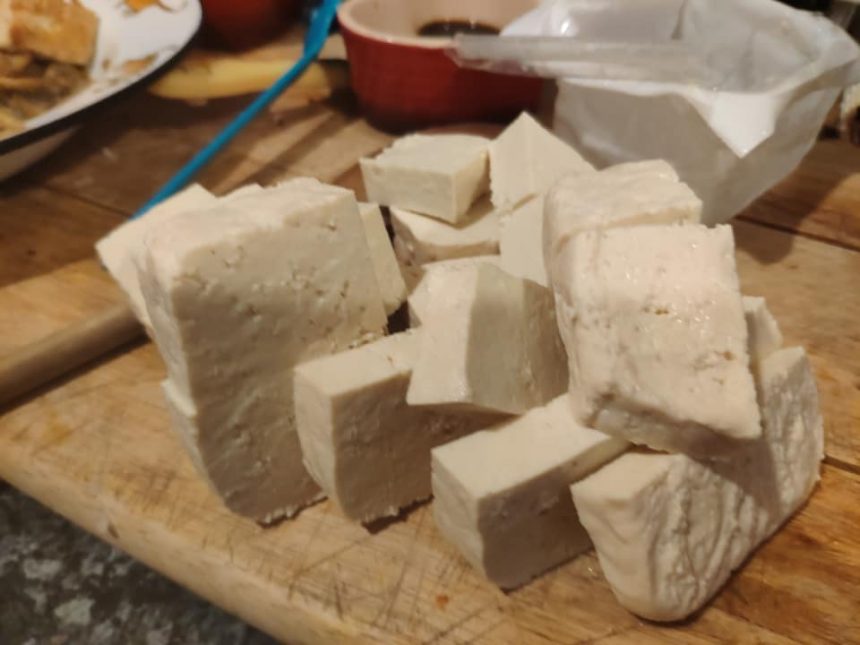
2 packs of firm tofu, cut into chunky cubes
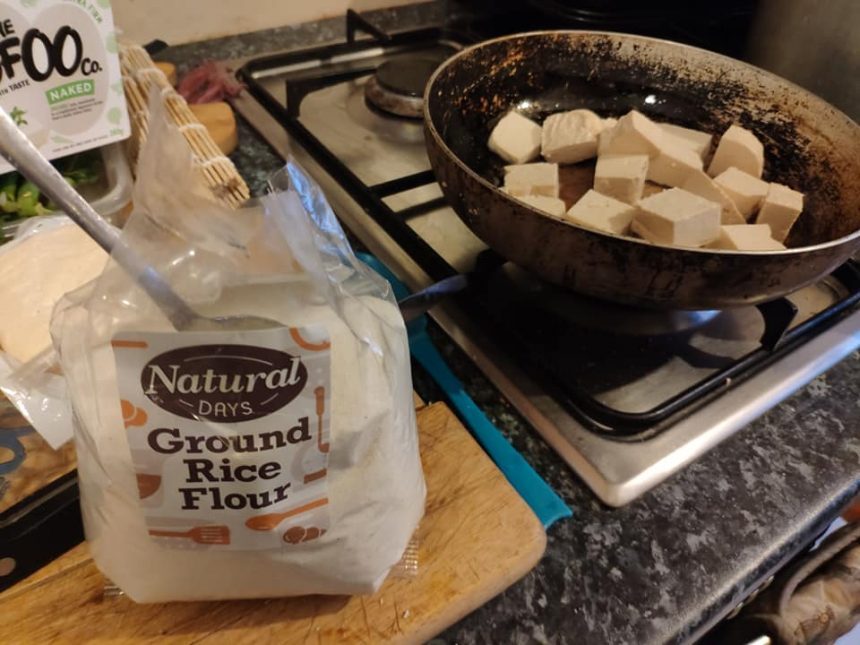
2 tbsp cornflour ground rice powder
2 packs udin noodles
2 head of pak choi deleafed and split down middle
spring onions, only the green sections
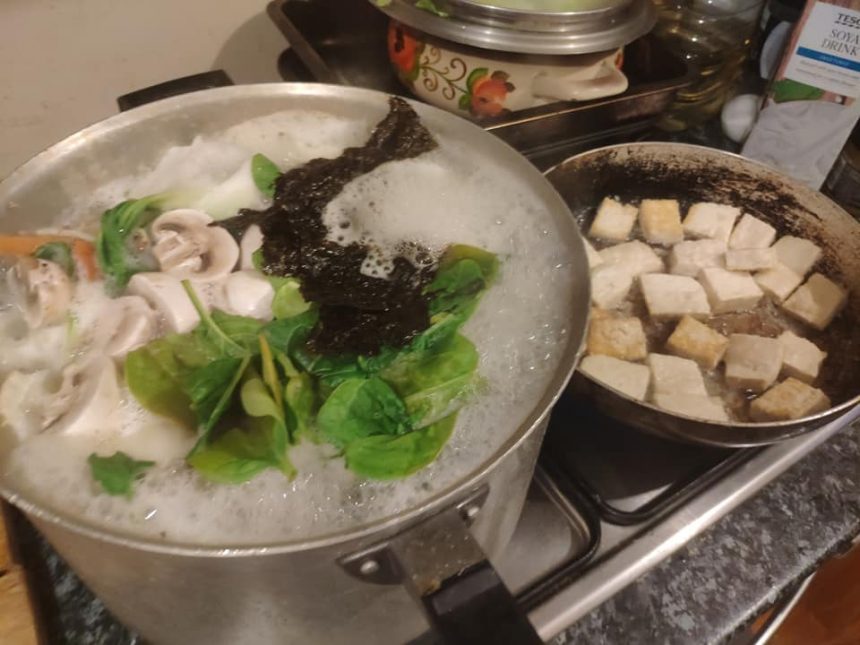
A couple of scrunched up snacking seaweed nori sheets
Bag of beansprouts
Carrot sliced thin
A bit of salt
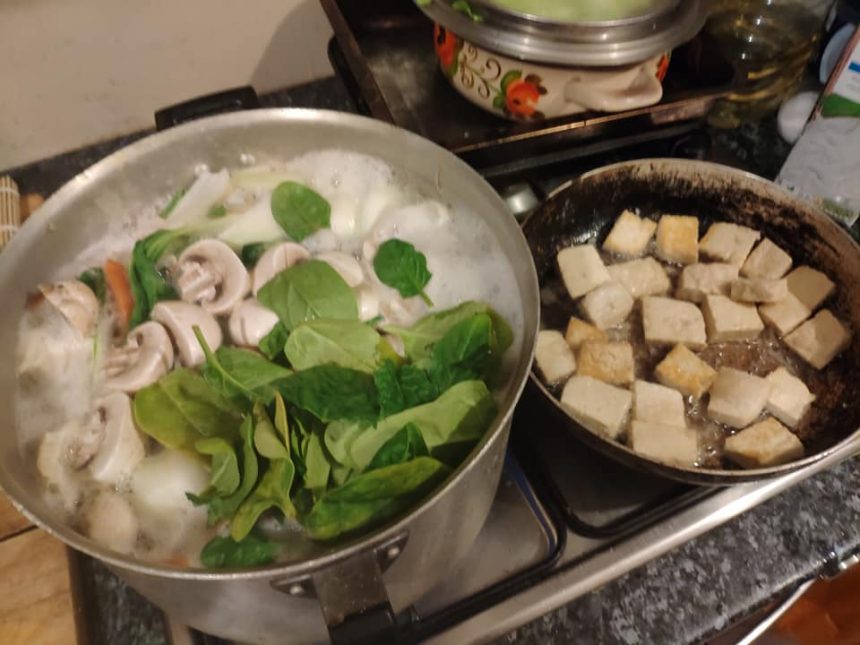
Stage 1
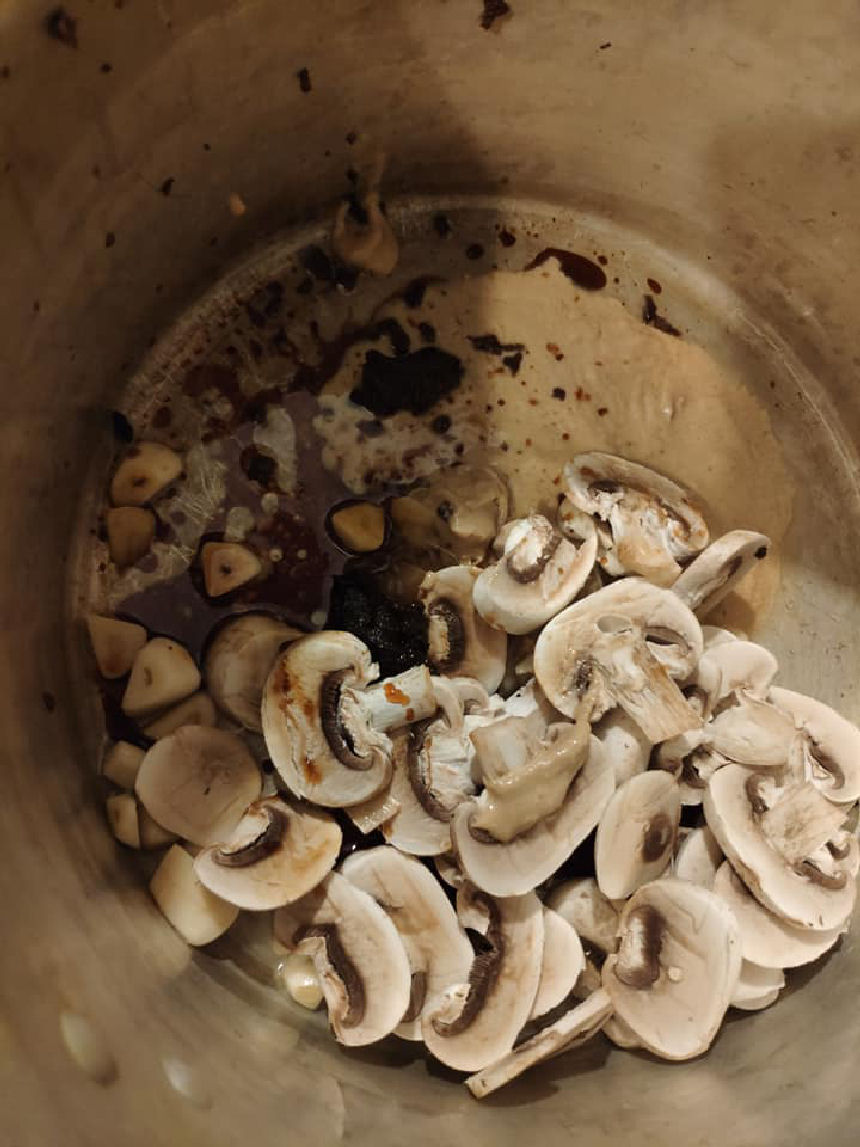
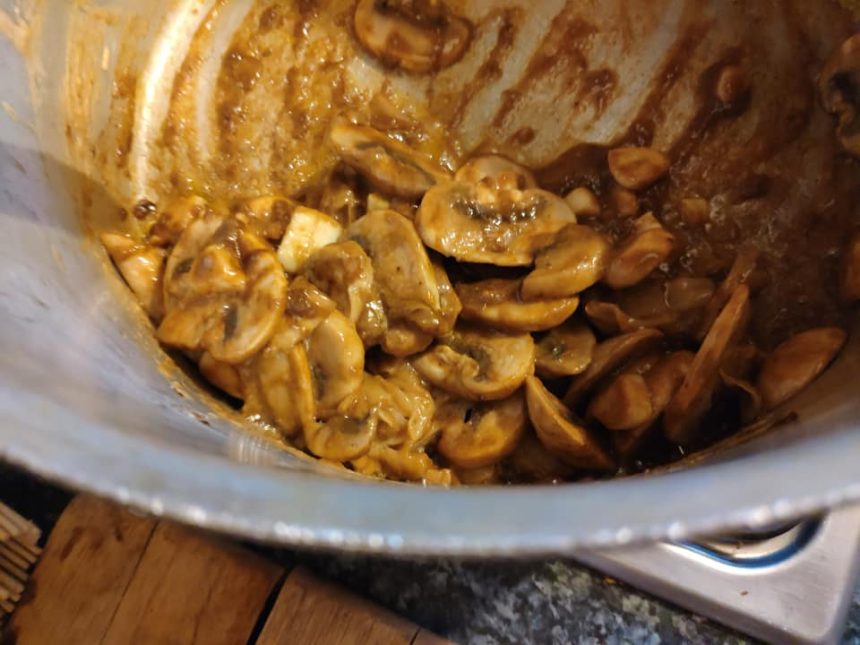
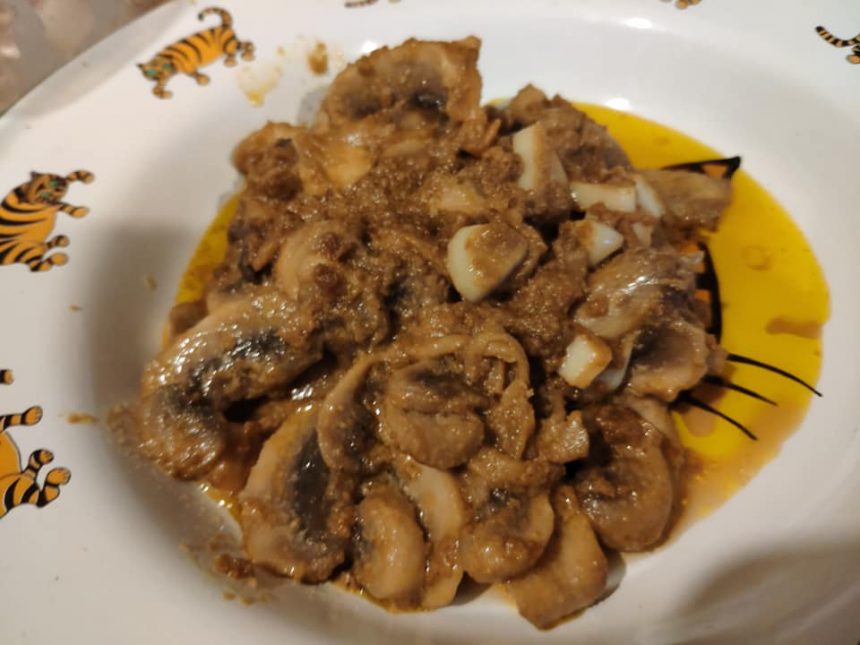
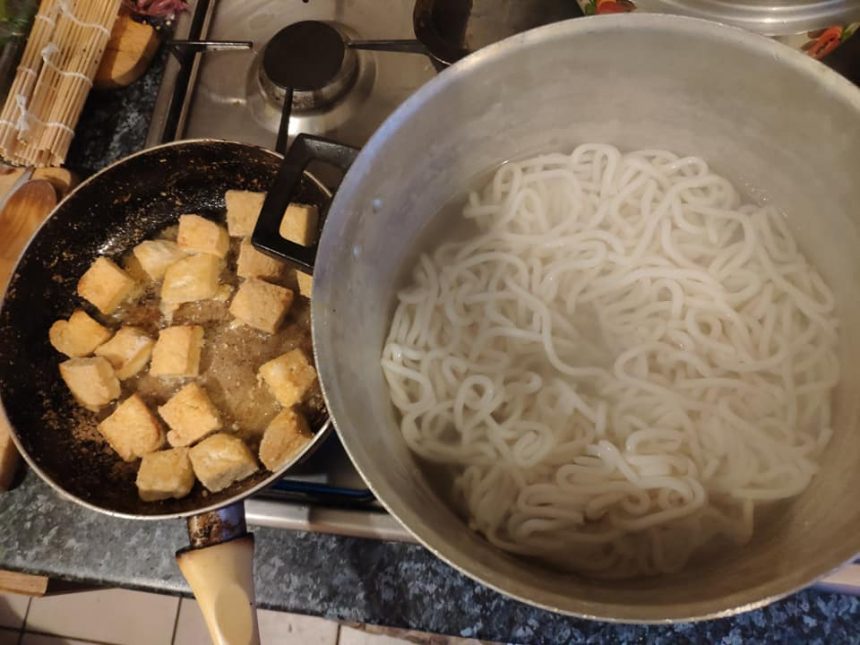
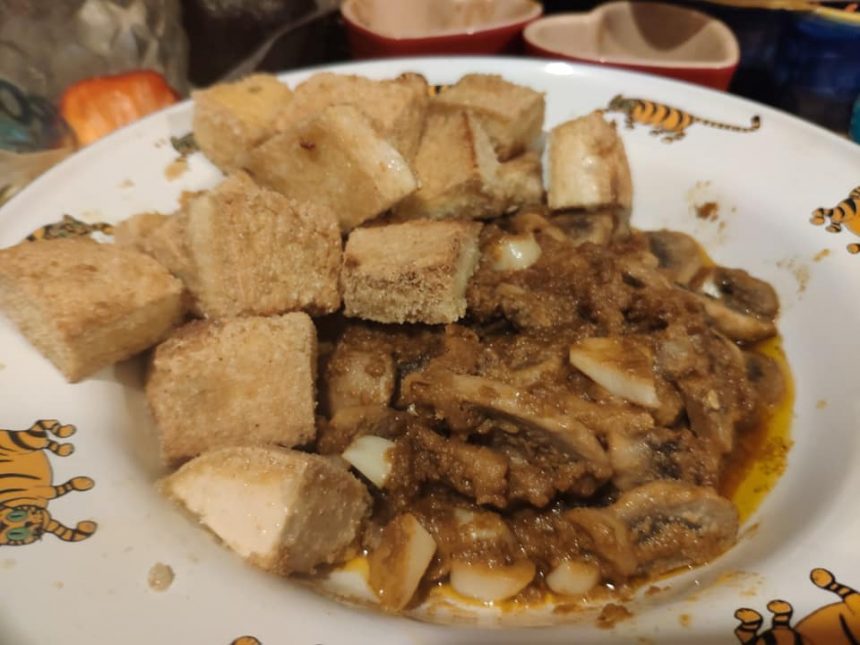
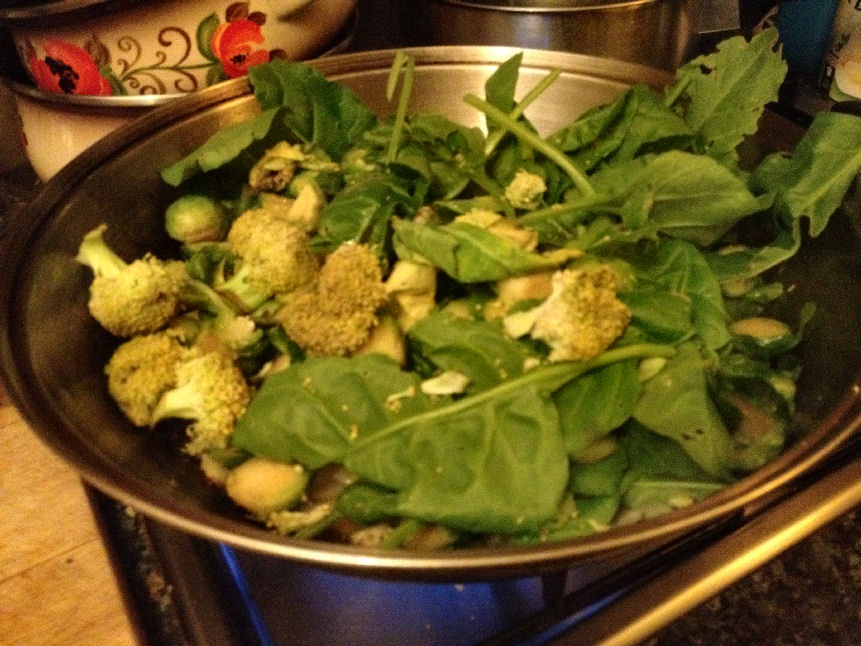
pan 1 _ chop the garlic, then put it in a saucepan with the ginger, miso, tahini, mushrooms, stock and soy. Pan fry it all for 5 mins. Strain off into a bowl and clean the pan for the noodles
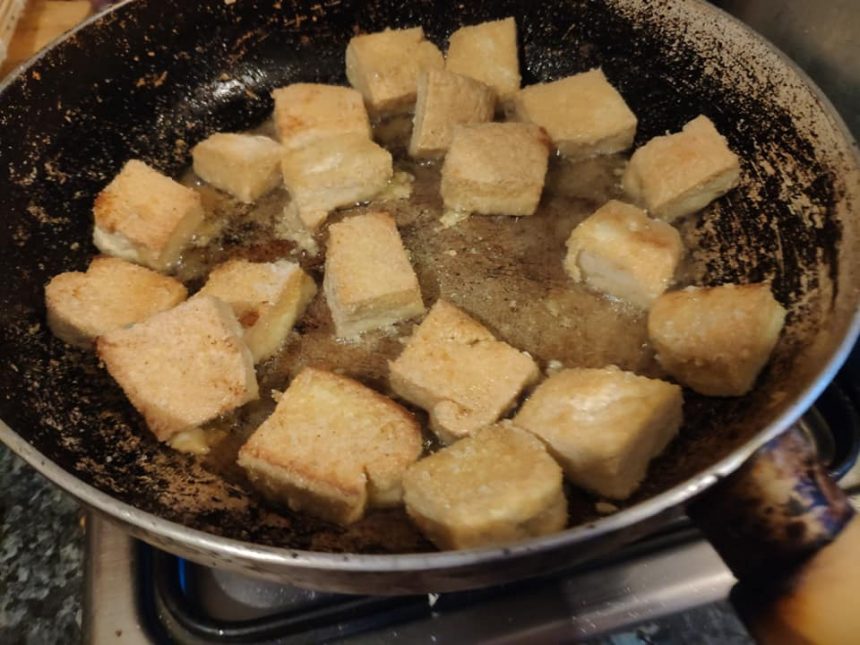
Frying Pan – fry the chunks of tofu with ground rice powder until golden brown, texture like sun
oops oh yes forgot to say you need ground rice flour to get the crispy breadcrumb type look on the tofu..
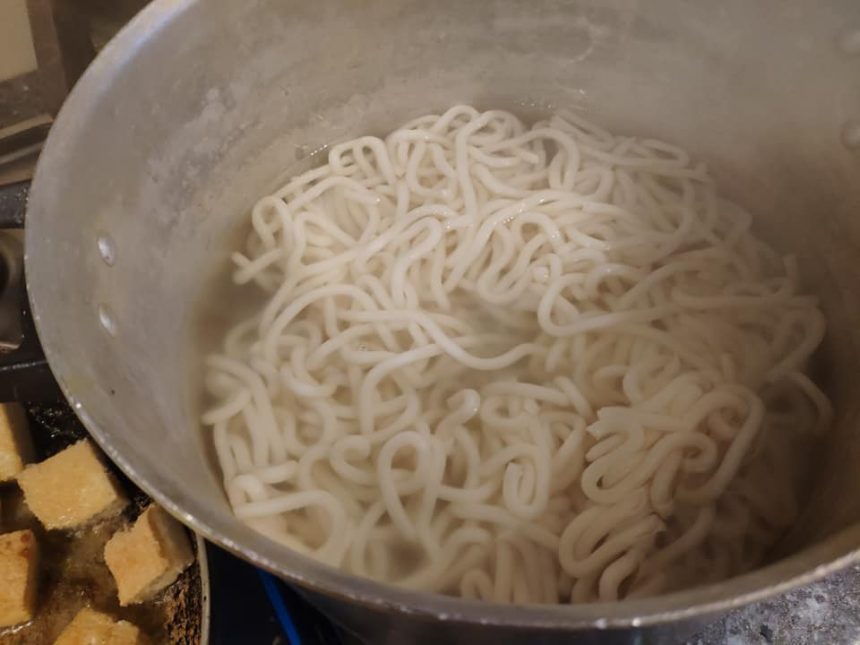
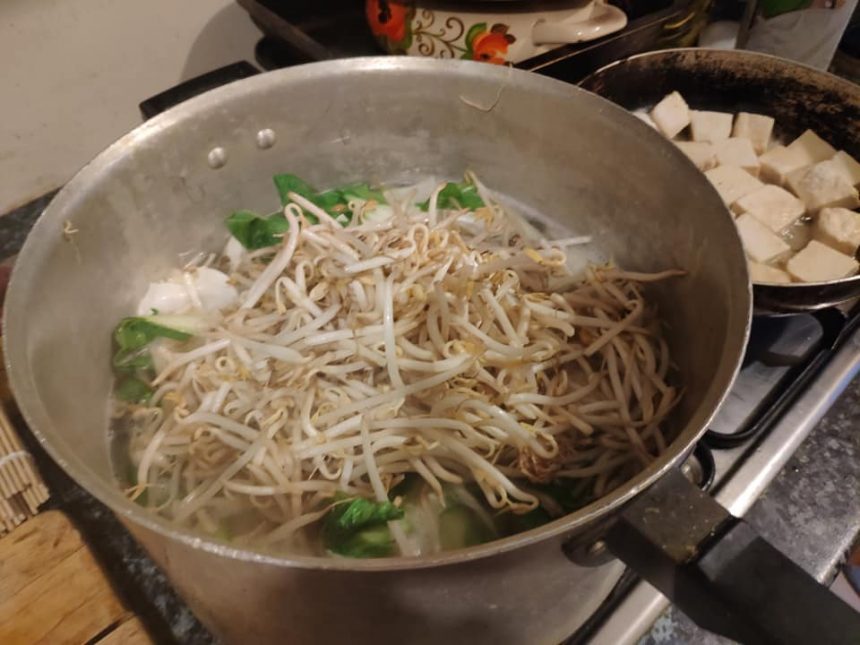
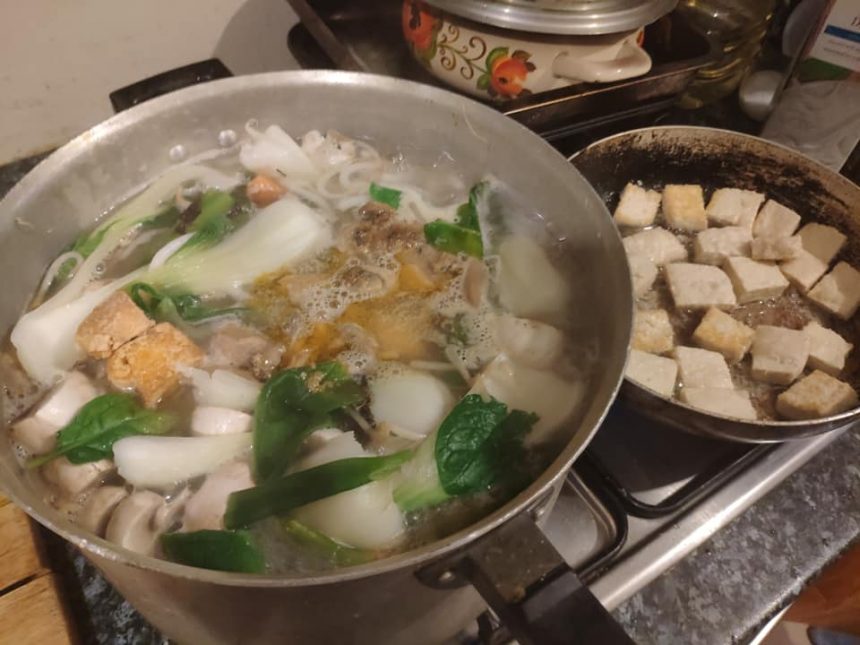
Stage 2
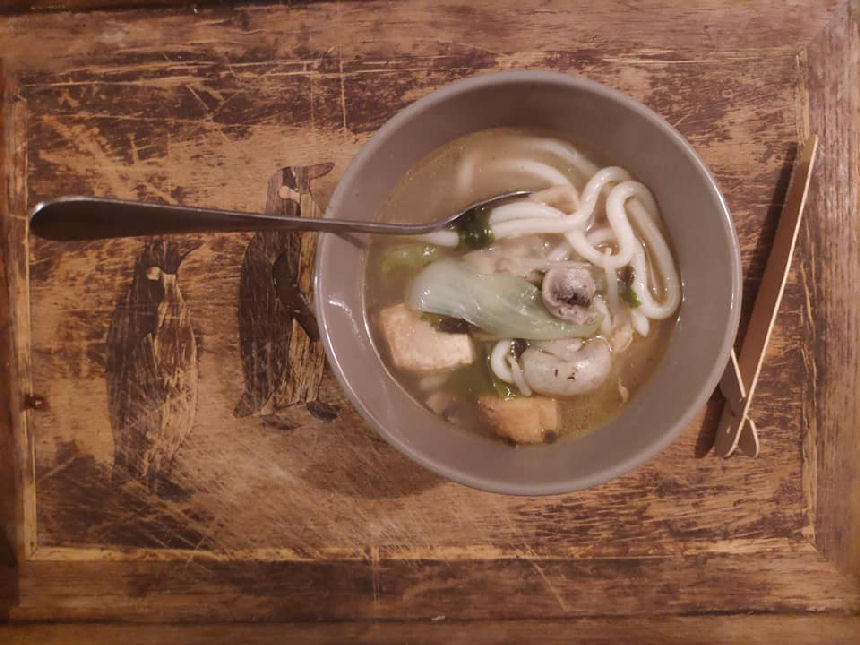
Boil the noodles 5 mins, then drain and add new water, add all the veg and add the pan 1 cooked mix. Thrown in a ginger top up , the Lemon grass a spoon and some mayo curry spice, simmer for ten mins and done
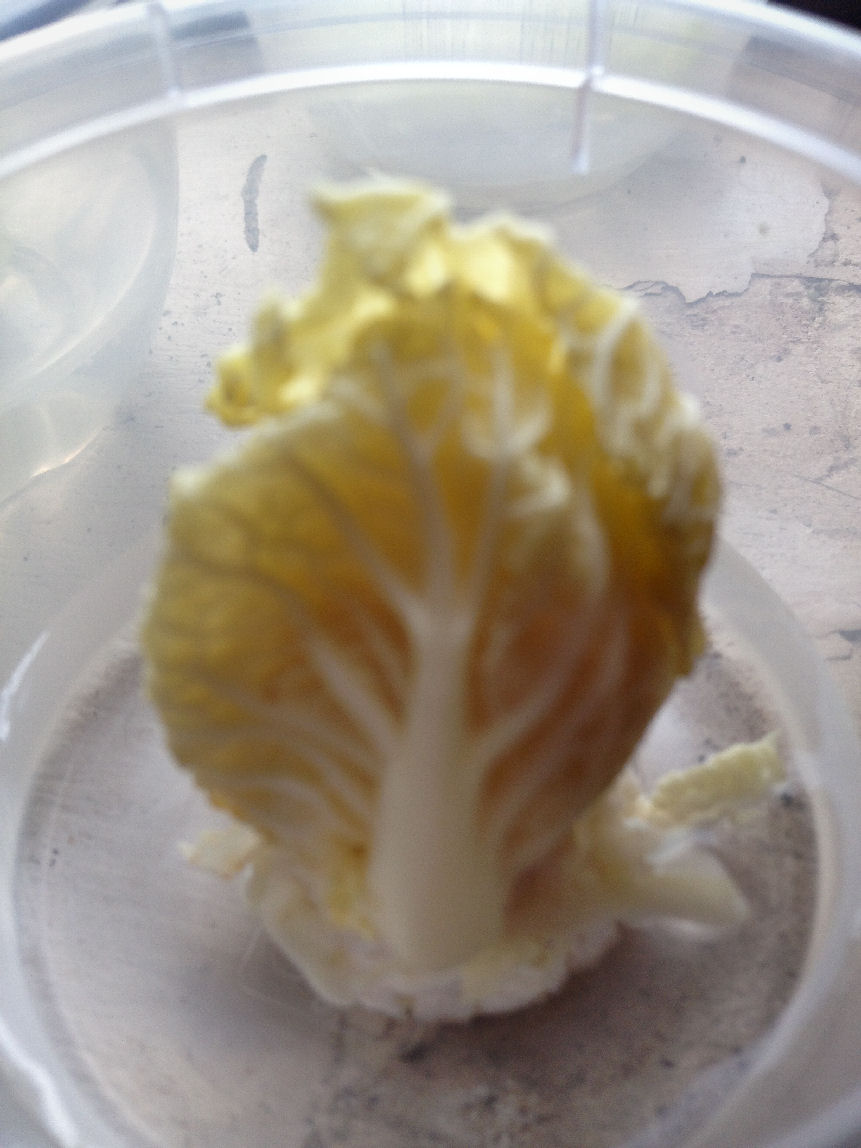
don’t thrown the stump of the Pak Choi out, leave a couple of very small leaves and put in a rumkin with water and the leaves will grow through again and can be used for another meal later on
That’s all there is to it,. Eat lots and let it dribble all down your beard or chest or whatever
Urban Vegan Permaculture Project – Credit Crunch Living outside the BOX
Are you running to stand still and paying a heavy interest Inherited “Mortgage for life” Debt ? Working 9 to 5 …and the rest? Don’t Drink ? Don’t Smoke ?… sick of politics and can’t be bothered to Vote (and why should you ?). Can’t keep up with the Jones’es and sick of the sight of them ?
There is half a nation like you out there, financially crippled by the lies and small print of the monetary system. Sold the Reality Asylum “Dream” but more like a cell where no one can hear you scream.
If Austerity has not yet reduced you to “I Daniel Blake” then there is a way to start turning the tide. Regardless of whether you even know about the concept of a Resource based Economy or a Vegan Lifestyle this post may open your mind to selling your square wheeled life for a new set of rubber treads and some more.
Free Thinkers have been engaging the Public in, discussing, theorizing debating the benefits of Ethical Monetary free living for decades. We have seen Communes and housing projects, ECO villages, even whole city programs like the Venus Project. What is missing will all of them is mass engagement. Access for large groups of people to engage with change systems.
Whilst advocating a resource based Economy, the frustration we are left with on the daily is in still paying , living, being locked into the rat race and the money trap which burns down our pitiful financial resources and our time and head-space.
With that in mind we looked closer to how at a three step strategy to getting breathing space from the System. Our focus for this project fell in three main steps:
1 – Food (shift to Home Grown) to cut costs of £600 – £900 (all food and drink – family of 4 average) all in a month
2 – Power (shift to Home Produced) to cut costs of £200 (Water Gas / Electricity / Fuel – family of 4 average) all in a month
3 – Self Sustainability (shift to Self Funding) , barter and trade with the increasing network of other people achieving the same, zero financial cost living, (that’s everything else we pay on from taxes to toilet paper)
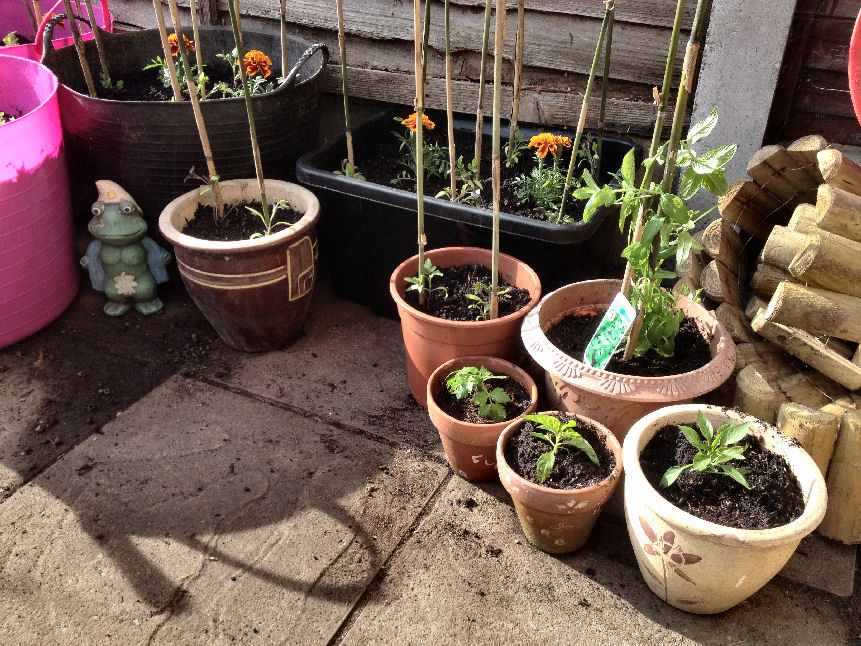
Like 24 million other home dwellers in the UK, We are Stuck in the bog standard Urban / Suburban House, a 3 or 4 bed, the usual, some crubby semi or an end of terrace scenario with a slap-on under delivering box extension and a 100 – 120 foot garden of wilderness and bare lawn pressed in between two rows of decaying council fences, a collection of old pots, marigolds and tomatoes a potato here and there and a general lack lustre pair of unkempt fruit trees.
Gearing this up into an all year round pesticide free and ethical home grown supermarket seemed like a mammoth task.
Visualising and implimenting the change (Step 1 FOOD)
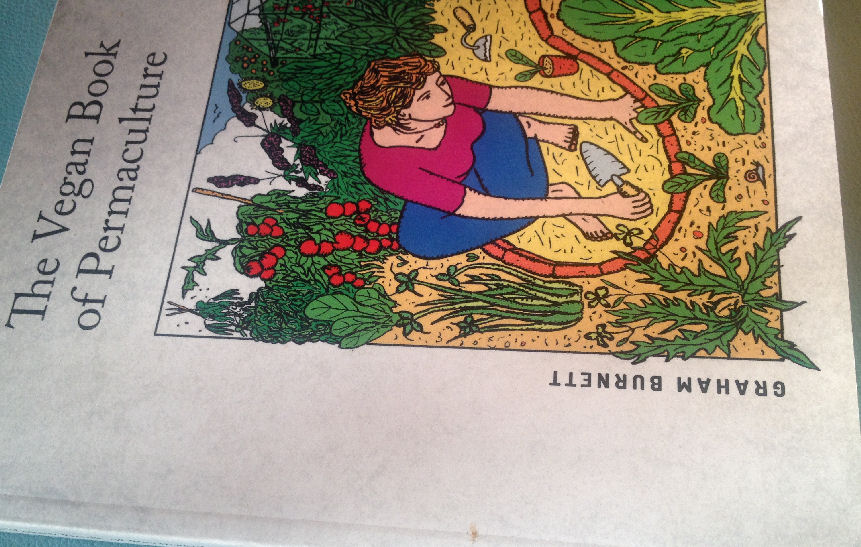
Rather than lead you up the garden path, a few good connections can see you straight to an organised satisfying home farming solution. On a lazy afternoon up at Dial House I raised the issues, Penny Rimbaud forever thoughtful on who needs who and why seemed to know the right person to get in touch with and be able to see why long before you do yourself, dropped in to the conversation “Do you know of a chap called Graham Burnett” (Spiral Seeds)…
Graham was the enabler to our “Step 1” and for those who don’t have the all solving connections in their daily trudge and want to get out of the mud and clean up their “trench foot”, this post is your short cut guide to getting home farming up and running fast.
If you need any background into why this only works as a Vegan Permaculture Project, then before you cut your power off so to speak, tune in to Netflix and watch COWSPIRACY…
specifically the below 1.22 Minute section which points out your biggest enemy as an urban home grower, lack of space…
Step 2 is tied into knowing what you need power wise, not just a case of a solar power upgrade and sell back to the grid, or finding bio gas home generators that generate the right consistency of gas to power your car or home appliances or whether and how to set up a grey water system….
Step 3 is the final stage where you apply the wishful thinking “If I can’t grow it or get it through shared home farming network or barter it, then I do without it” to the rule.
Then step out of your job, resell the overs on the power supply to cover insurances and taxes and in true Felicity Kendall Style, embrace the good life.
THE KNOWLEDGE:
There’s an endless list of self sustainability stories , dreams, ideas, vegan this and that, anti capitalist this that, so we are just going to spoon feed you with what you need for an “urban” change and walk you through our project.
You will need to understand your space, be able to grow, harvest and eat from it all year round and make sure you can protect what you grow naturally to make this work.
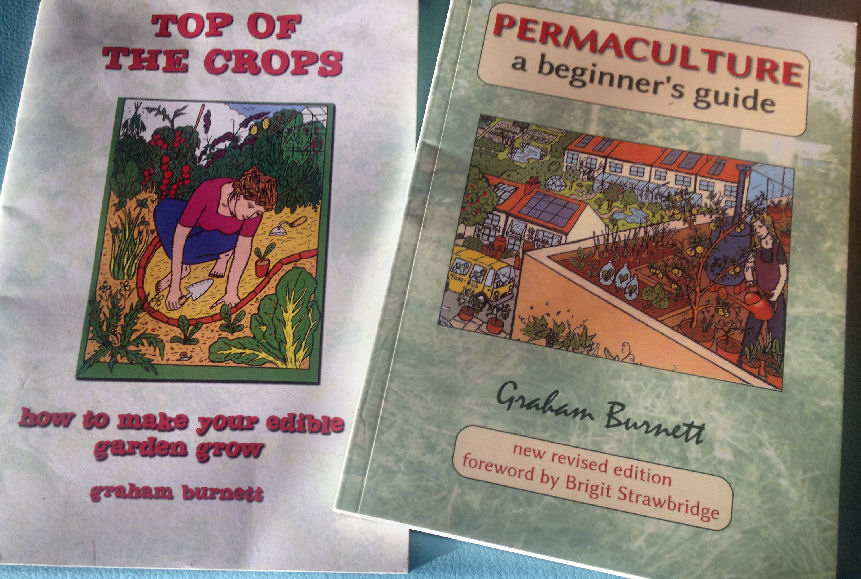
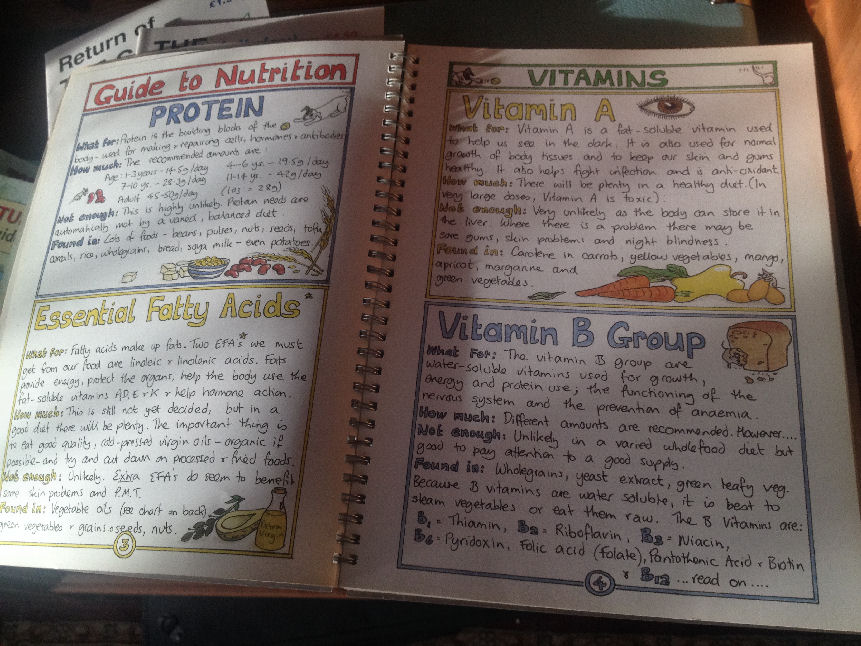
The best hand books we found and used were Graham Burnetts “Guide to Vegan Permaculture “combined with the “beginners guide” along with “ecology of the self” and “top of the crops”. They cover the basics and inspires all sorts of environment improving ideas that ensure success and yield.
We are shamelessly plugging those titles as “The Knowledge”
You are due to plant for summer in the next 2 – 6 weeks !
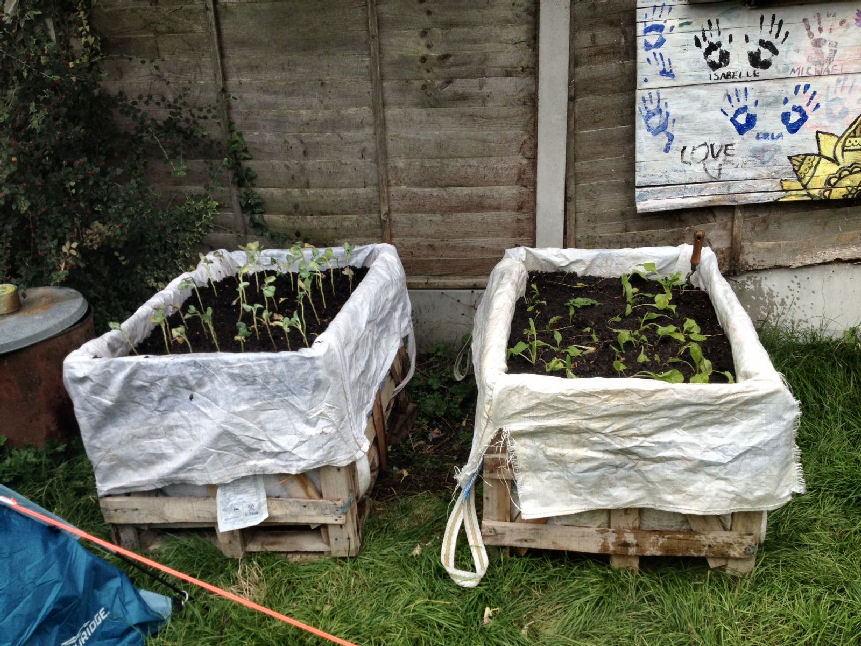
INFASTRUCTURE:
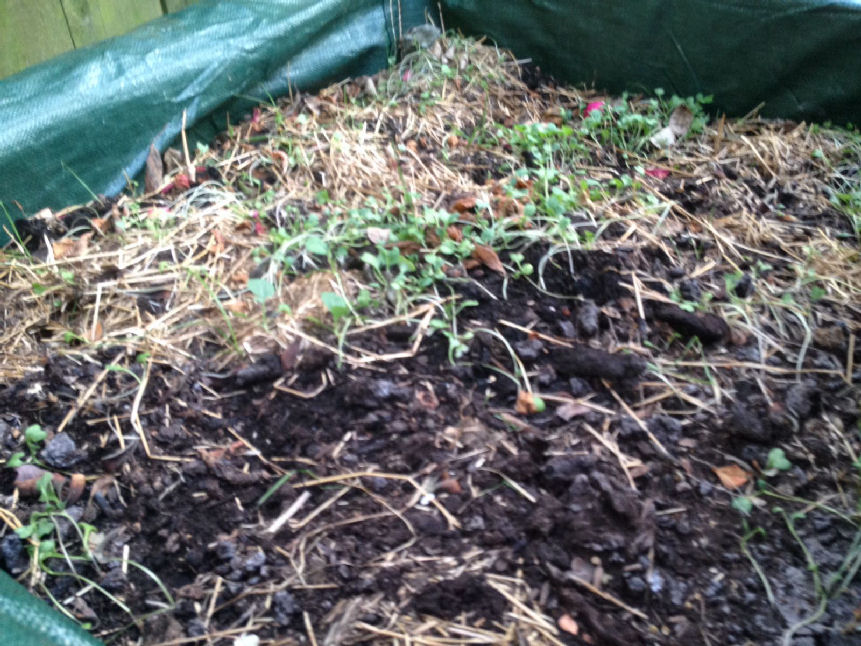
This again you can find and build low cost low stress from the guide. We wanted NO cost and NO stress so we took building composters and planters a little further.
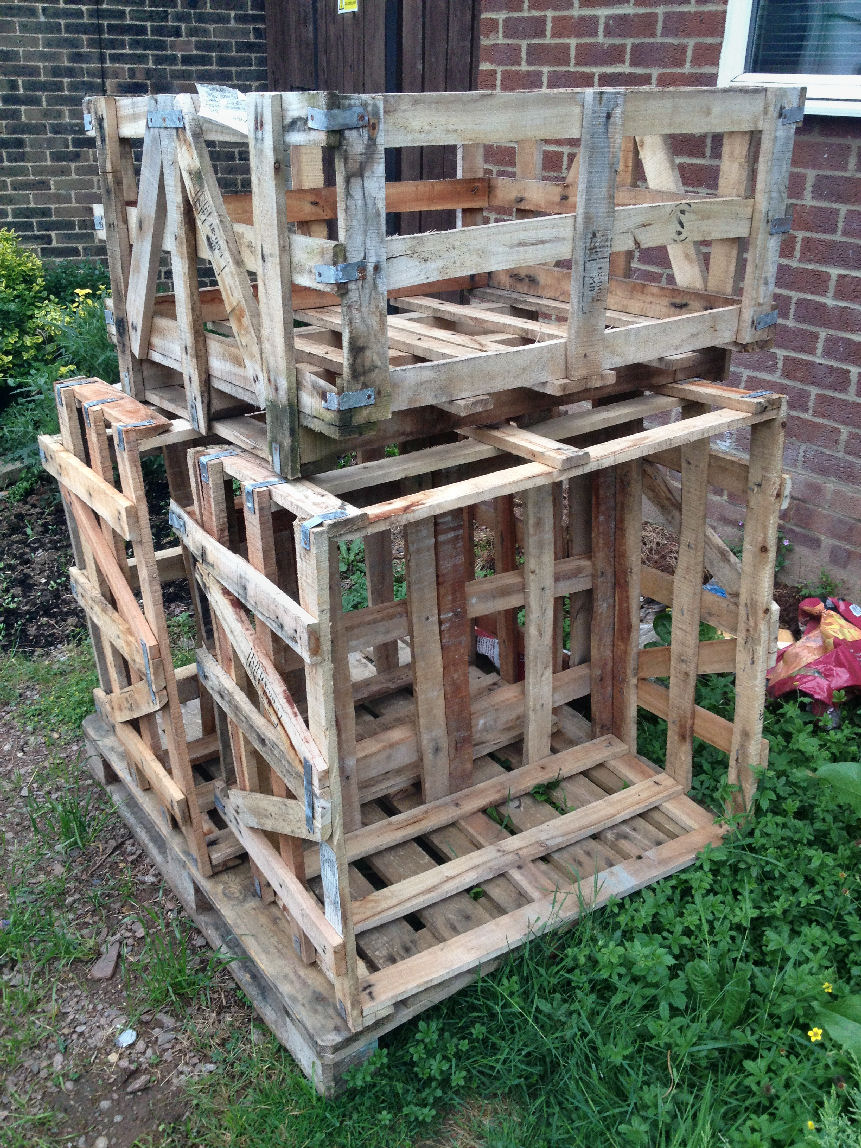
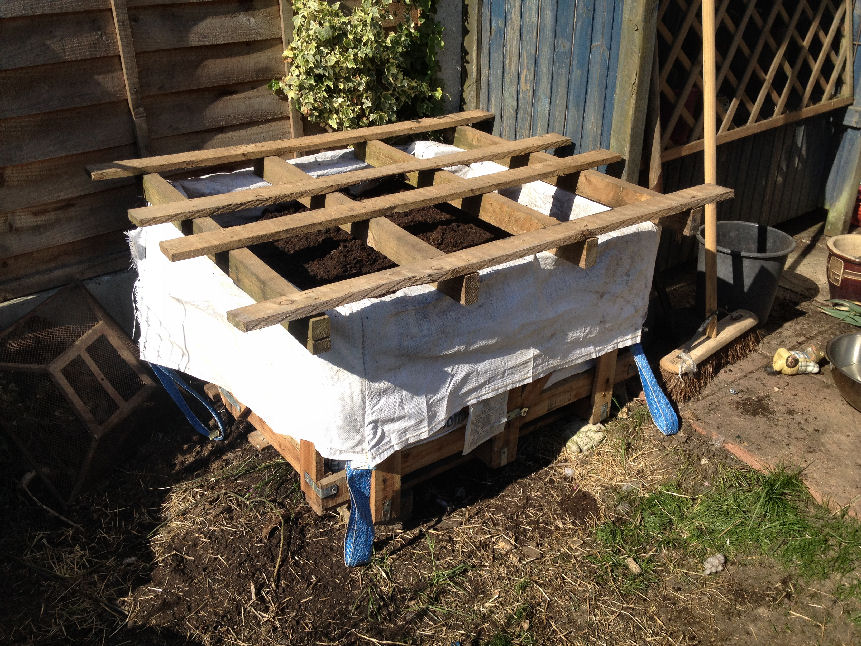
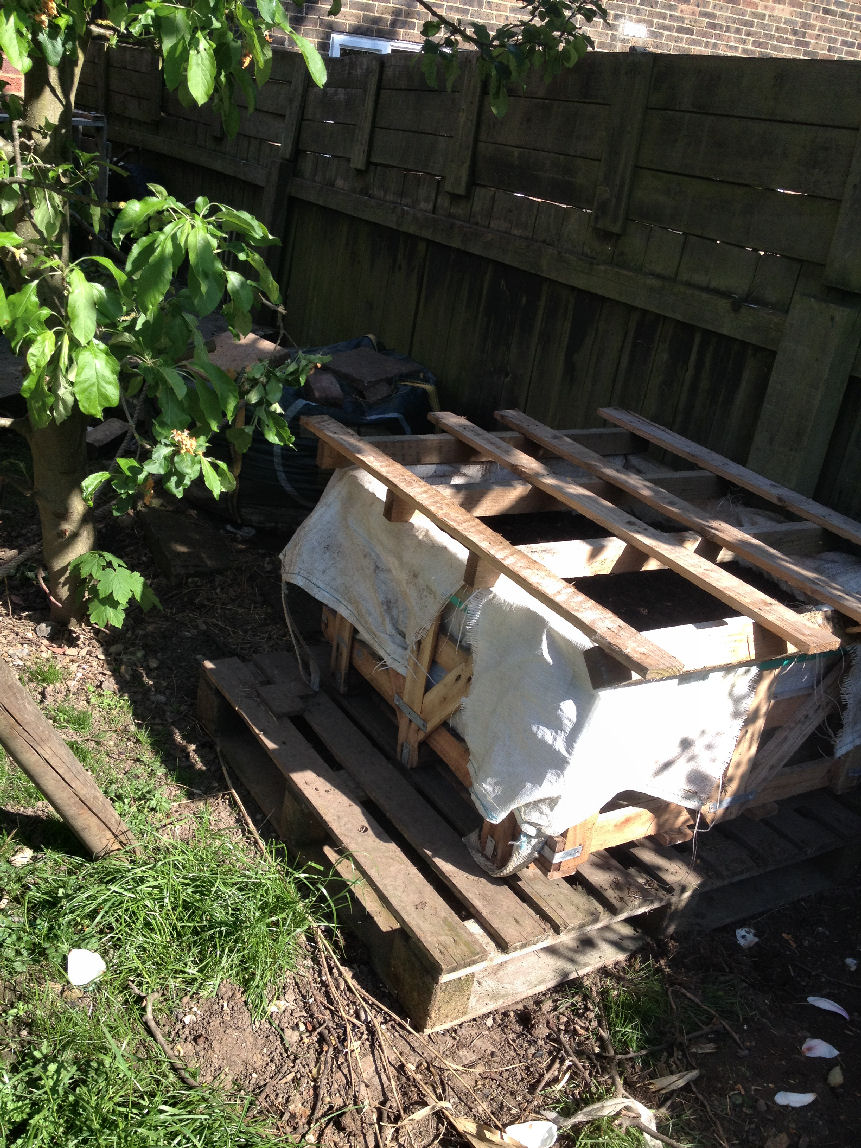
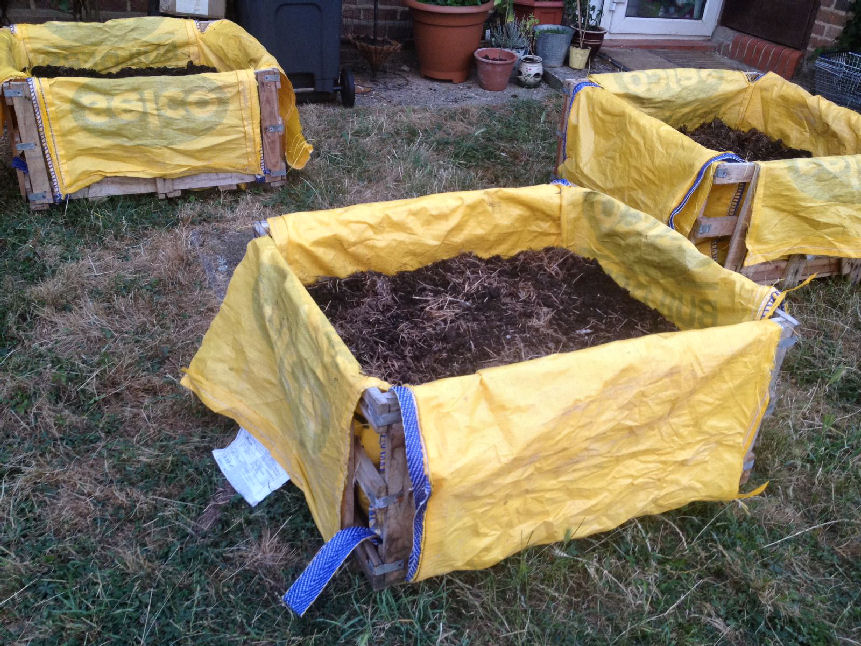
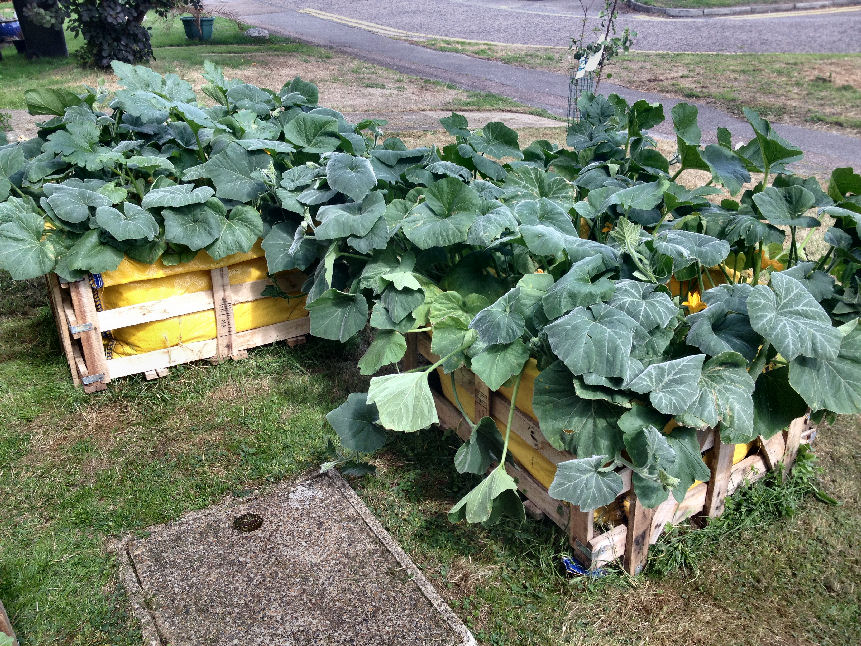
Stone paving crates. They are dumped everywhere. All you need is a large vehicle to haul them. Line them with 1 ton sand or gravel haulage bags, again, these are found literally lying about everywhere and you have a dual purpose composter and planter ready to put together.
Cut the bag to fit the frame but leave the flaps, as initially you will need to wrap the whole planter with the additional Canvas and secure whilst using as a composter. This protects and keeps the heat in. Composting will take a minimum of 12 months.
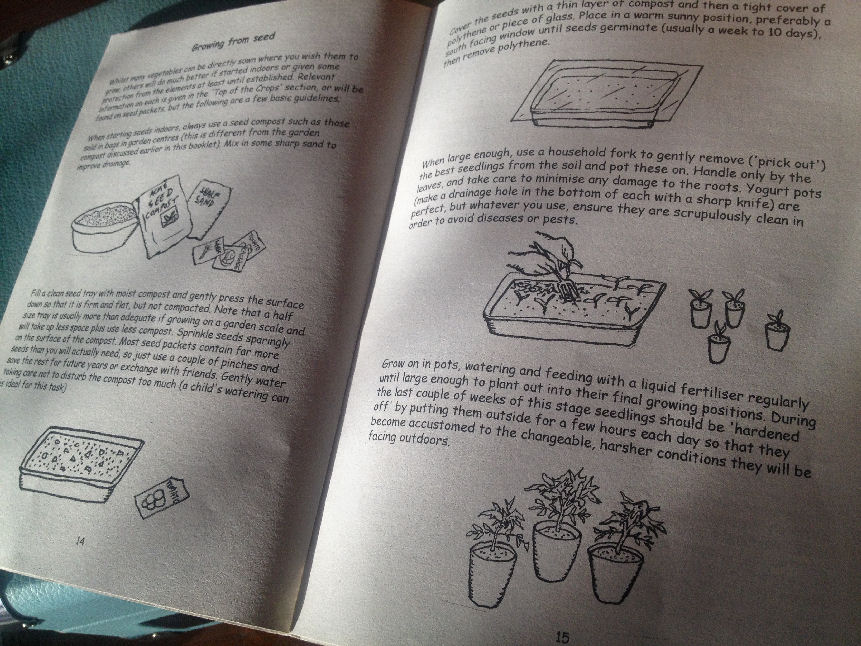
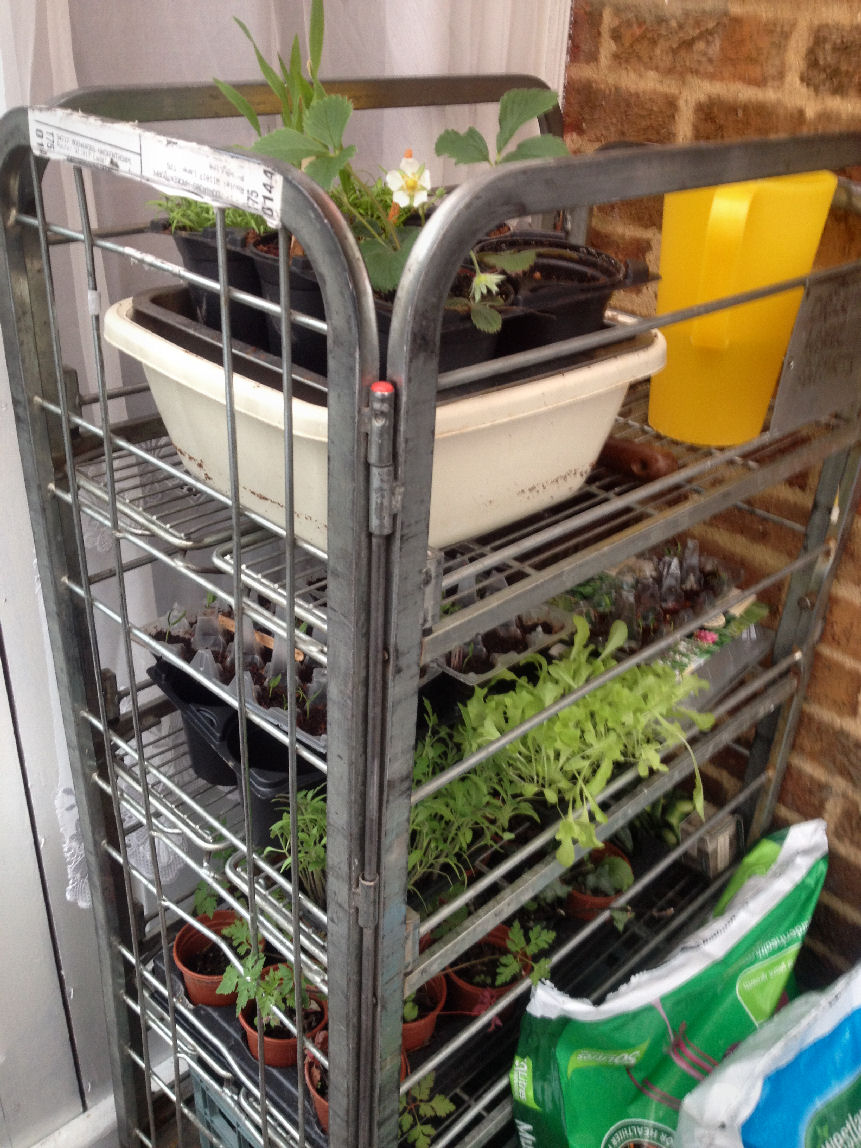
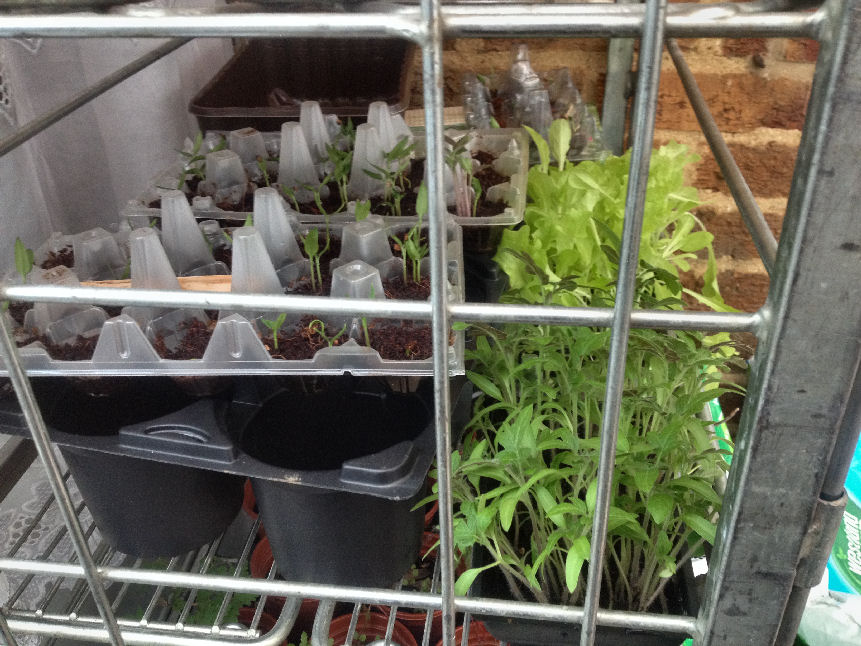
SEEDLINGS:
We use Steel racks, and a little potting compost. (Yes the ones you see in your local large grocers or corner shop.)
They are on wheels so you can move them around, have adjustable levels so you can create or remove space depending of the height of your seedlings as they grow (or don’t – forgot to water ? over-watered ? too hot too cold wrong soils, too rich, not rich enough, rich or poor sand or stone mixed soils ?… oh dear…………its death death death death – how to avoid “death” – read the guide to Vegan Permaculture)
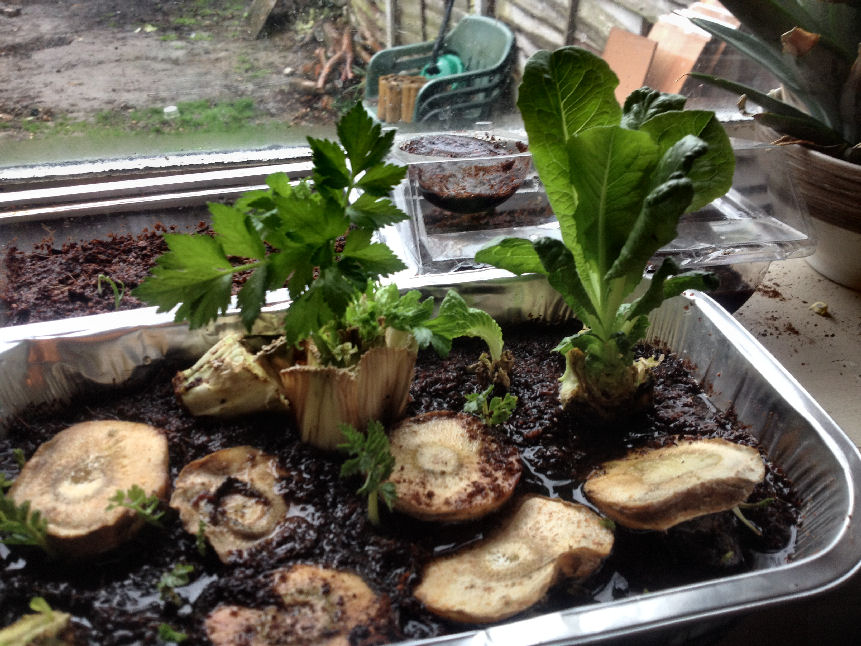
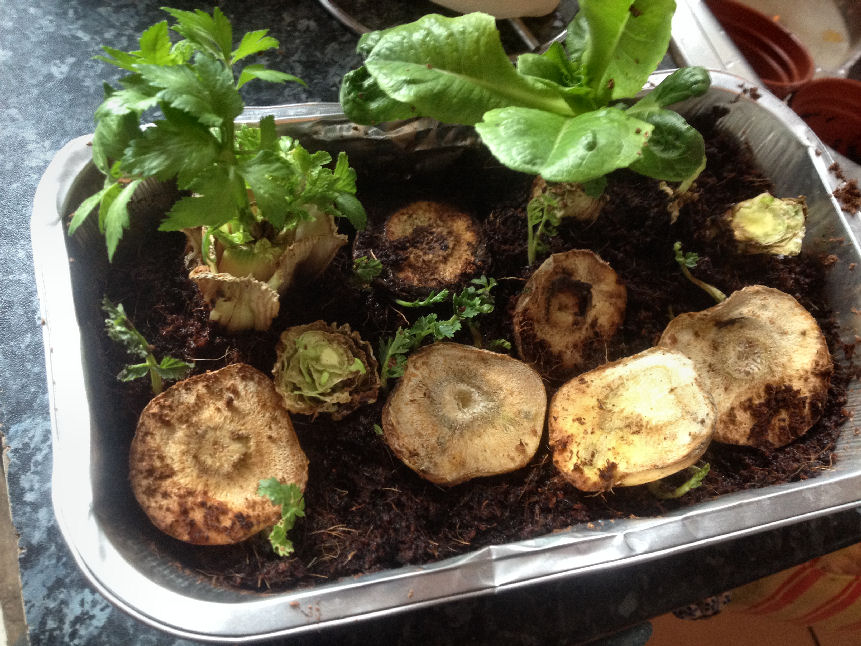
Dead heading…
Eaten something you want to grow ? Never ever want to pay for it again but want to eat it forever ? then dead head it.
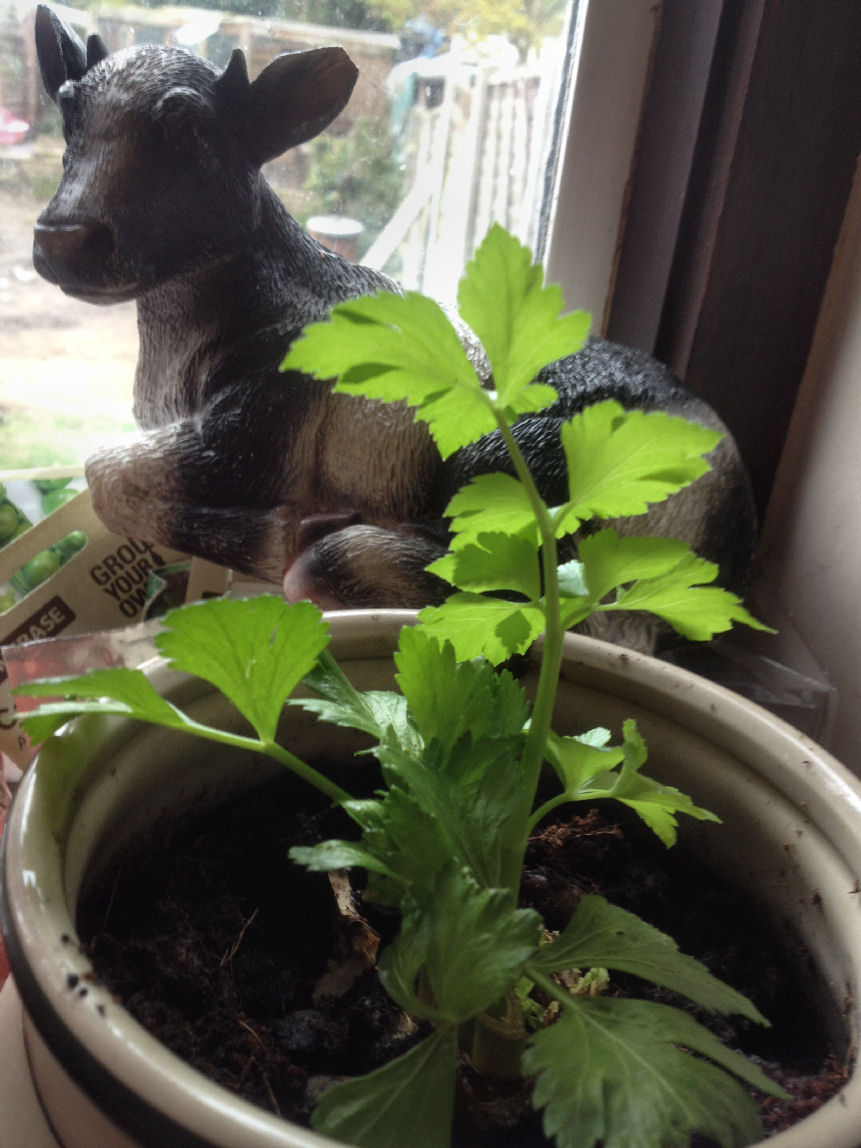
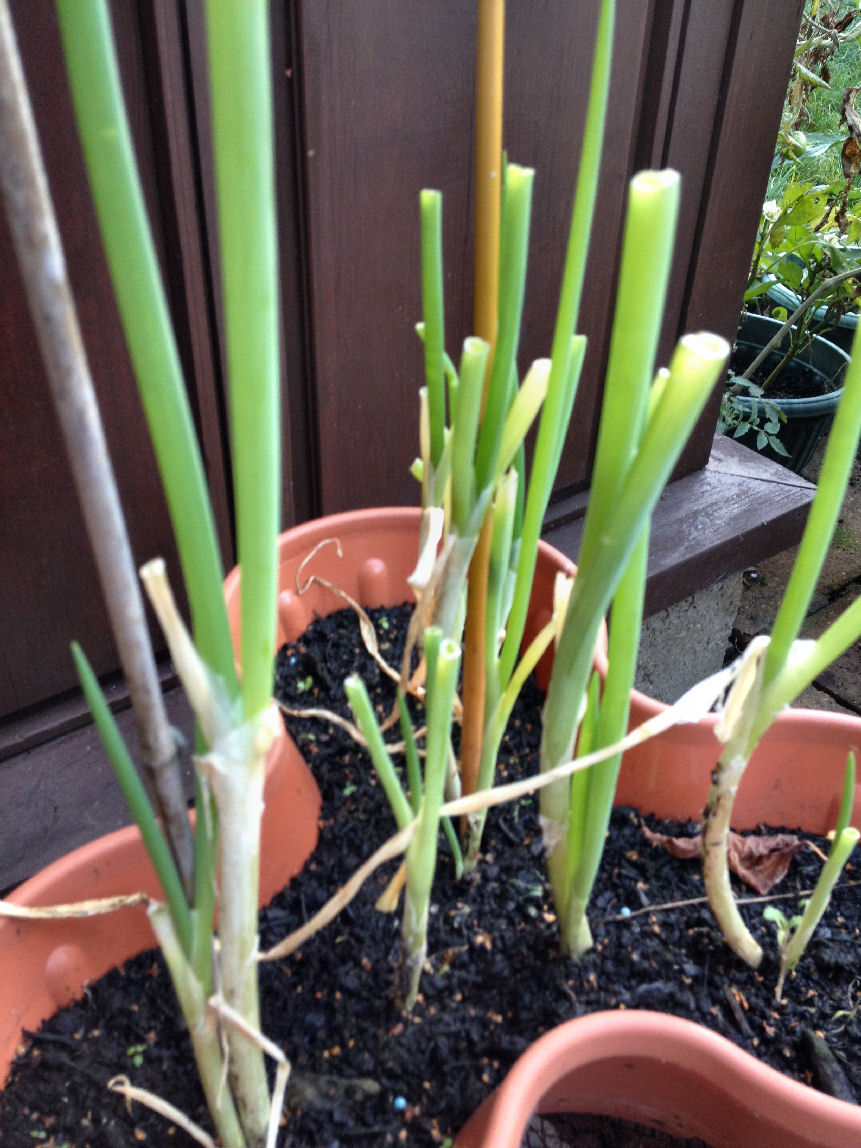
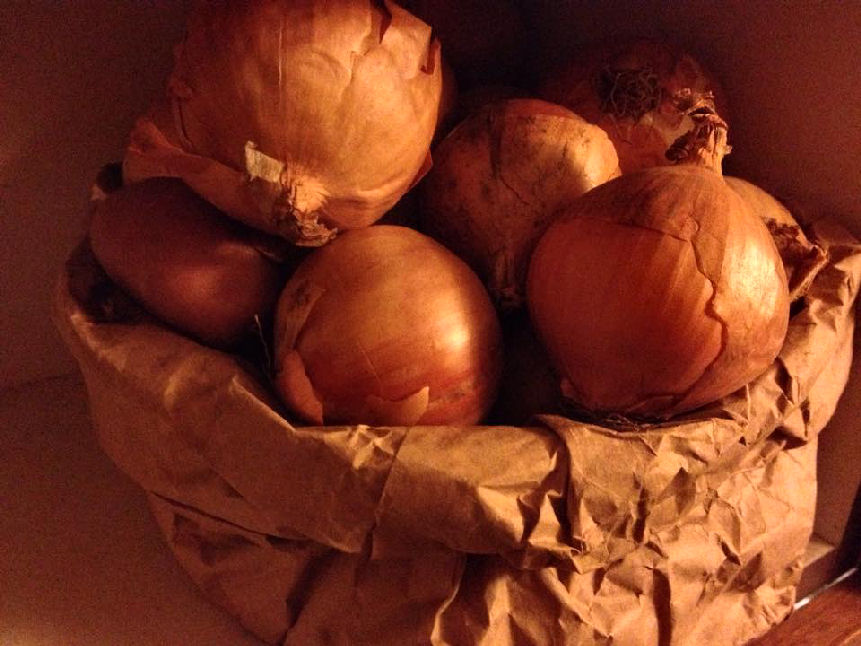
Our experience – it was great for salads, celery, herbs, spring onions (cut to bottom of stem let it grow back up, do not dig up, use when season regular onions run out… ) poor success with root vegetables but don’t let that stop YOU ! We just had too much on to keep on top of the deadhead root veg.
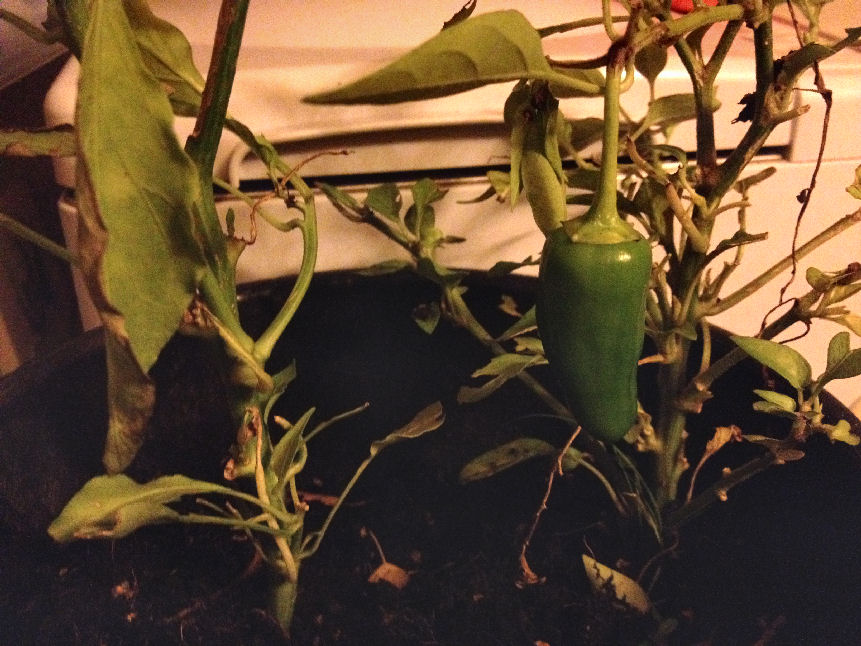
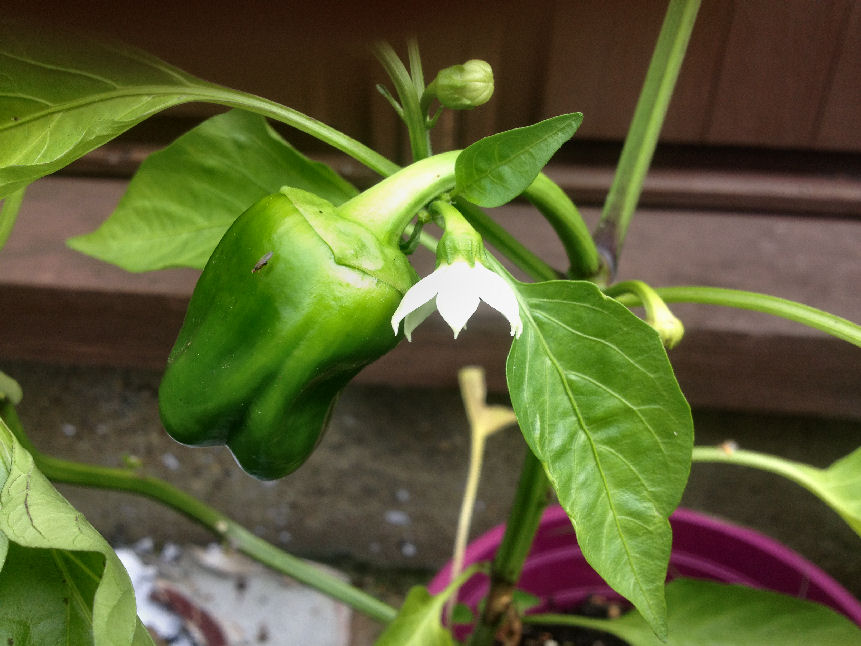
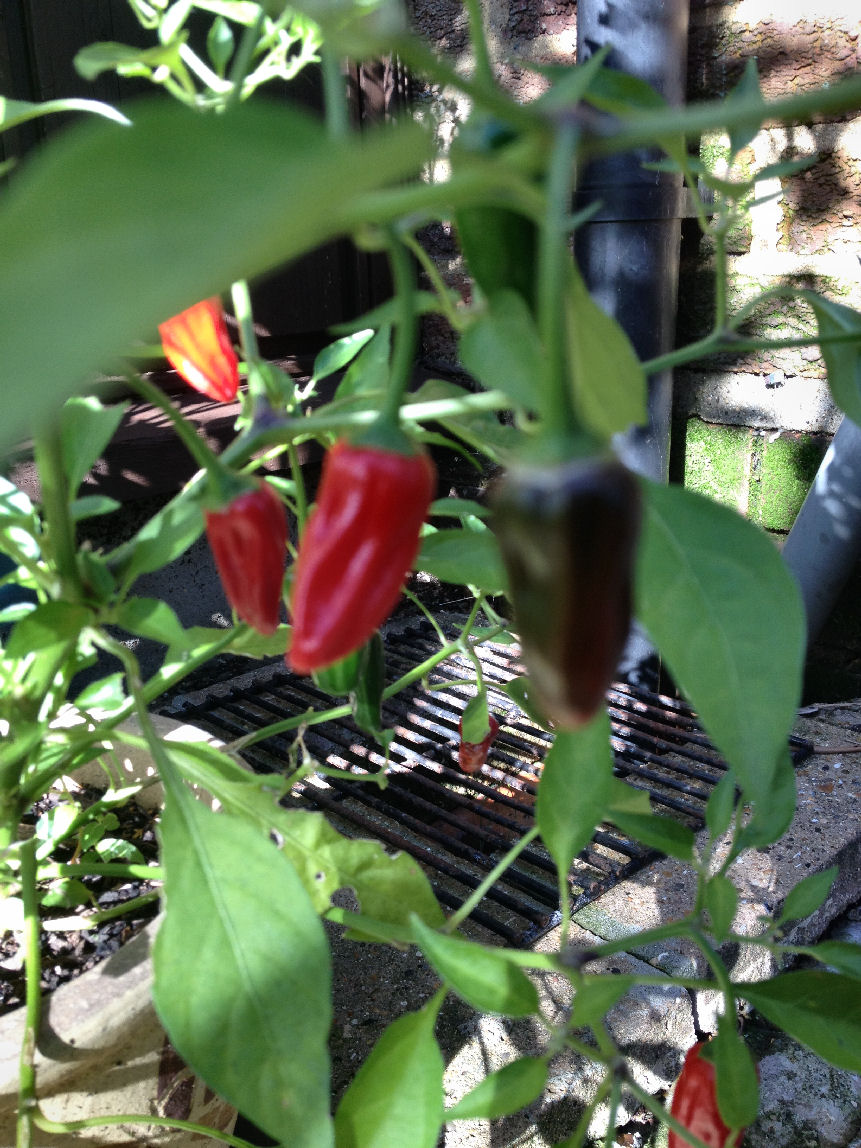
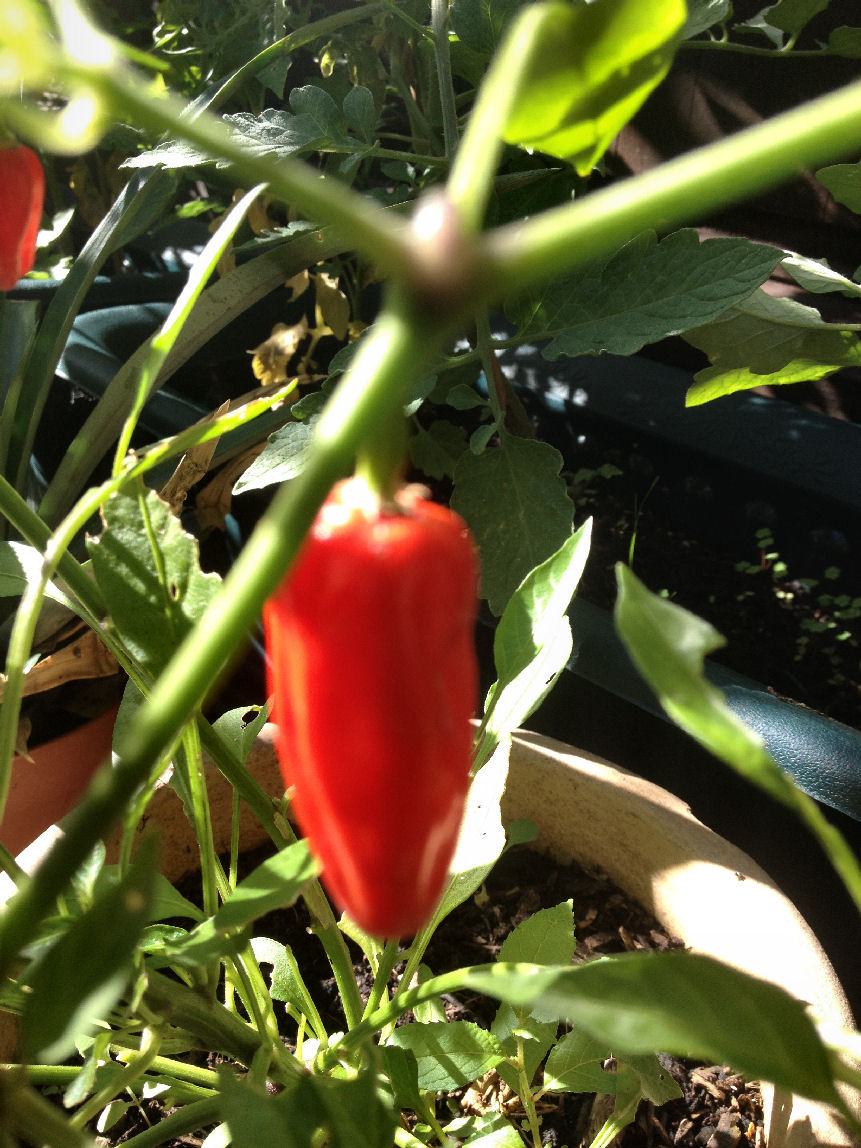
Conservatory or garden ?
Ginger, Chilli’s and Peppers thrive inside or in a sun trap or conservatory. Our experience is that all these did much better inside rather than outside buy hey try you luck split your seeds and compare.
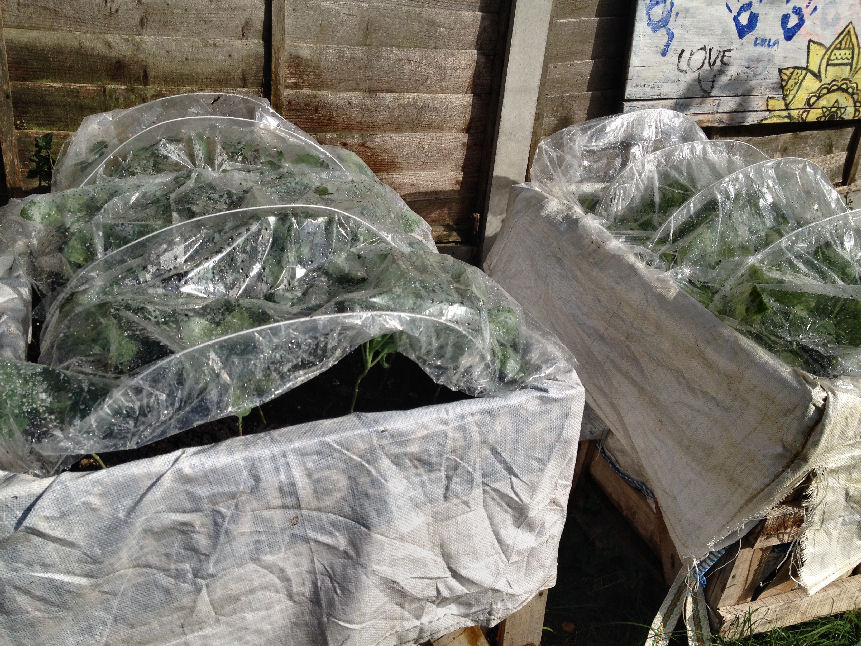
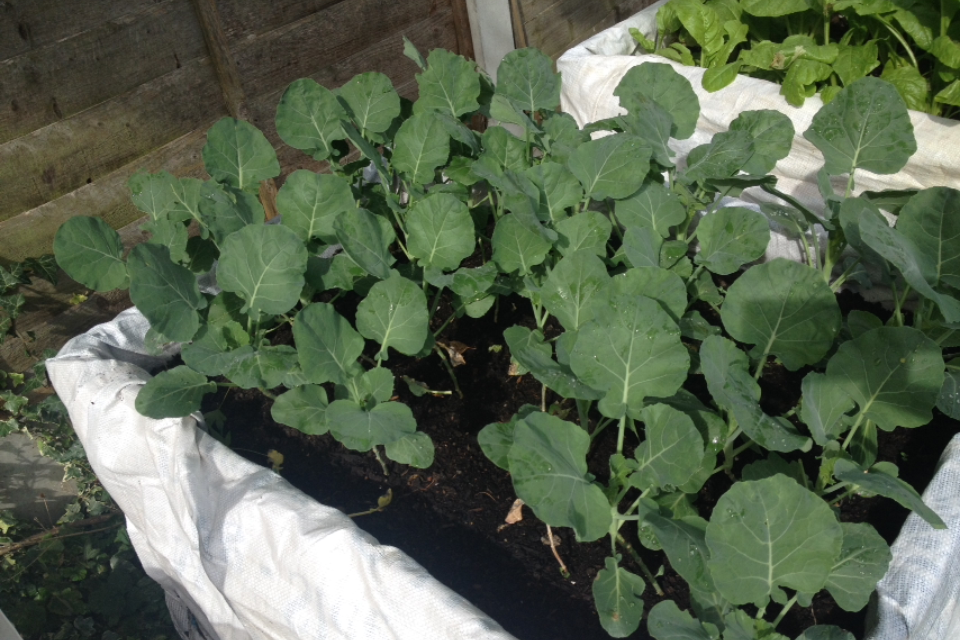
Planting directly into planters, this means less work transferring seedlings or plug plants into planters later on though if you are planting early you will need to use plastic / poly tunnels to keep in heat and protect against any last frosts. We plant straight in and the results are very good all year round.
COMPOSTS / SOILS:
Except for potting compost, we prepare our own soil through composting. Ours mostly came from our rescue work with Chickens, recycling our “crops not shops” lifestyle and a few adds such as seaweed to make rich ever giving compost.
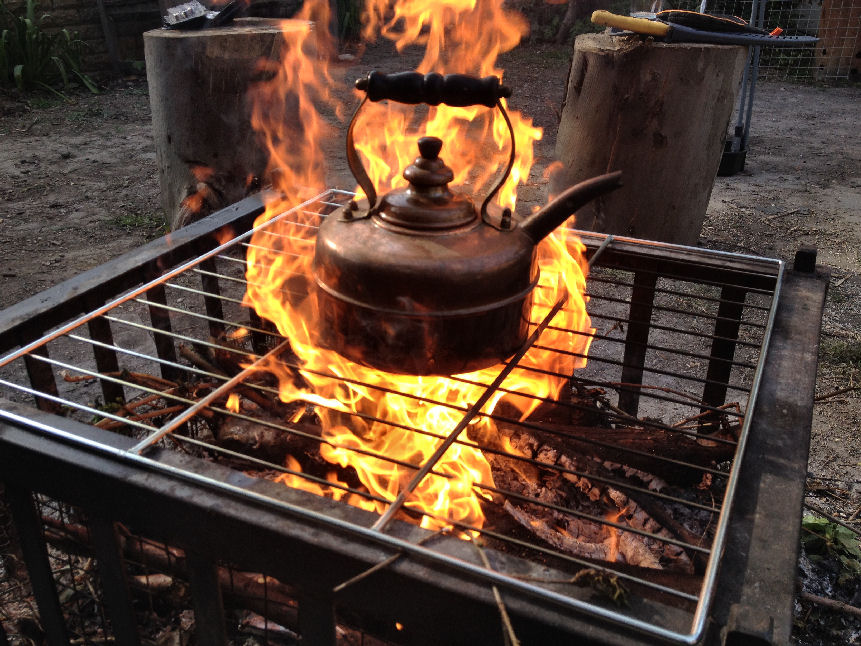
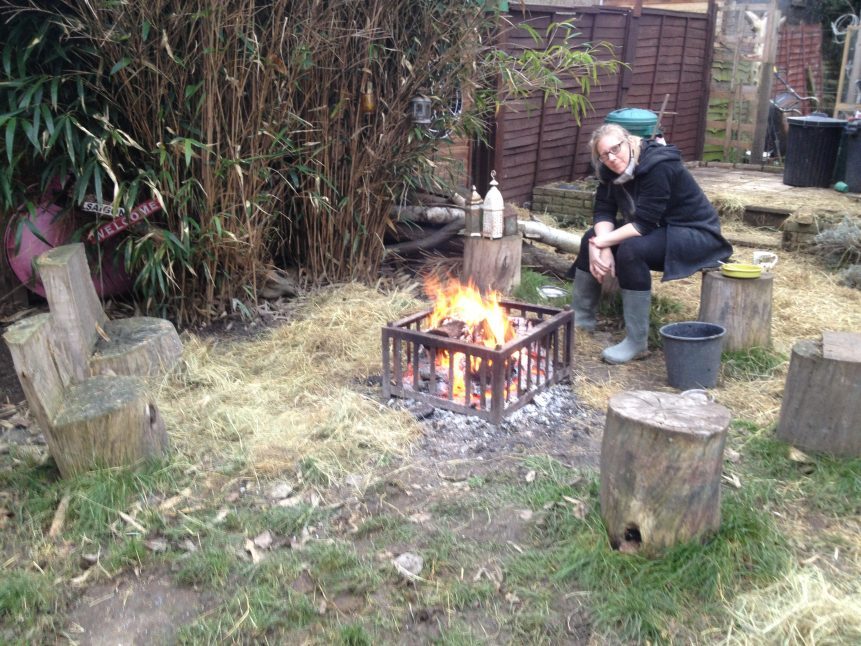
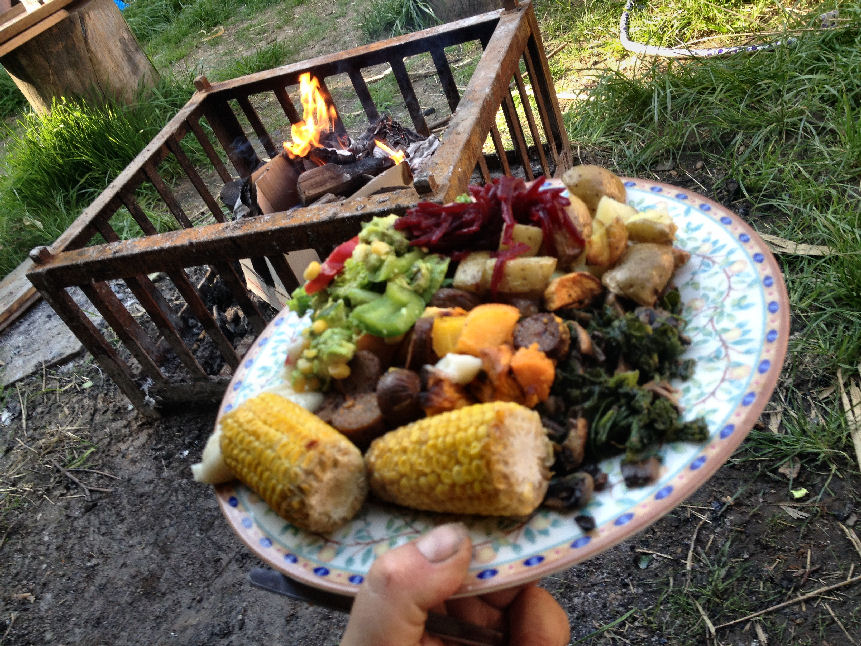
Cook on an open fire –
There are some controls to observe in Urban Areas when cooking on an open fire A guide from the department of the environment food and rural affairs is included below.
When done correctly, and, by the guide, with the correct fuel, wood burning is environmentally friendly, cost-effective and produces very little smoke pollution . Done incorrectly with wet wood , treated wood it is not.
Burn Clean Fuel, Eat well, Compost well.
We use seasoned (dried) wood which we have collected or dried from tree cutting. Make a space to store and dry your wood. Wet wood gets smokey which is unpleasant as well when cooking.
Use the wood ashes. They do not contain nitrogen and will not burn plants, they can be useful in the garden, especially in the compost pile. Wood ash compost can be a valuable source of lime, potassium, and other trace elements.
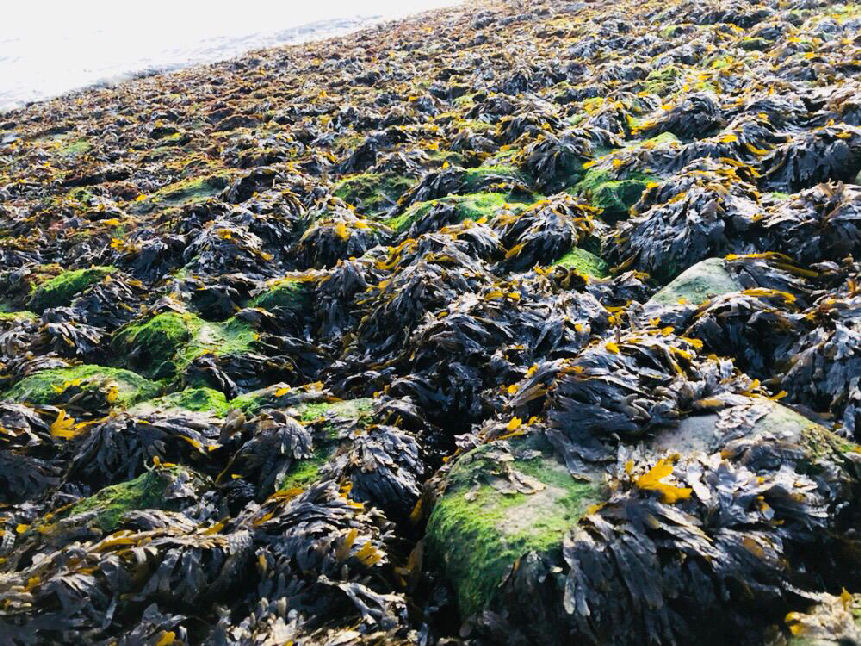
Composting seaweed speeds up the compost process –
When you are next at an AV event in Southend, be sure to pick up a bucket of Seaweed from the beachfront after. Don’t wash it as when using seaweed as compost, any saltwater or clinging sand simply add to the beneficial and essential elements within the soil amendment.
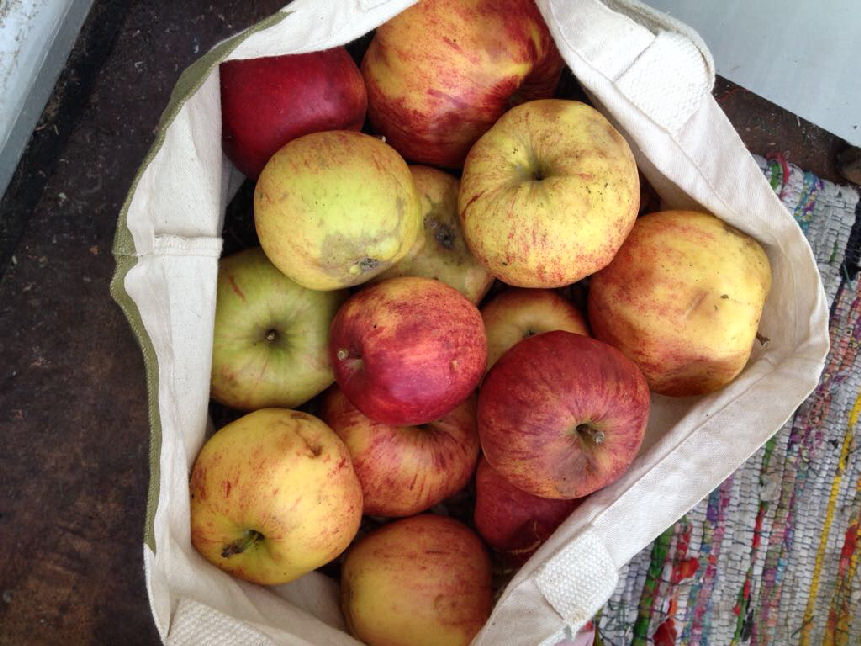
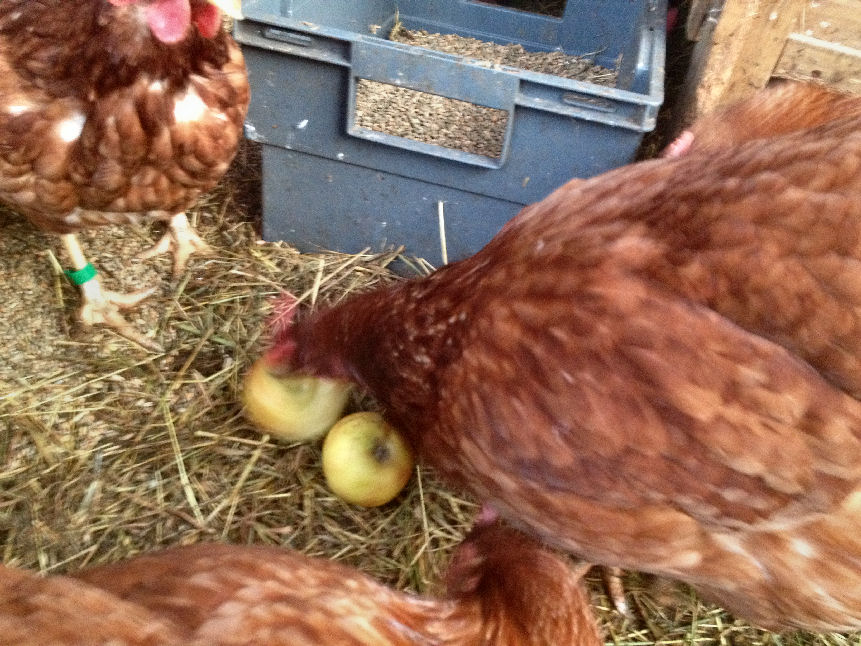
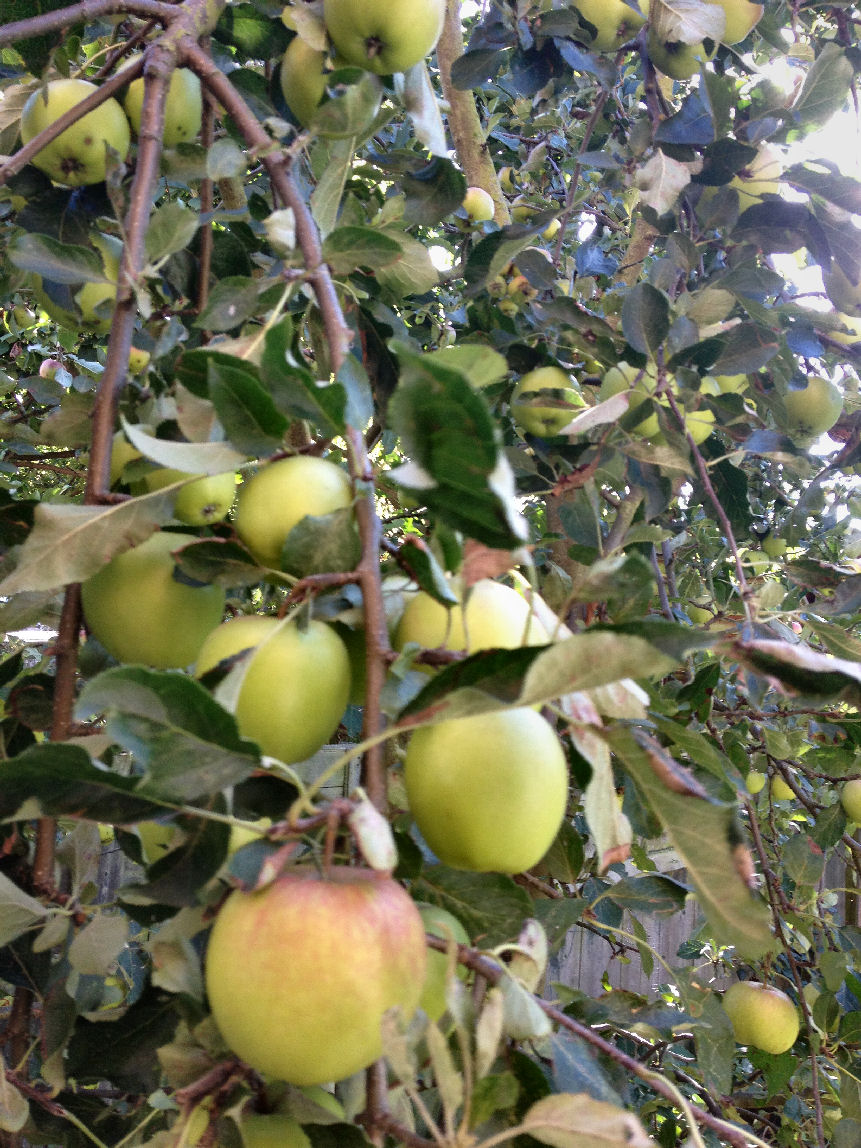
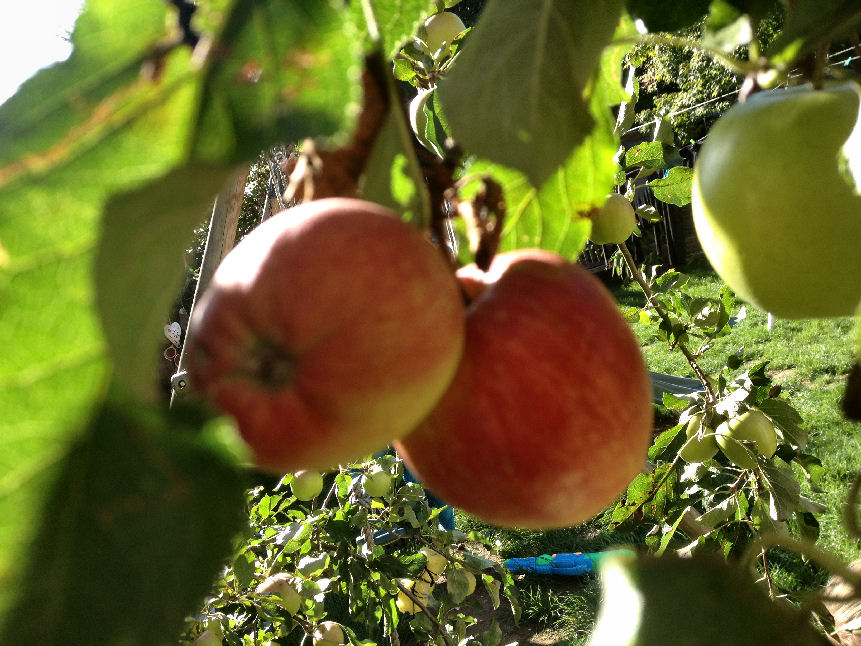
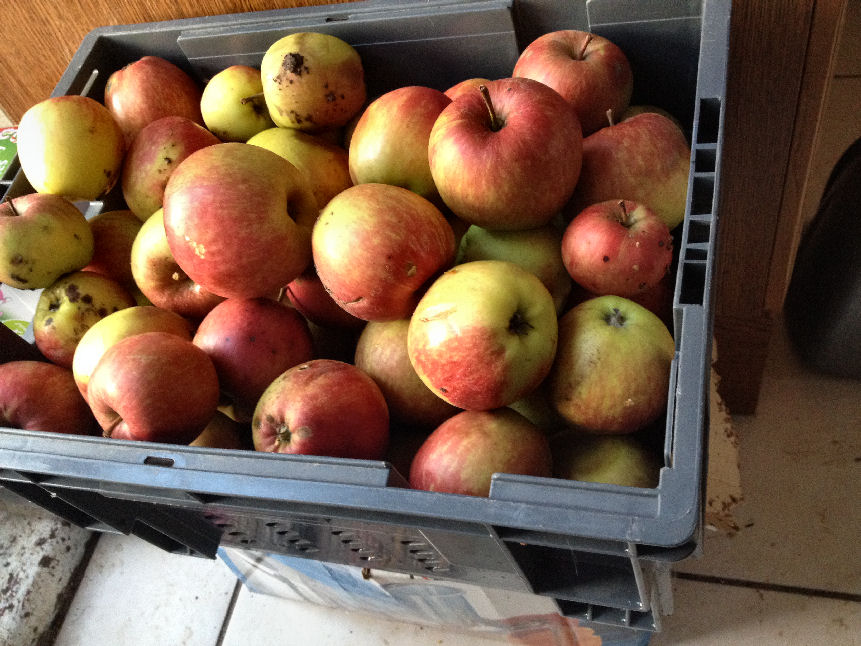
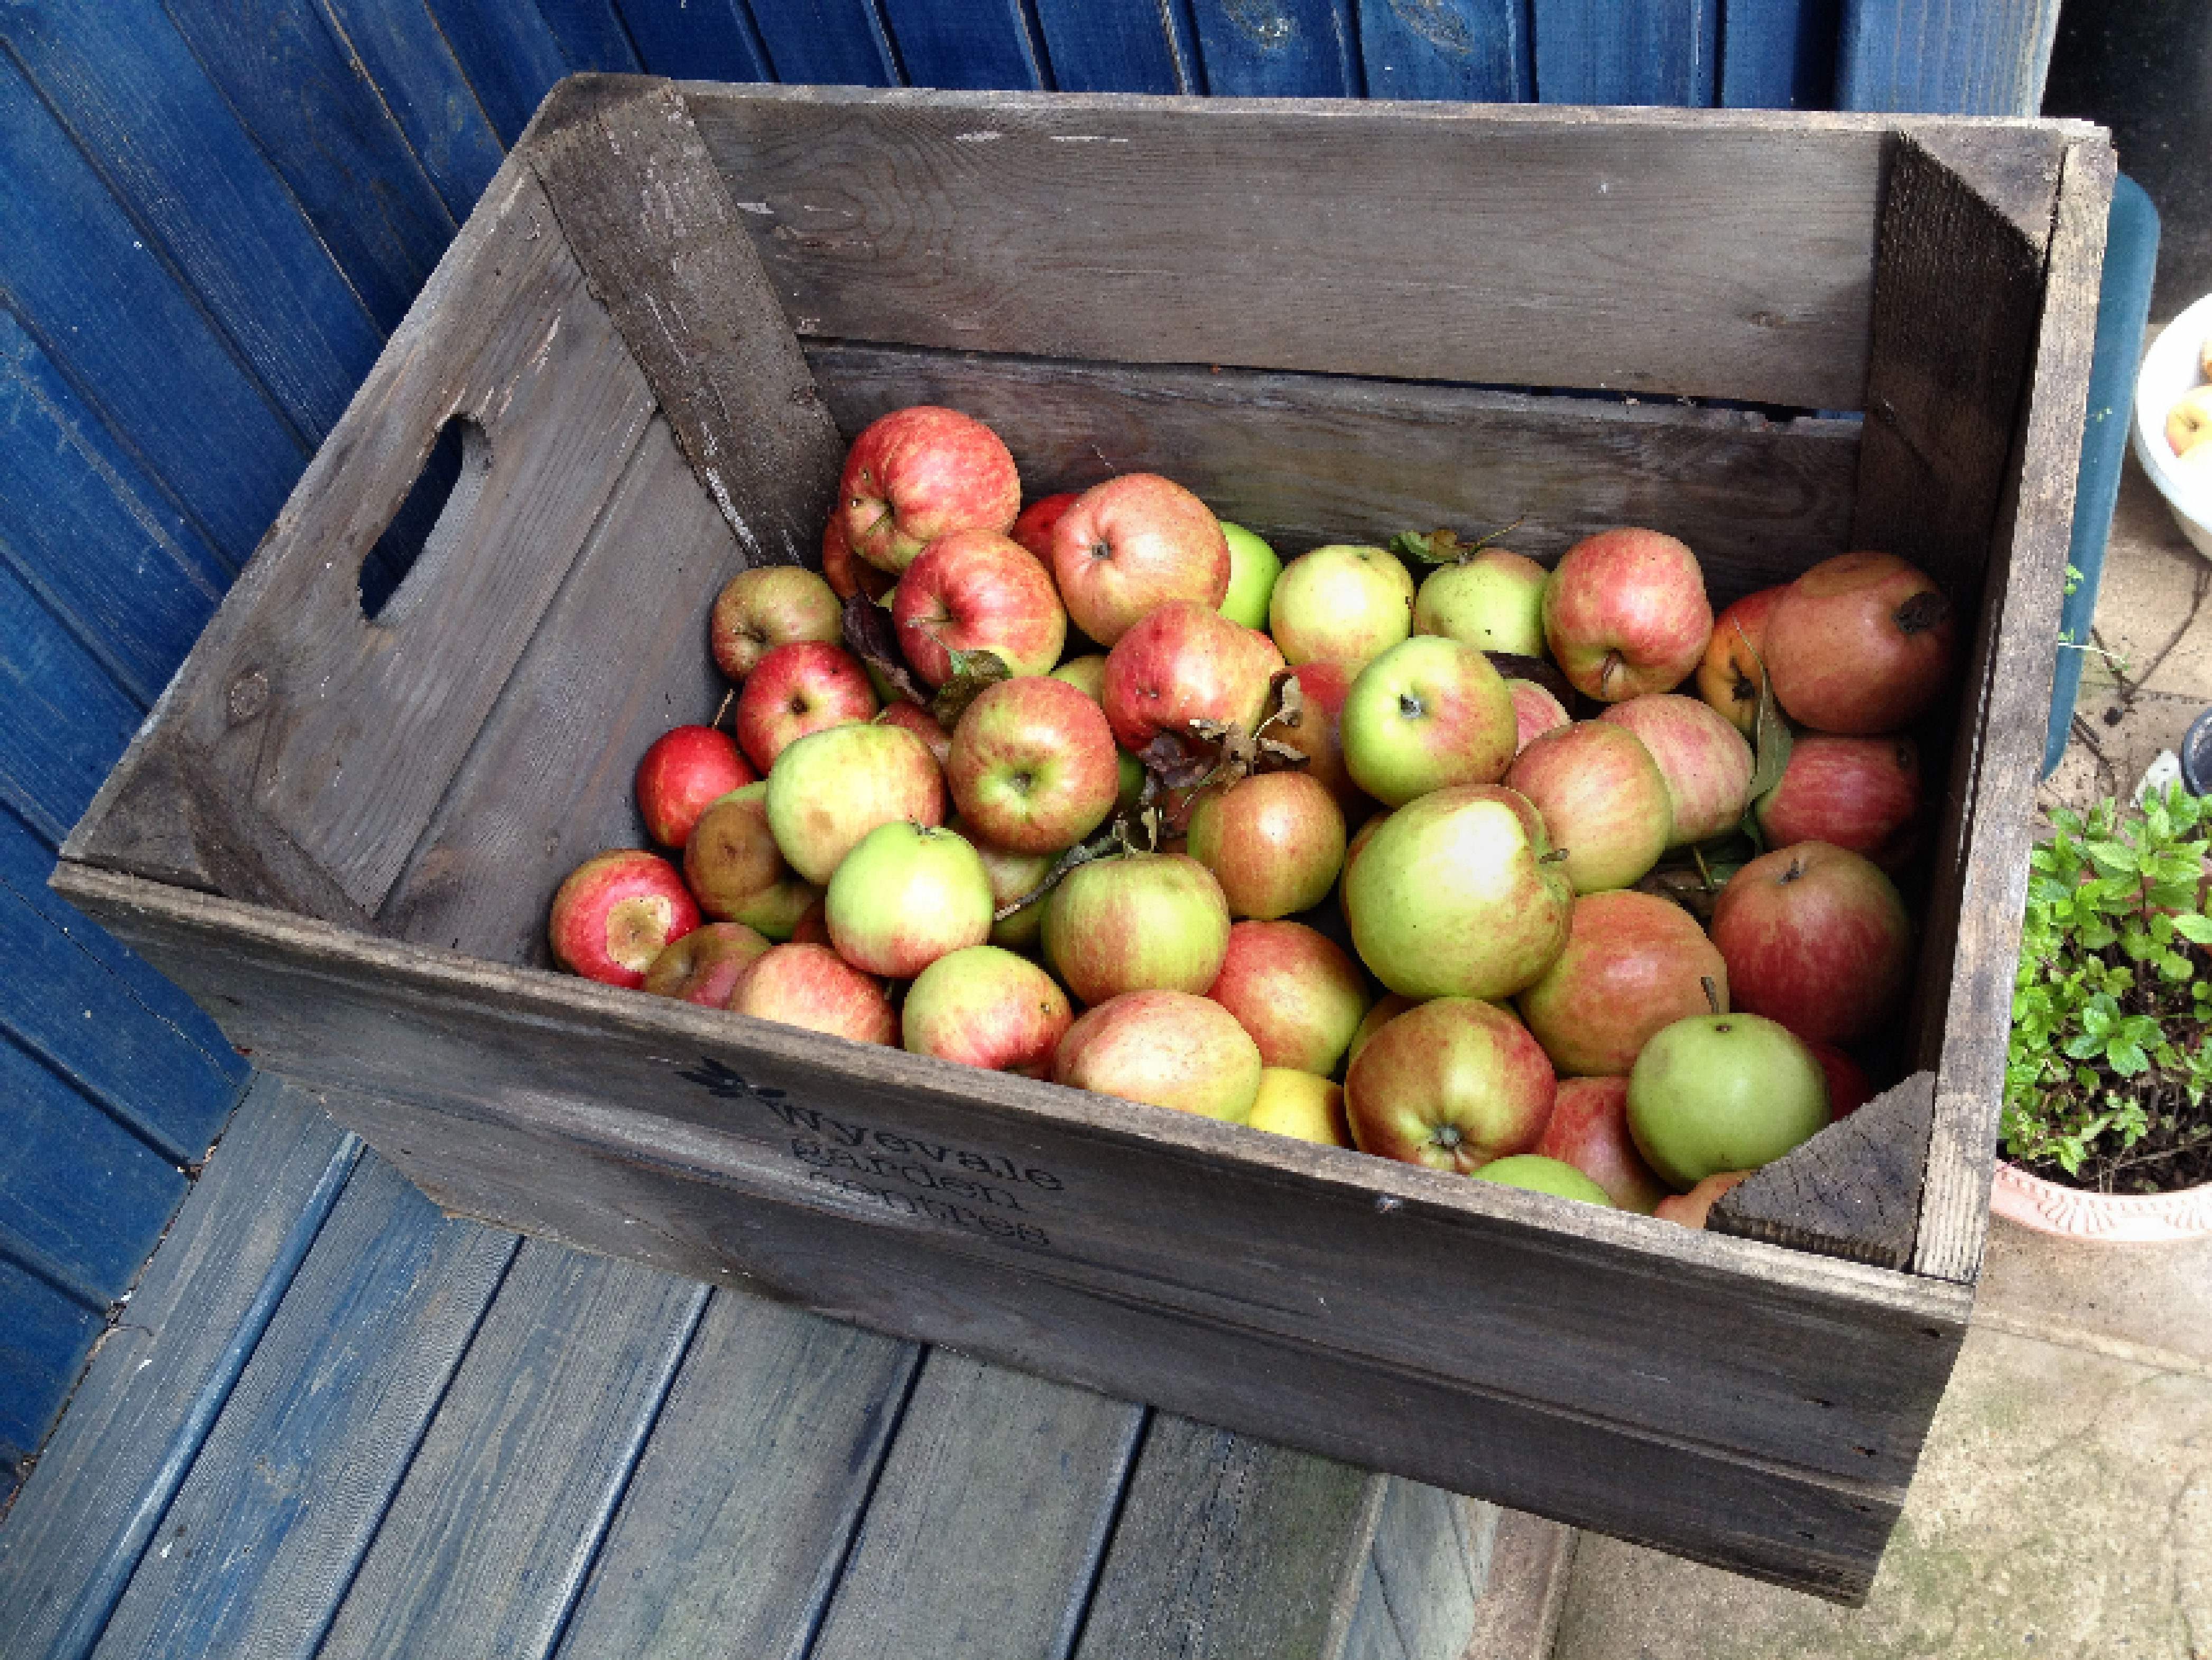
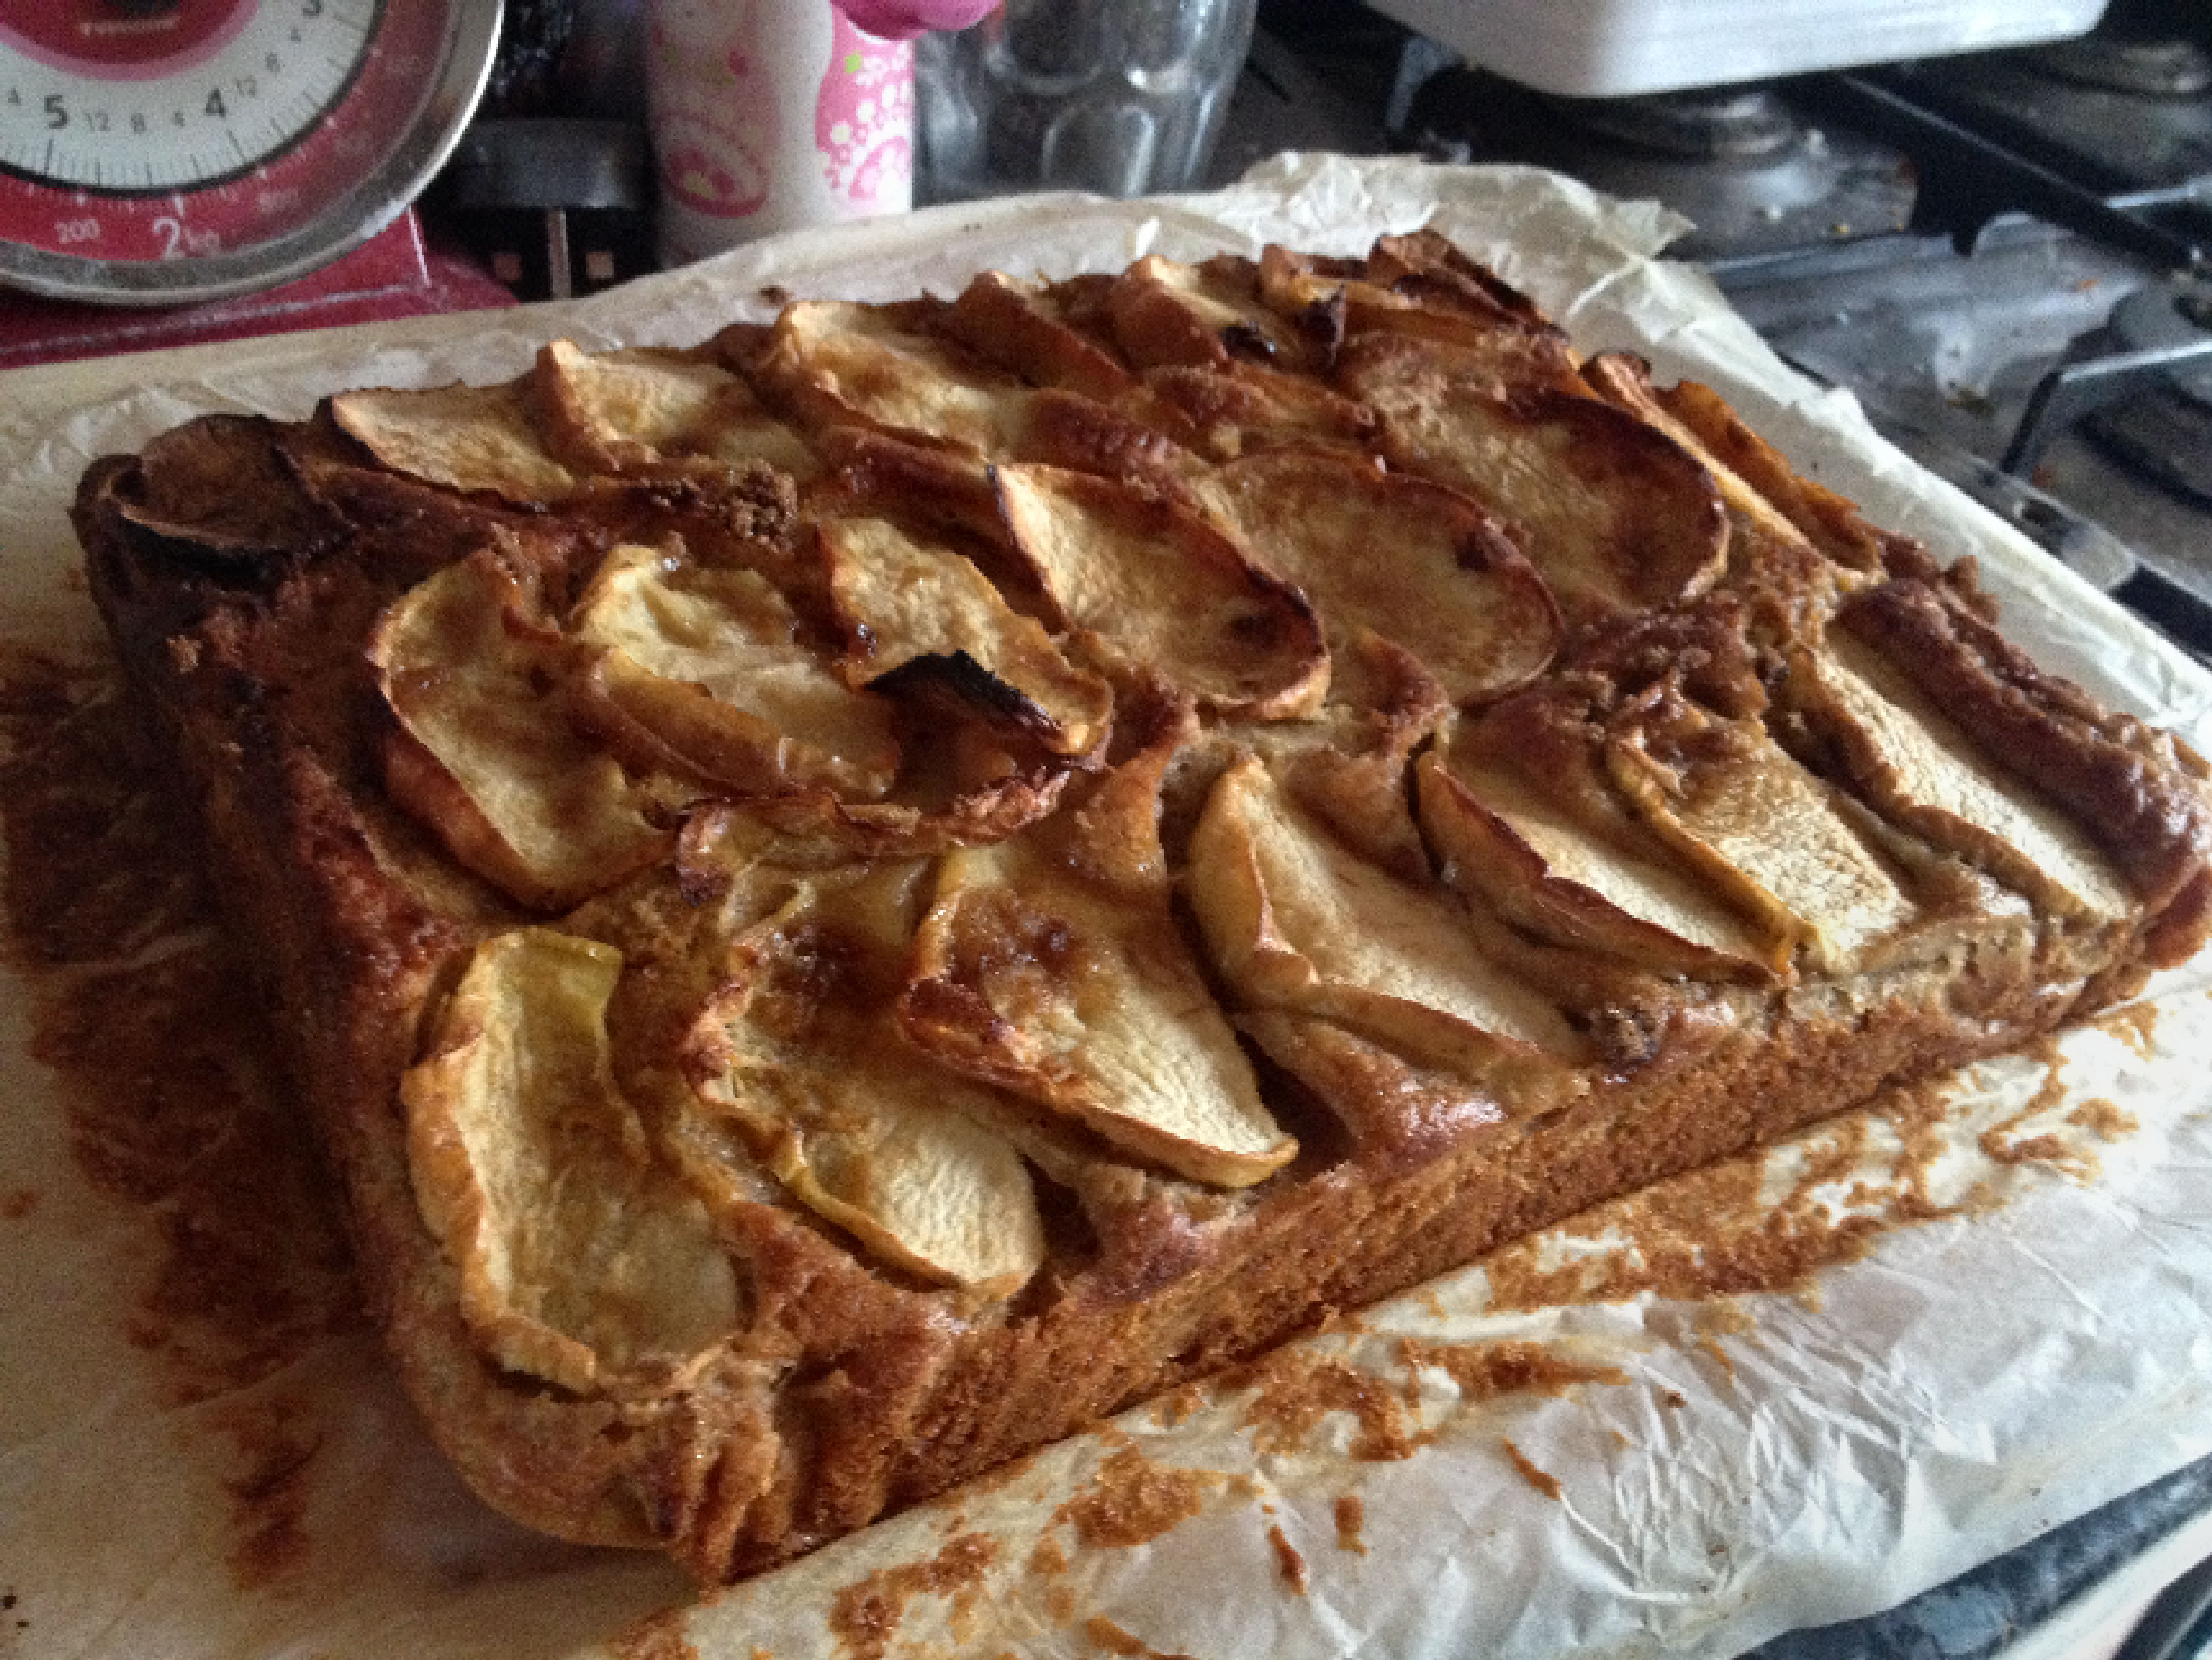
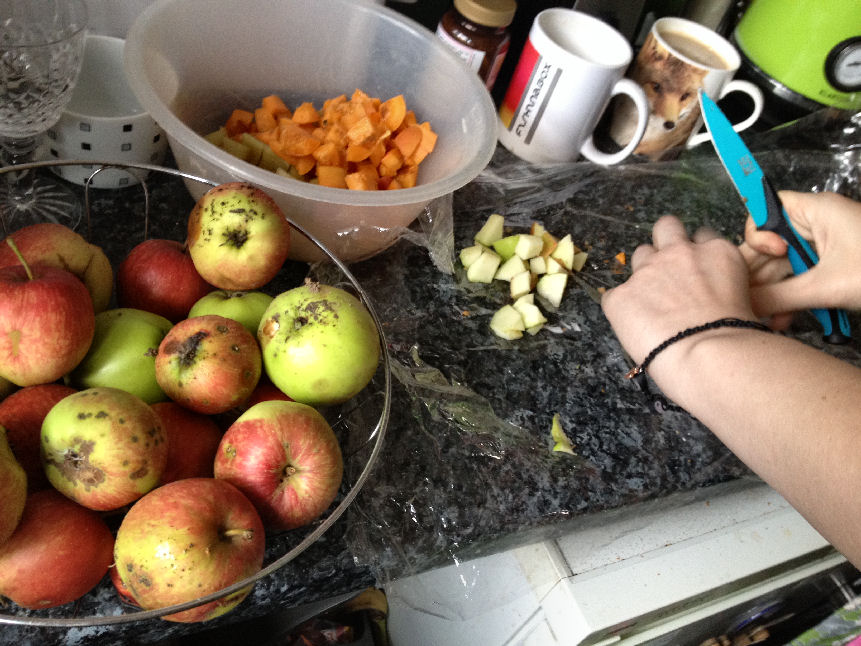
Apples, don’t let them rot just compost them –
like practically all other organic waste, are ideal for composting. Even hard apples will rot and get soft very soon
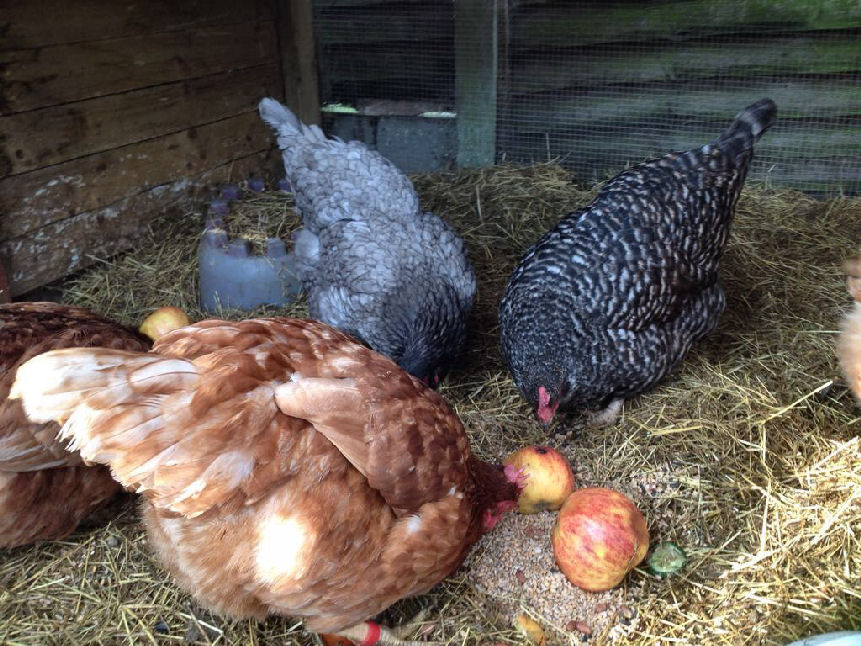
Chicken Manure –
Perfect, it is very high in nitrogen and also contains a huge amount of potassium and phosphorus. The high nitrogen and nutrients are the reason that chicken manure compost is the best kind of manure to use.
Save animals AND secure a supply:
Rescuing Chickens is your best step to excellent constant supply of high grade organic compost and fertilizer.
Chickens have a seriously hard time in a Human dominated world – Based on the rate of destruction, http://thevegancalculator.com/animal-slaughter/ Chickens are pretty much the most hated land based animal on the planet.
They have become so objectified in mainstream society as to be seem as little more than a coveted snack food, whose value is assessed wholly on the limitation of their life, how they can be modified, abuse enslaved and com-modified planet.
The constant endless breeding, hatching, fattening processes they are pushed through has led to them being unable to ovulate normally (period is accelerated 26 times to lay an egg a day instead of once a month) to over feed and to have an artificially shortened life and excruciating painful death (cancer, tumours).
These accelerations have all been driven by human financial demand to eat them. Basically “YOU” the consumer ensures that these animals suffer and die for snack food.
So there is nothing kinder that to get in touch with your local British Hen Welfare Trust and re home some hens. Take a look: https://www.bhwt.org.uk/
There are restrictions in most councils in urban areas on keeping Roosters, though Hens do not have to registered up to flocks of 50. A usual amount for an urban sustainability project of this size, to meet your composting needs, would sit around a comfortable 6 to 8/10. Some councils have chicken coop limits on sizing though a small flock of under 10 will sit comfortably in local guidelines.
For those of you that like the idea but are new to Chickens be aware of The Welfare of Farmed Animals (England) Regulations 2007 which sets out minimum standards under which farm animals (including chickens kept for domestic purposes) and try to make a couple of trips down to a Vegan Animal Sanctuary such as The Retreat in Kent, or Hillside Animal Sanctuary in Norwich, Hopefield Animal Sanctuary (went fully Vegan in Jan 2019) in Essex.
More Sanctuaries can be found in the below list, though do check with them before visiting that they are 100% Vegan as to visit a sanctuary that is peddling animal products out of their rescues are just perpetrating the cycle of abuse.
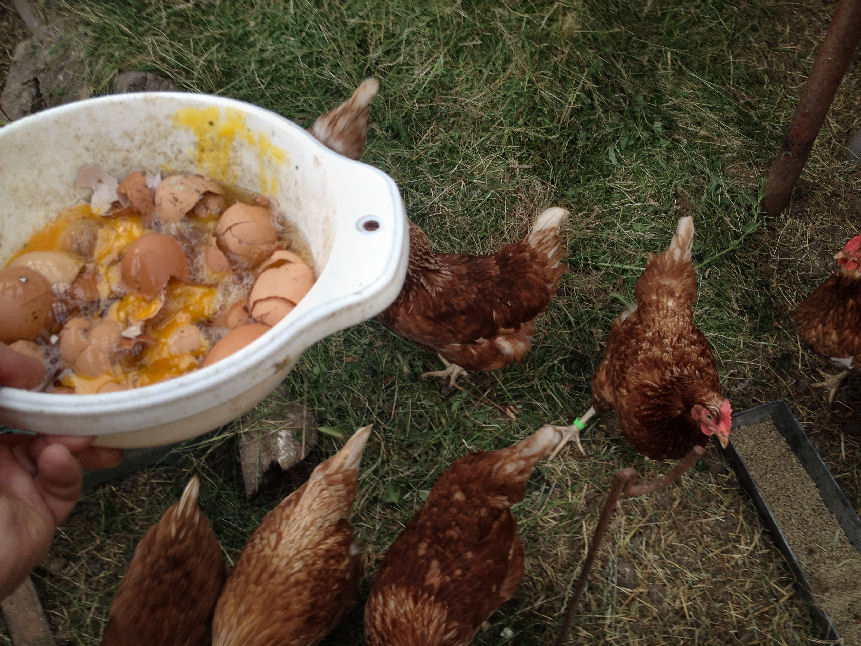
The first question you will be asked if you keep chickens is do you eat the eggs ? What you have to take in to consideration is that the chicken is breed to have an accelerated menstrual cycle. They have a cycle (an egg) every day in stead of once every 26 – 28 days naturally. Look at any human female and how difficult their lives are during their monthly cycle and ask your self how would their health and quality of life be if they menstruated every day ?
Feeding the Eggs, that’s ALL the eggs back to the Chickens is important for them because a large amount of the calories they are eating are put into producing the daily egg, and not into their own bodies, which, if not fed back to them debilitates them quickly hence why a free range hen only lives a life of 2 – 3 years whereas a wild hen would live for around 8 to 10 years.
Taking Eggs from a chicken with the misbegotten “ethic” that they lay them anyway and discard them shortens their life by 75% . imagine again an average Human female and limiting her life form 80 years to 20 and making her suffer every day of her adult life with a menstrual cycle.
With that in mind, It is common practice for farm animal sanctuaries to feed eggs back to their rescued chickens, as it has shown to help them live longer,combating tumours, cancer and exhaustion and lead to fuller healthier lives.
In addition the consumption of eggs works against the health benefits of home growing as the single biggest cause of high cholesterol are eggs.
What about Protein ? – Eggs are high in Protein:
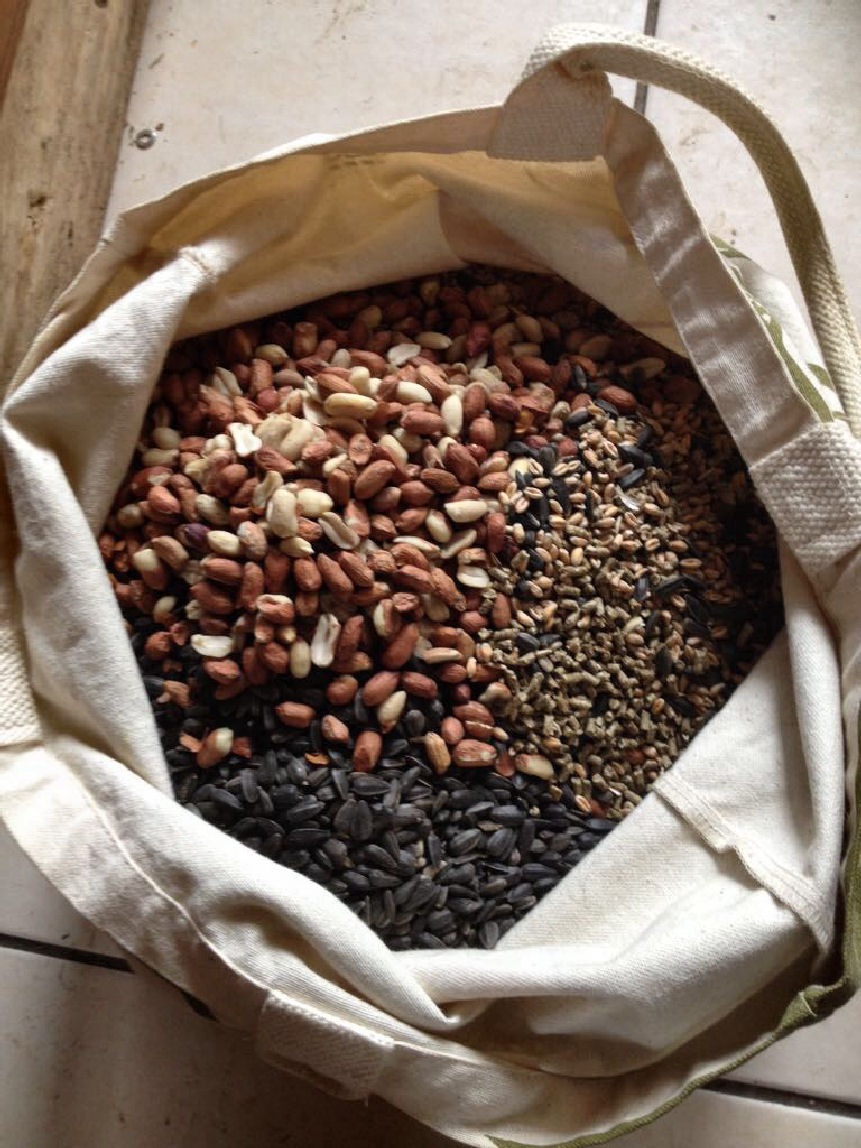
In our own project our Hens are living on average 6-7 years and are battery farm and hatchery rescues. Don’t take the eggs, feed it back to the Chickens, supplement a non GM layer pellet feed with Apples, Seeds, Brocolli, green vegetables Rice, Porridge, wholemeal. In short, Make sure to try and feed your chickens wholesome foods,.
As a general rule if you can eat it so can they. EXCEPT fatty foods or foods with lots of salt in, (Junk food). Processed food is in direct contradiction to the principle and practice of this project and also consumer chronic poison. (See Sugar the bitter truth and Fast Food Nation)
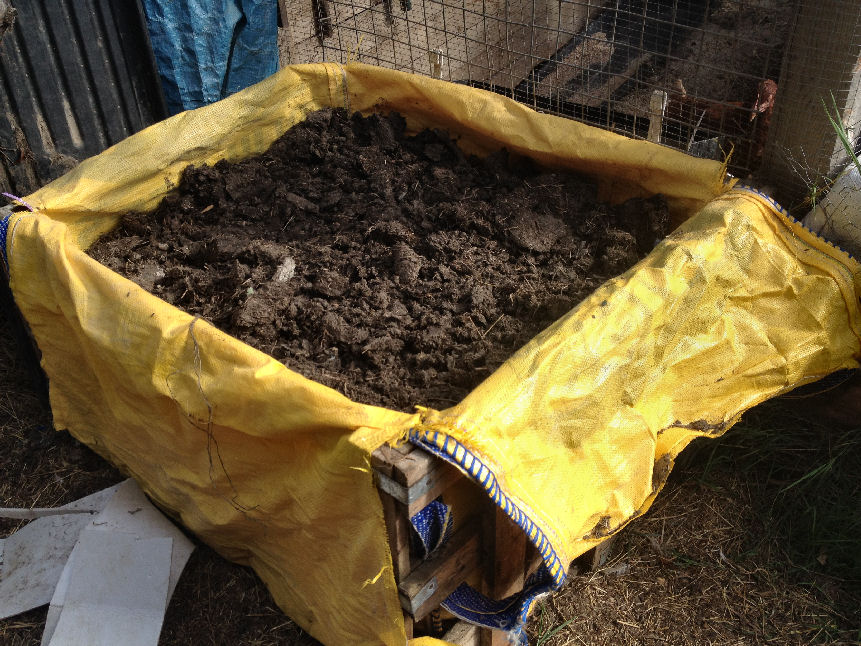
So back to our building blocks , our foundation of the project: SOIL – Our Compost rots down naturally, no odour, no additives, in 12 months.
For Year ONE we had pre-prepared 4 tonnes of ready rotted compost , supplemented with 4 tonnes of organic shop bough compost.
For year TWO we had a full 12 tonnes or high quality compost from recycling. we turned over the Year ONE compost with Year TWO and doubled the output.
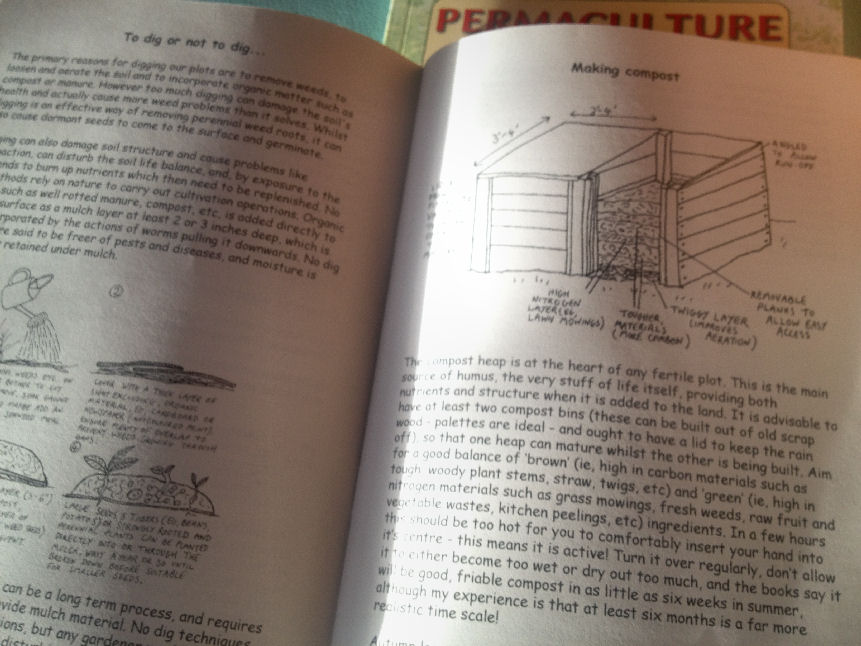
Graham Burnett’s Book “Vegan Permaculture” is an excellent source on soil, “make compost not war”.
Mummy , There’s a Monster under my Bed !!
No Hunny that’s just my Mushrooms sprouting !!
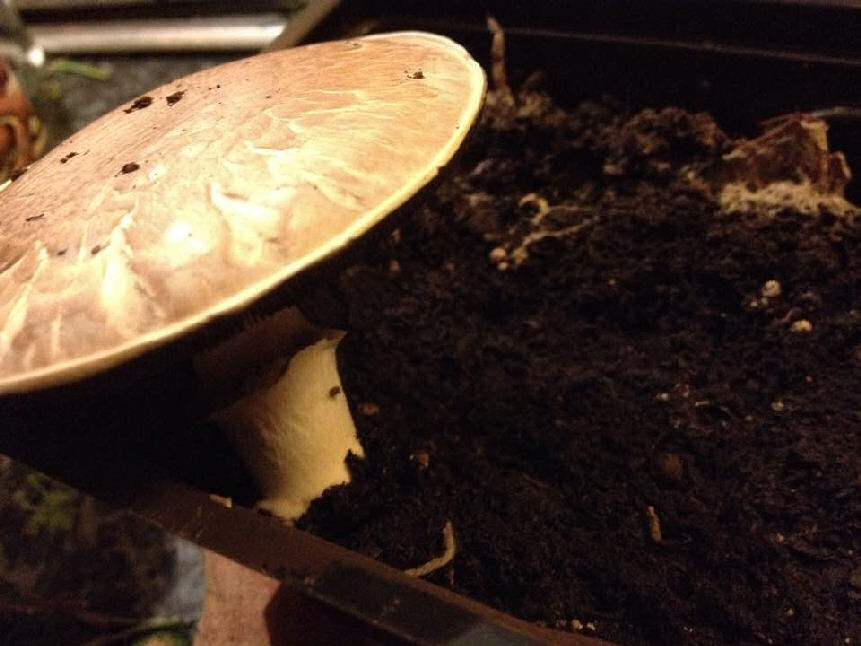
To create an indoor bed for your mushrooms, fill a wooden box that’s at least 6 inches deep with your hopefully by now) good old trusty Chicken manure from your rescues.
Leave a few inches of space below the rim of the box. Spread the readied spored material from your mushroom kit on the top of the soil and mist it thoroughly so its moist, place in darkened corners everywhere.
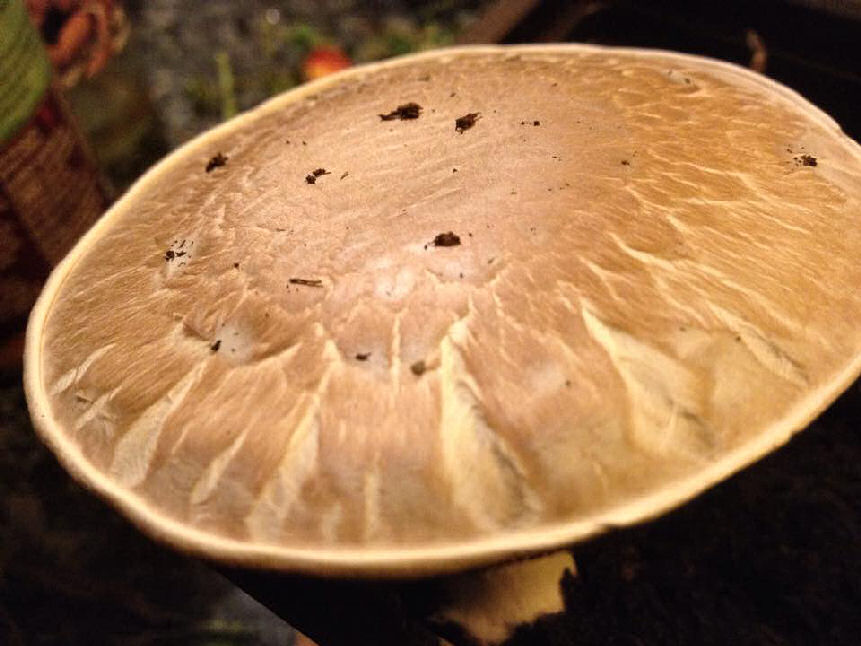
So we finally got there on Button Mushrooms, we grew them forgot them , they died, we grew them didnt harvest them and they tirned in to massive flying saucers, still ate them. we grew them cut them and ate them perfect..
For outside growing you can grow in closed composters (fold the flaps of your planters over or use early composting to give yield before ready for regular vegetables, you can use part composted manure after about 6 weeks (if forked) or 3 months (if not). It needs to reach the stage where it has zero odour of manure or ammonia at all when exposed to the air (you can’t smell it with the flaps closed so open up and do a smell test). Chicken Manure, and their hay / straw spent bedding that has partially decomposed is perfect
Fork it over every few days, which will speed up the decomposition process. When the heat goes, it should be in the right state. Make sure there is no ammonia smell – as ammonia is very toxic to mushrooms. It also needs to be cooled to 25C, before you can use it – button mushrooms will die at 35C and composters are hot in the centre. Spreading the compost and mushroom spawn into a layer no more than about 9″ high, on the surface of the composter block will help to cool it once the thermophilic decomposition is complete and inspire good growth.
Quantities of spawn – 60g to about every 2kg of manure/straw. We worked on scales on 1000 kg (1 tonne) selecting 100kg being the top layer and used a 250g pack. Sprinkle some on the surface and then dig it in to homogenise it.
What about a woodpile like you see in the forest ? Mushrooms grow very badly in wood bark and straw only, as it is a secondary decomposer, and needs to have the cellulose cut into smaller pieces by bacteria before it can grow. Stick to indoor or composters for success.
You can grow it in the log-pile if you like, but button mushroom doesn’t like to grow on logs, so the logs would be nothing but decorative. As the aim is to grow to eat, our recommendation is stick to interior boxes in dark corners cupboard and under beds or use a closed composter.
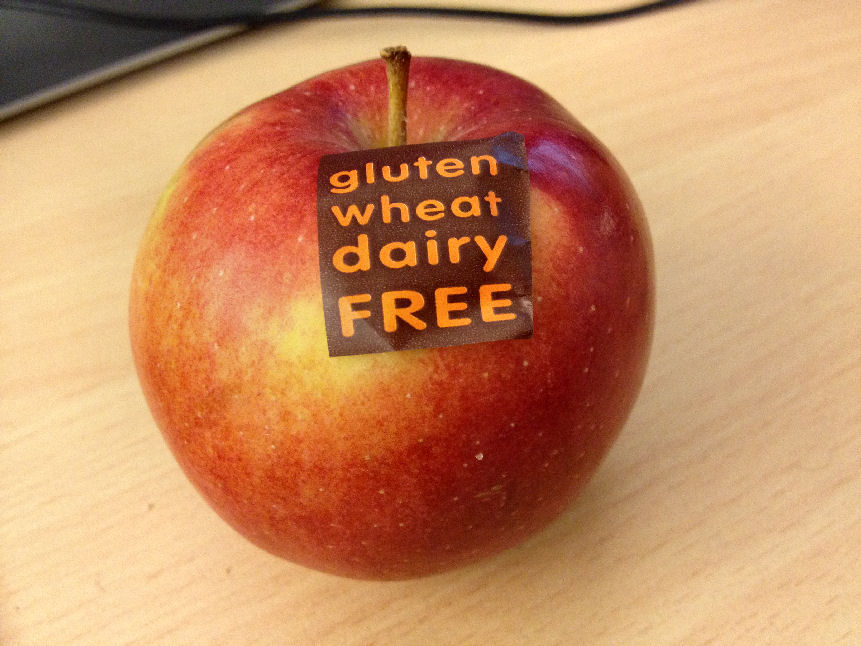
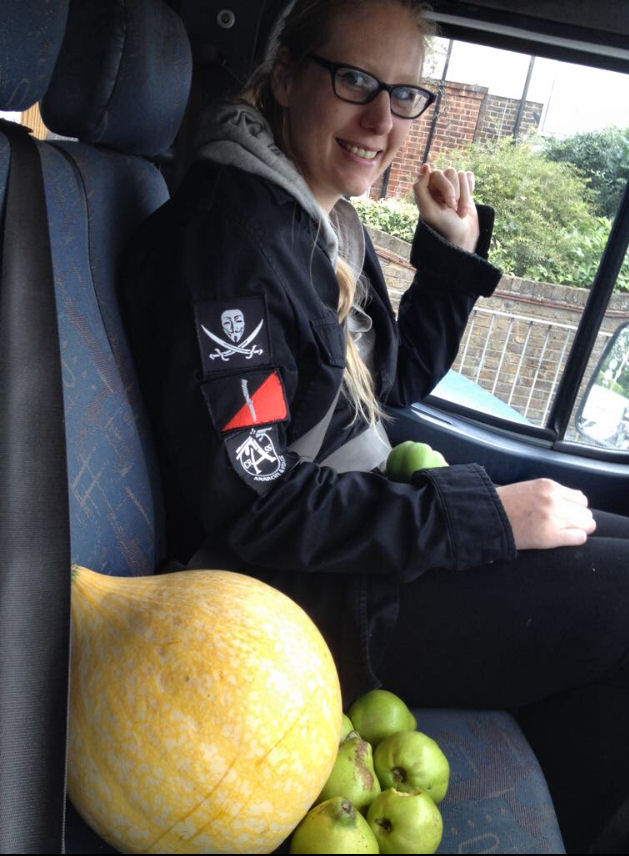
Apples…
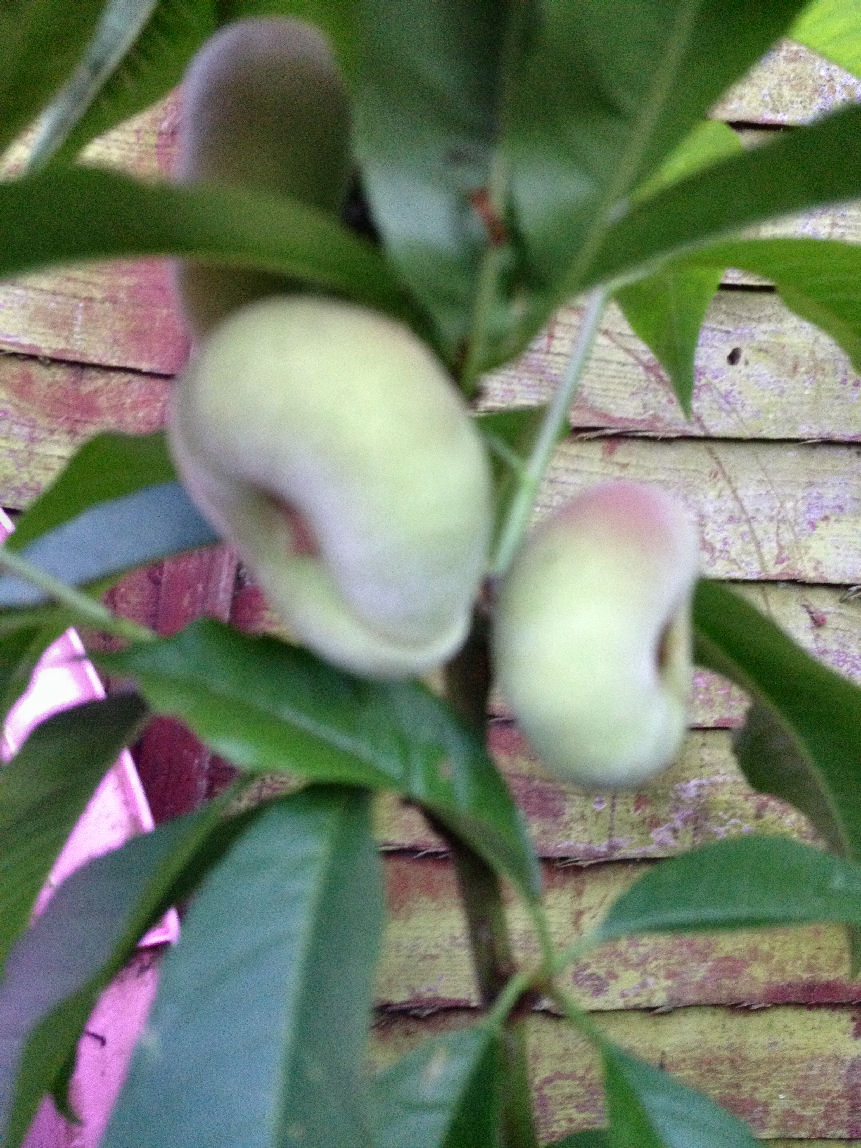
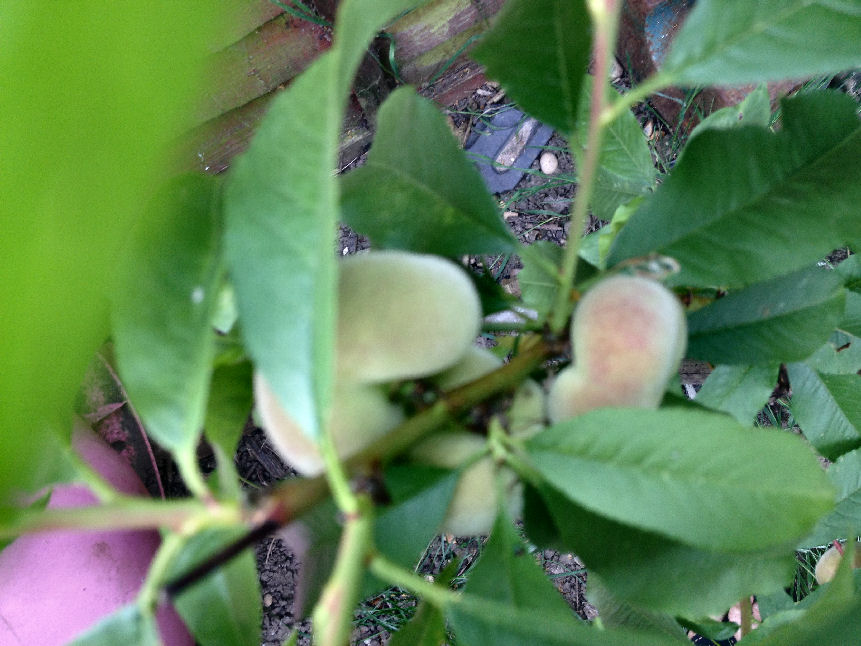
Doughnut Peaches….
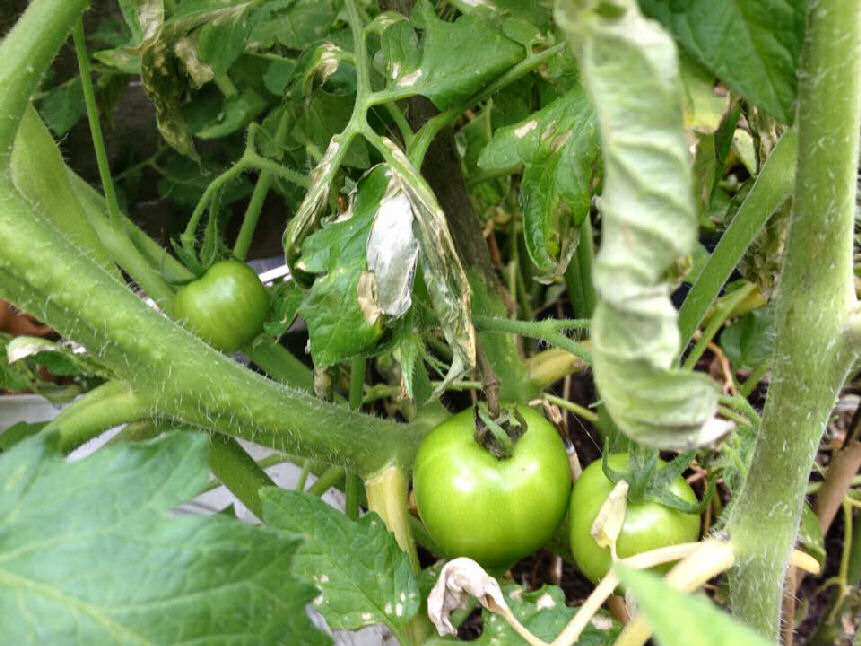
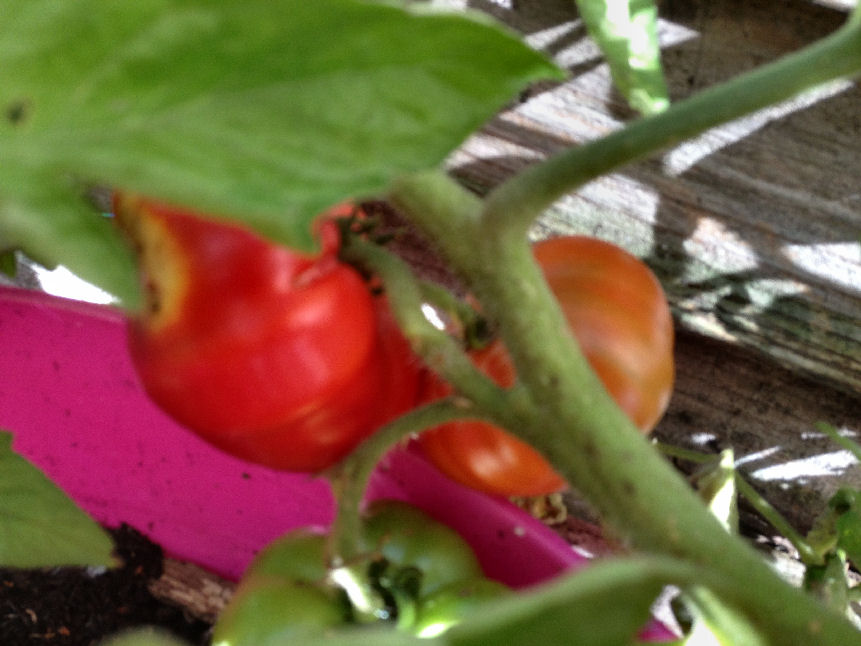
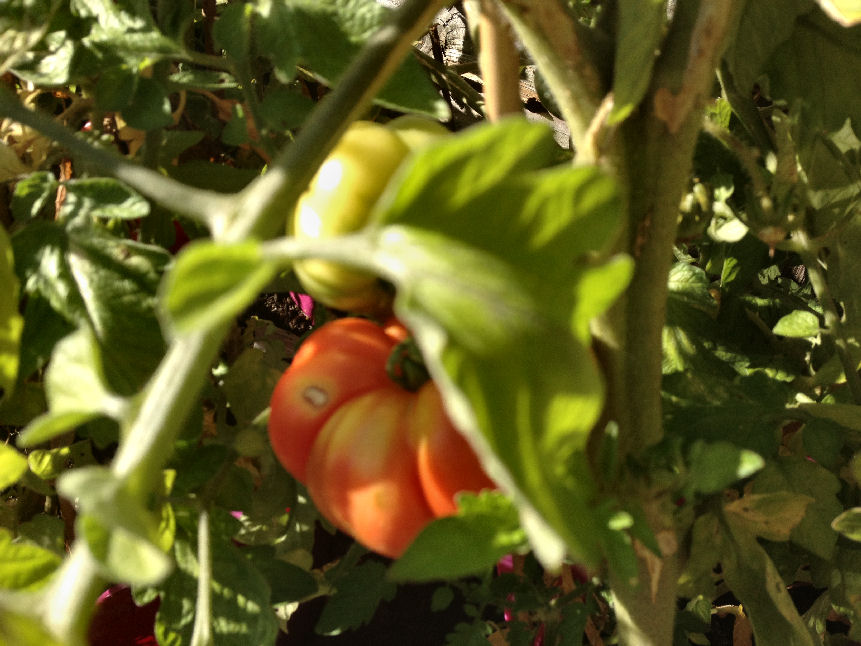
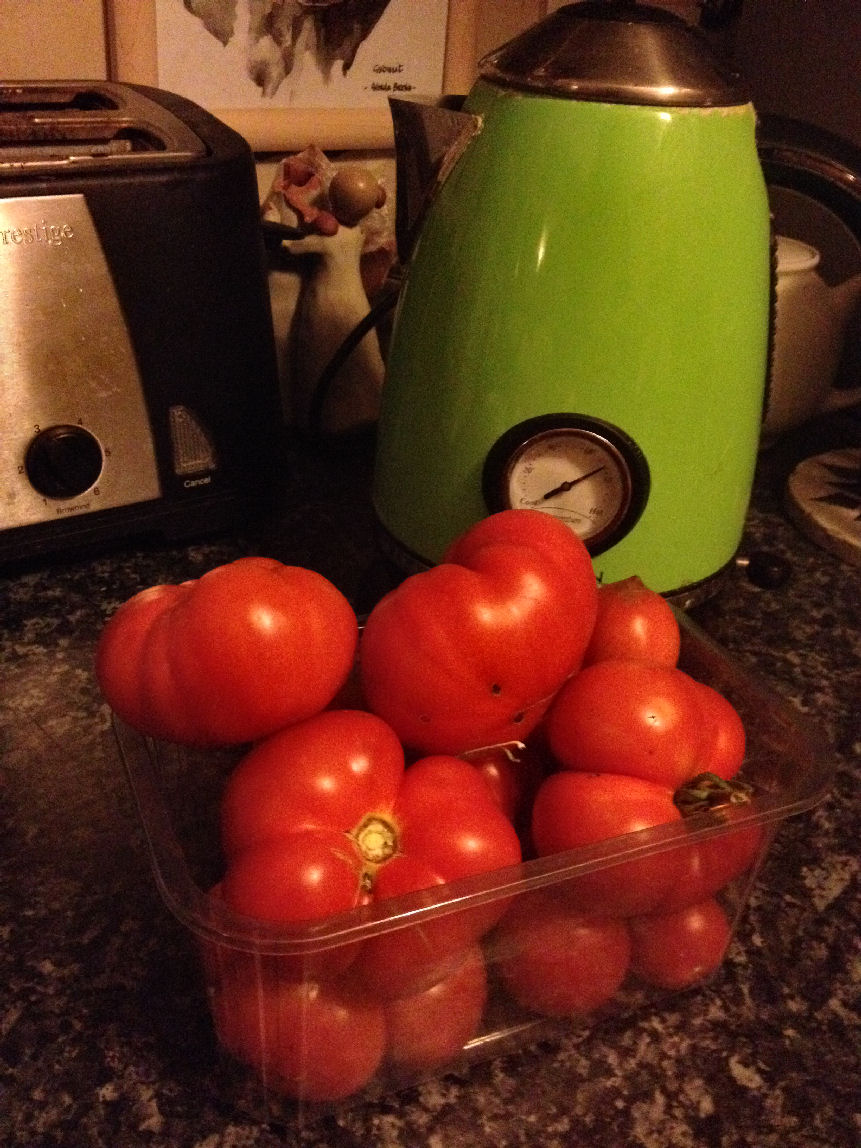
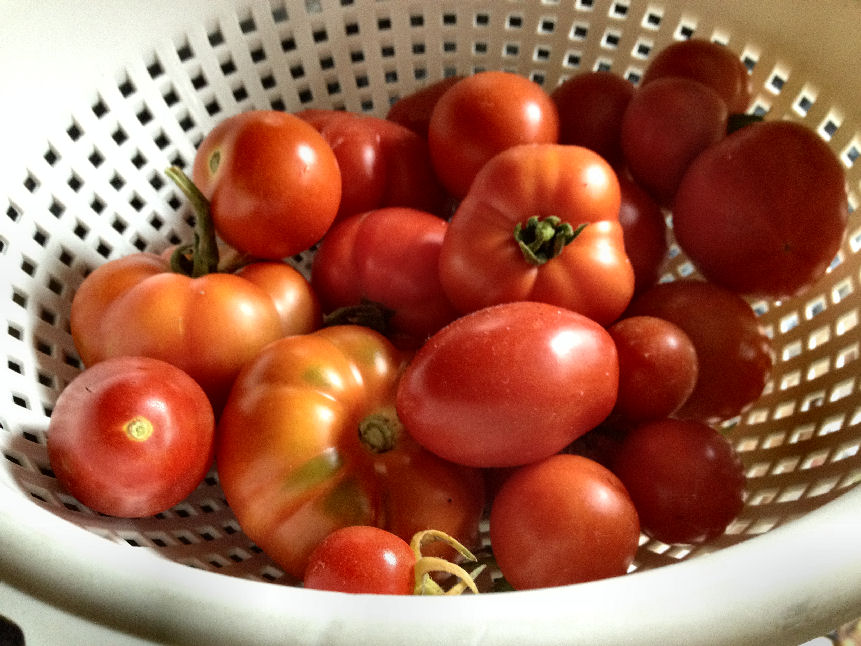
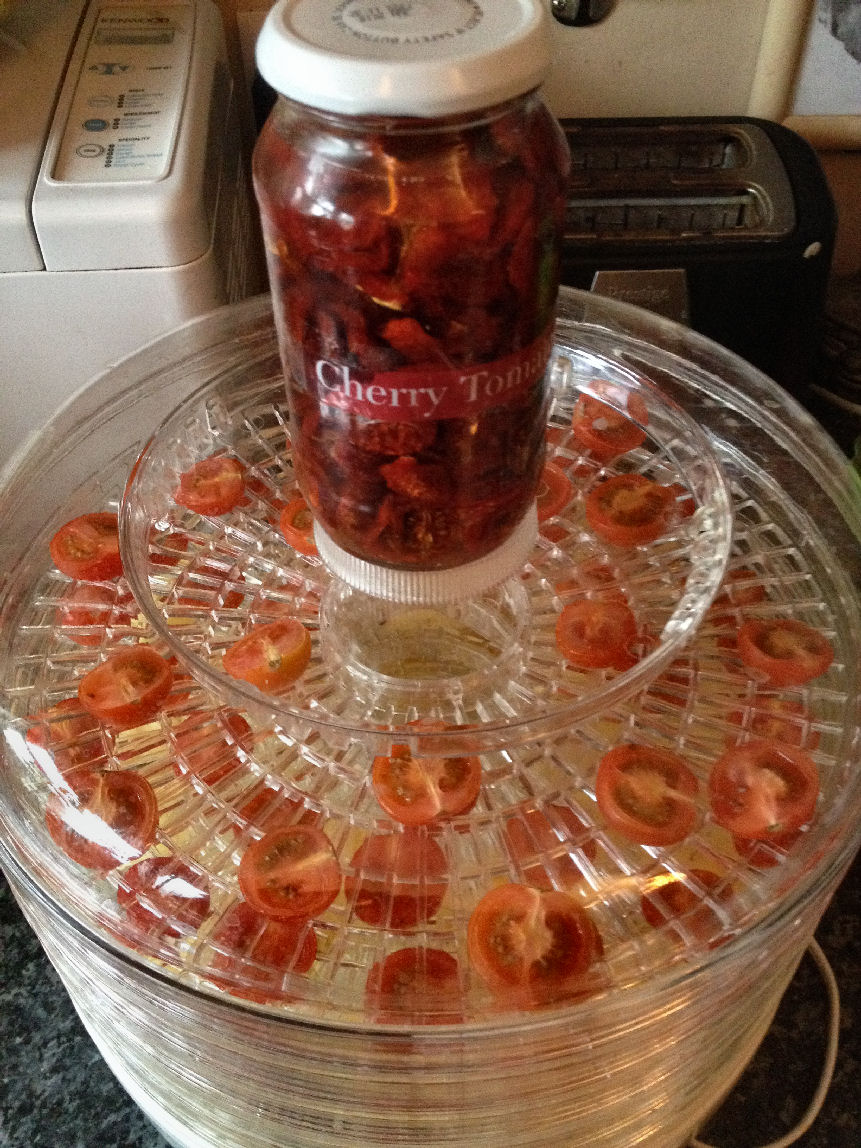
Tomatoes all varieties…
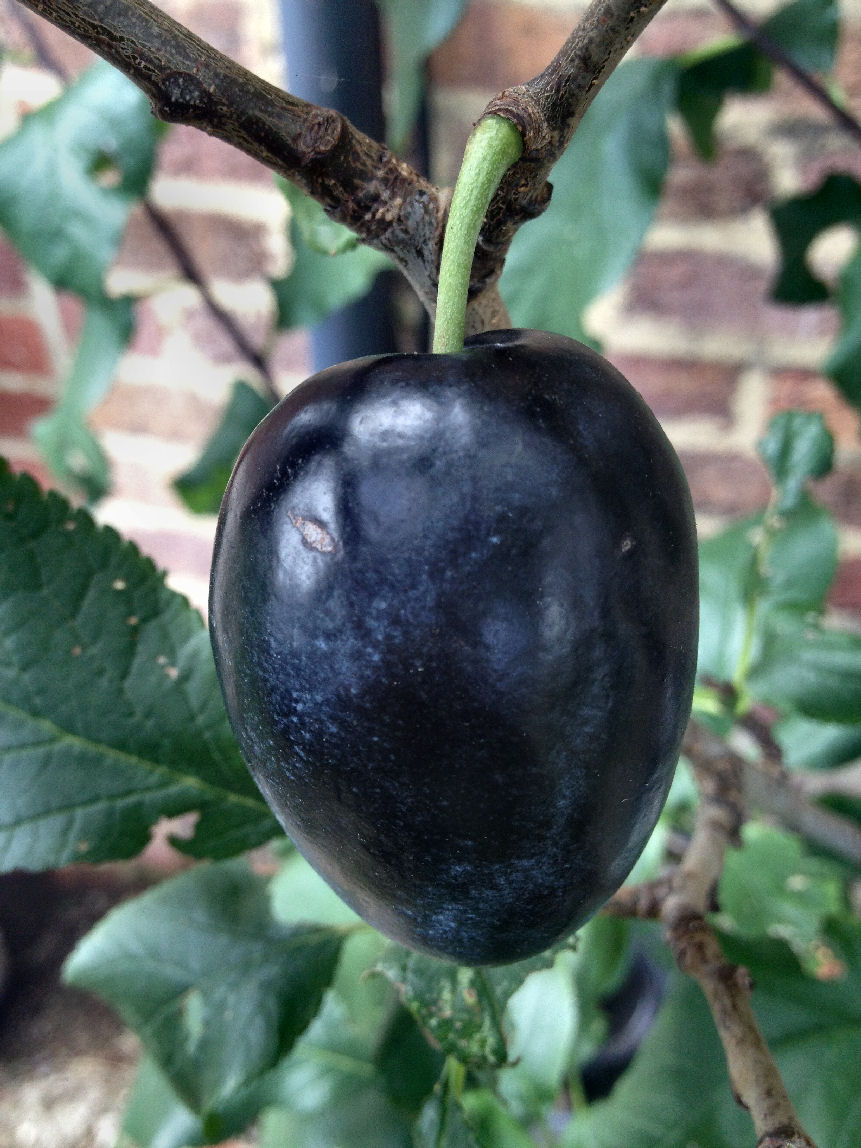
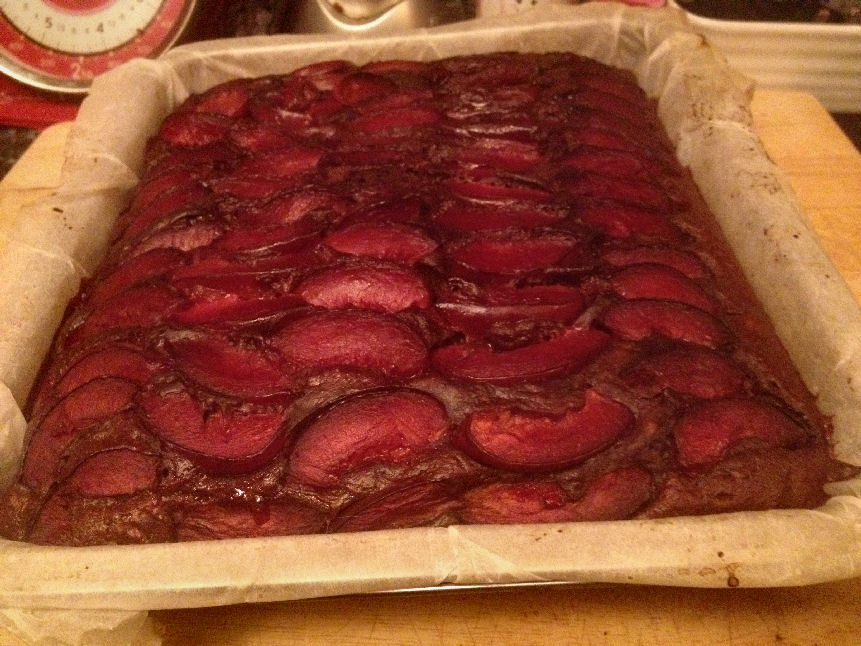
Plums…
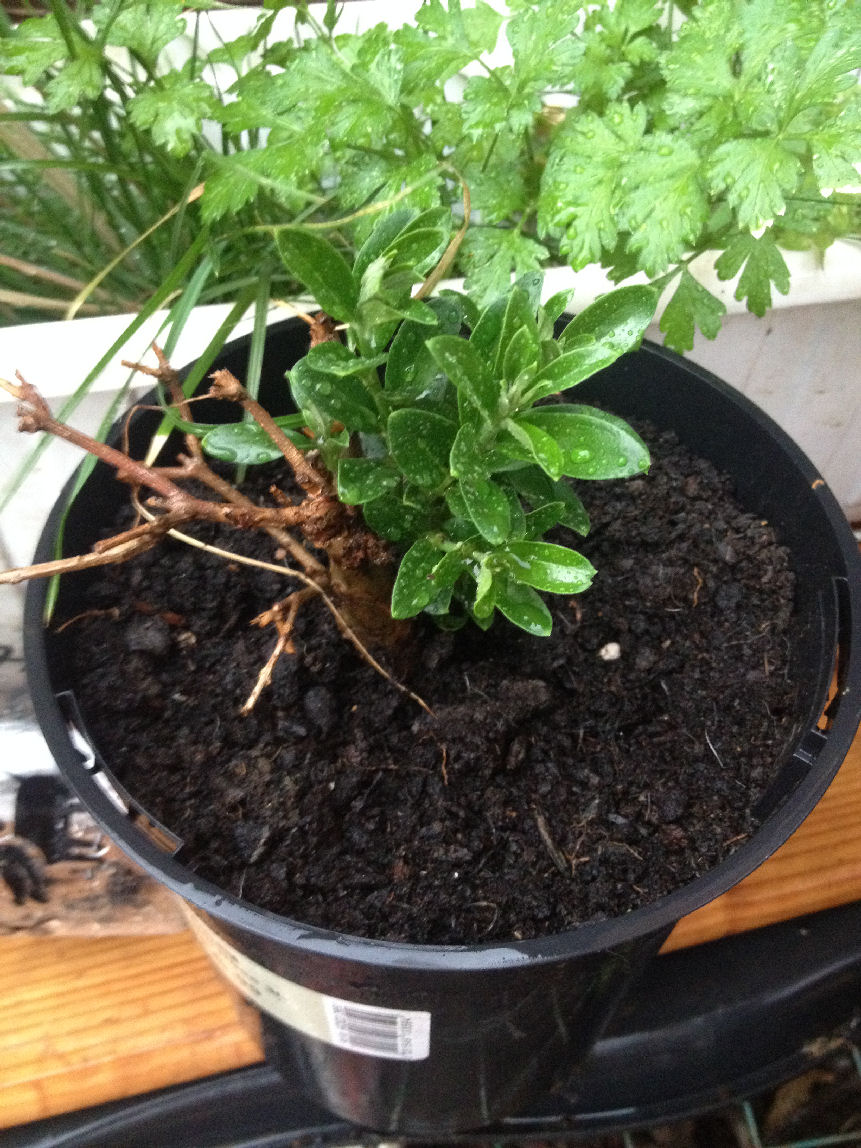
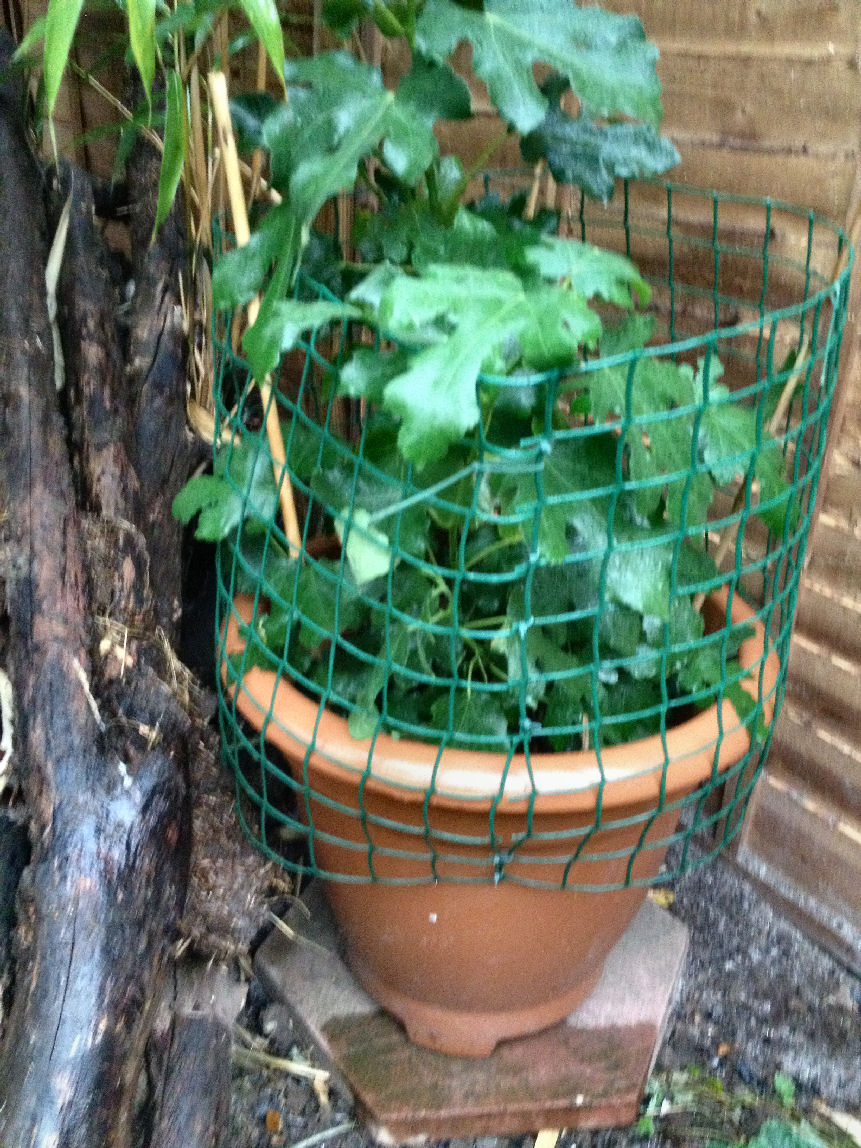
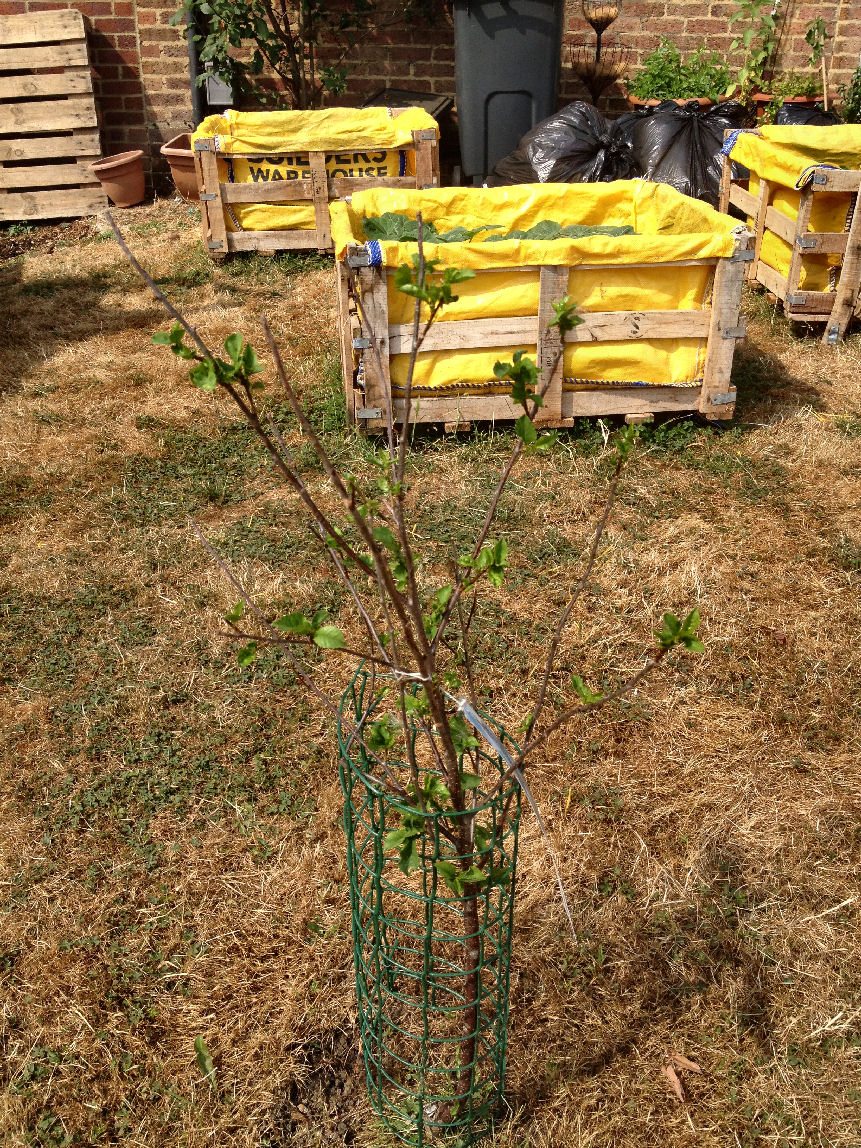
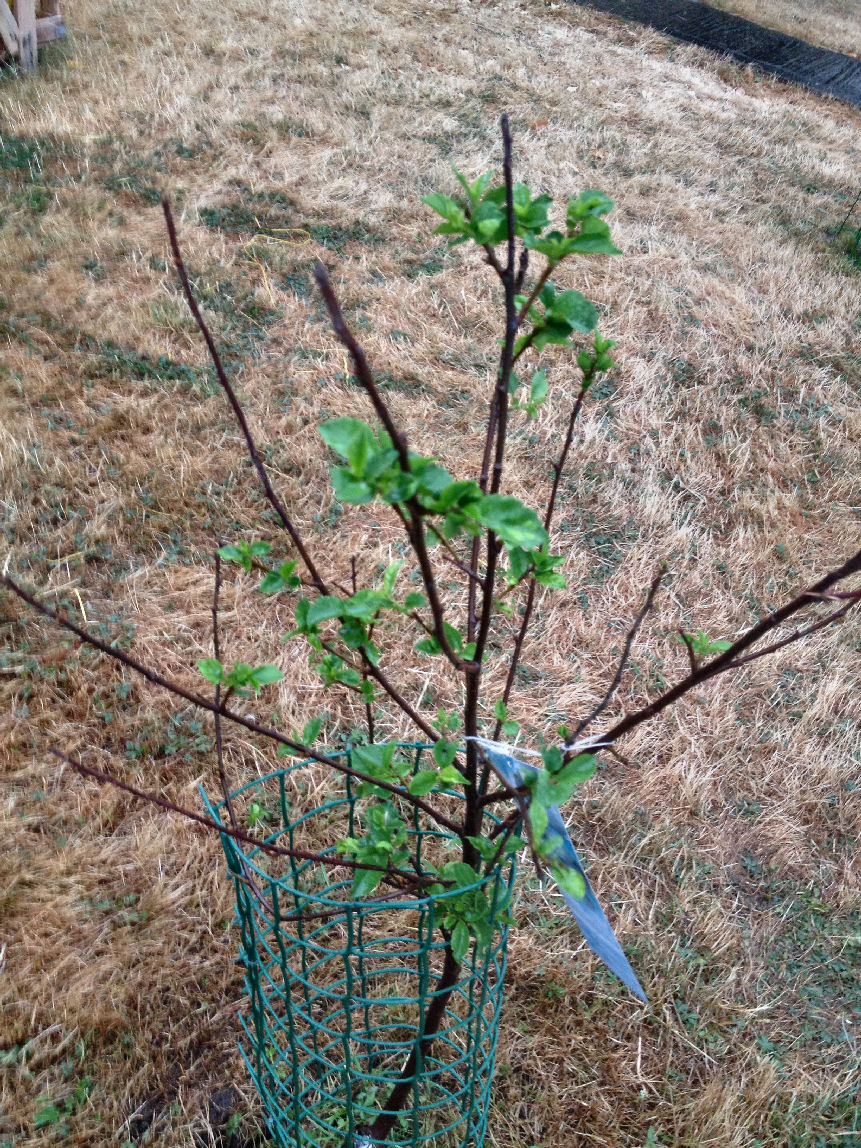
Figs and Olives… (New plants, will need south facing sun spots)
Cherries, Pears…
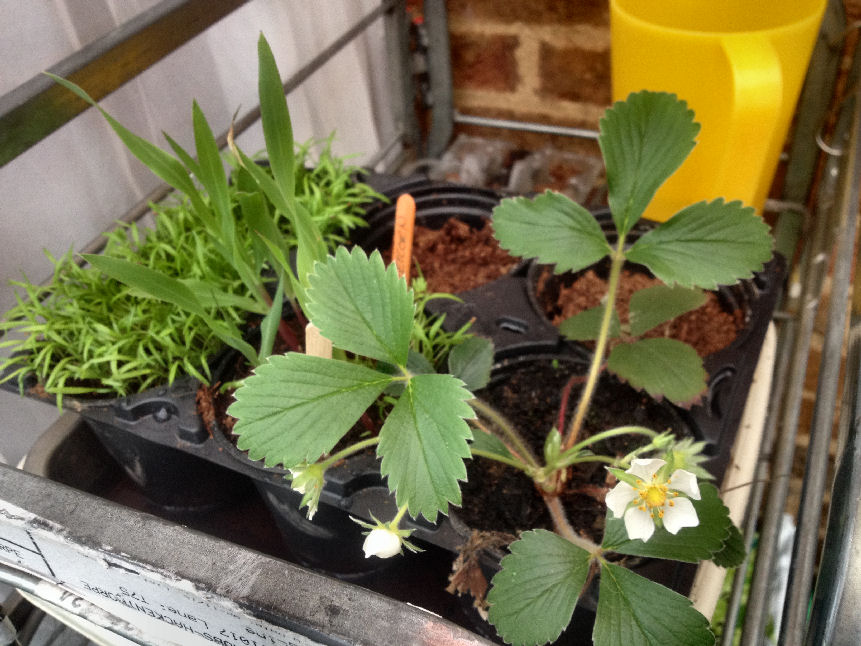
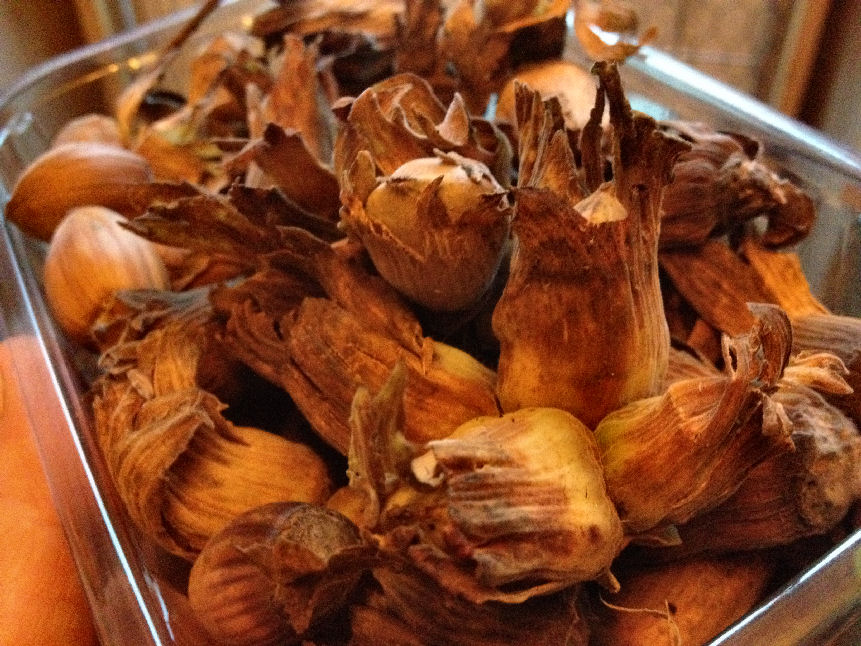
We also put in Honey Berry, Goose Berry and Blue Berry. Strawberries, Hob Nuts…. all good essential fruits
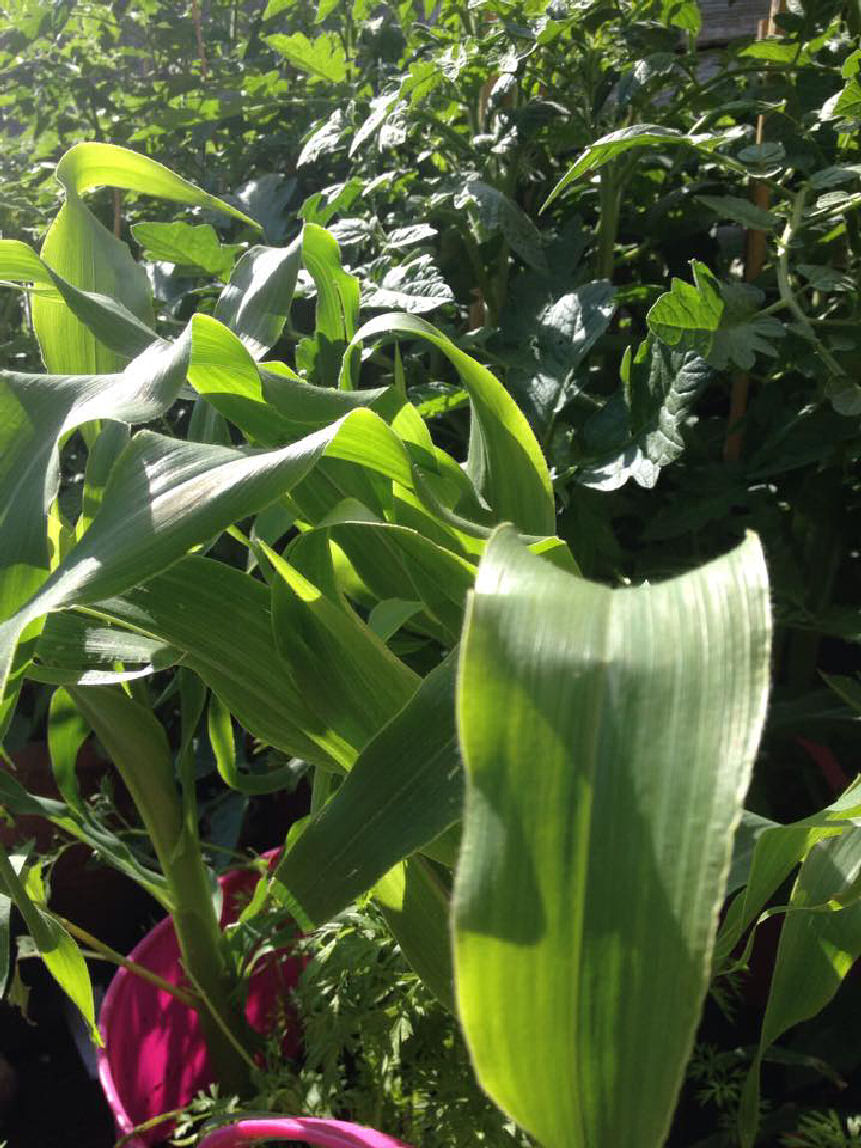
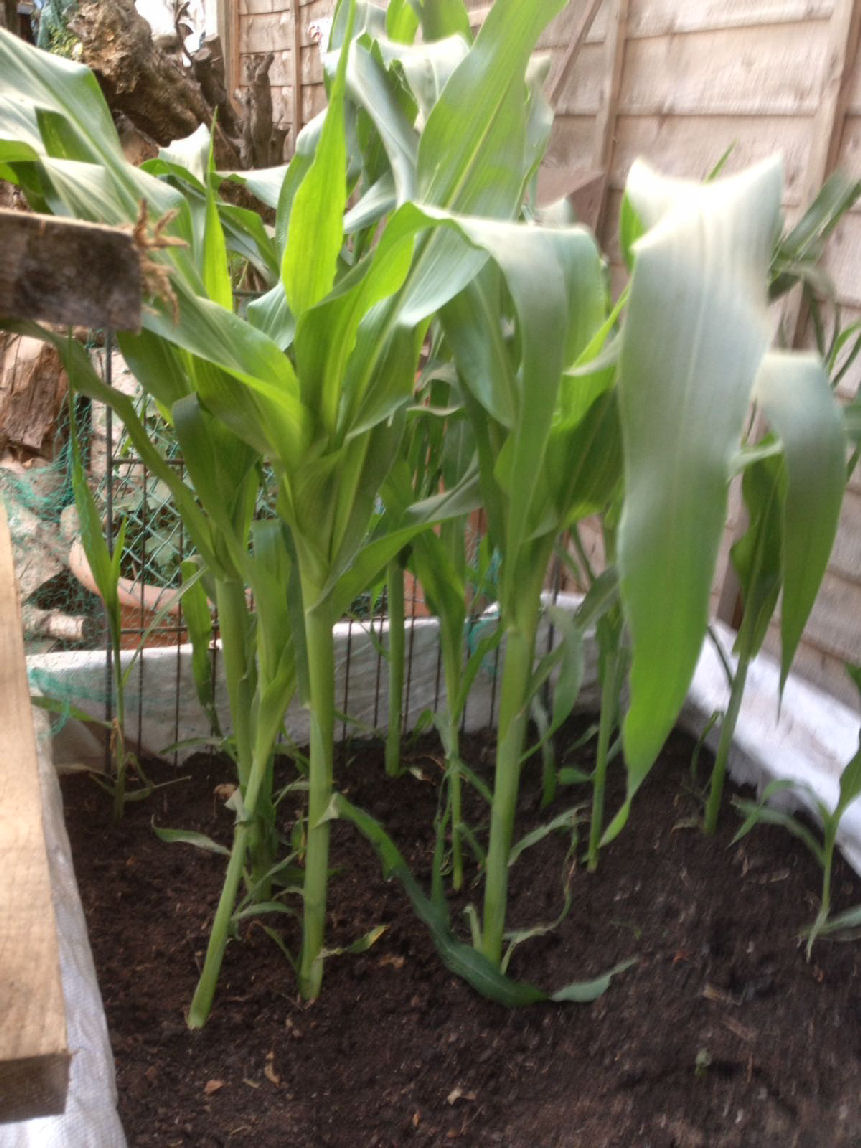
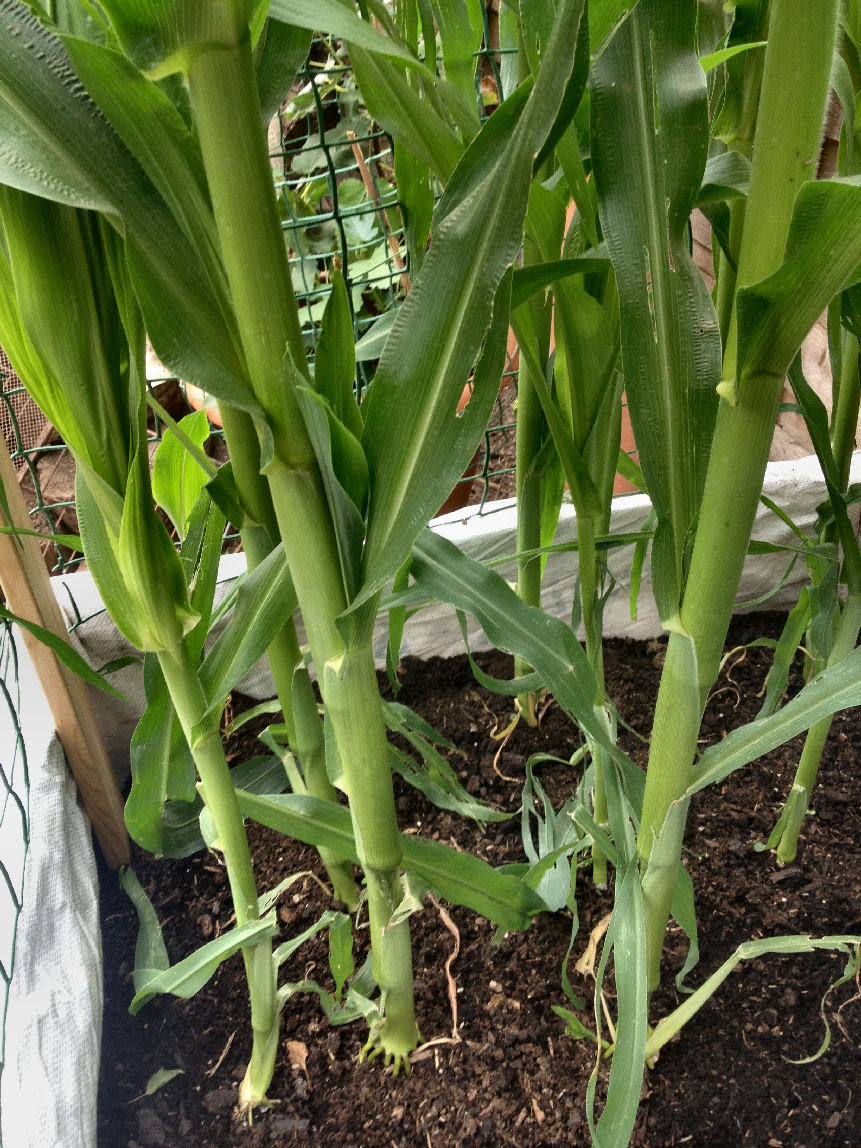
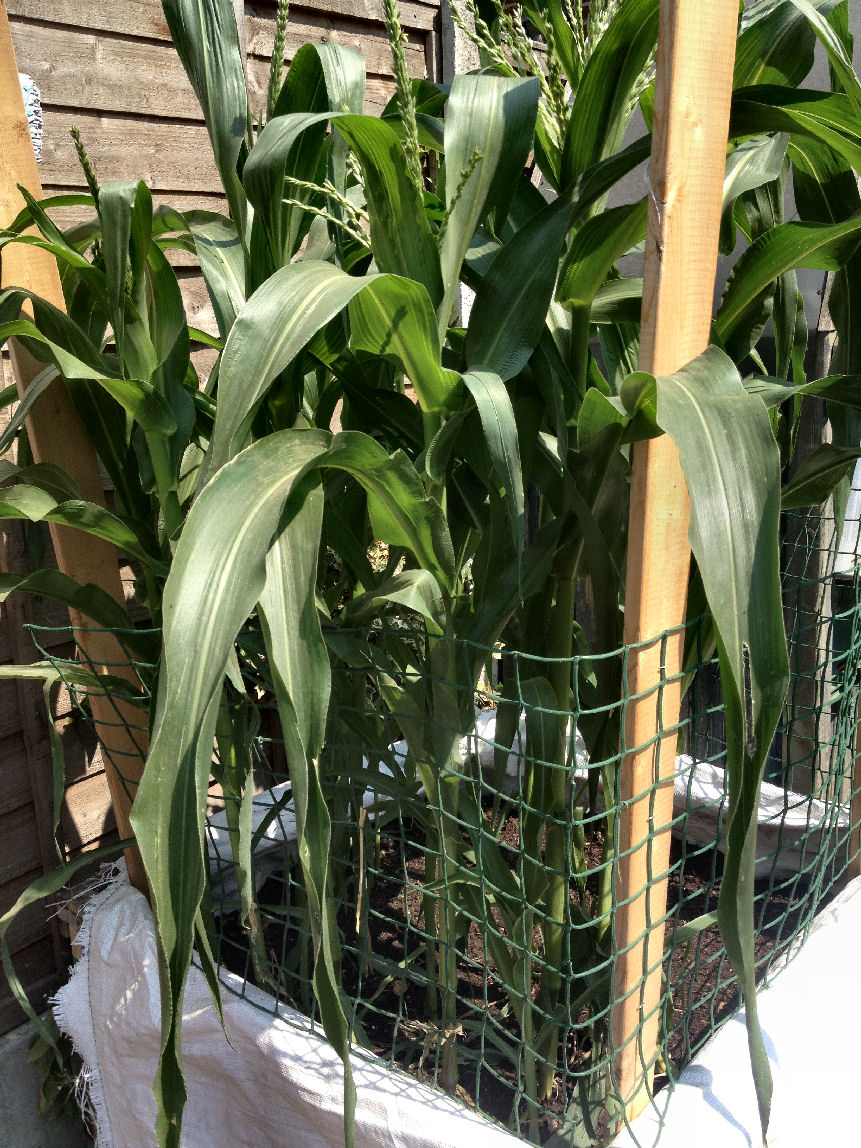
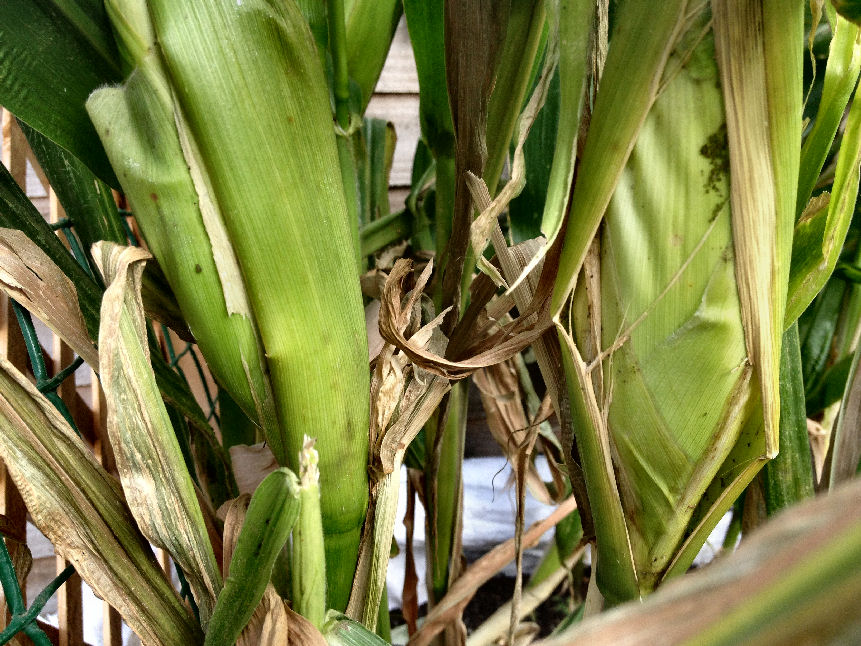
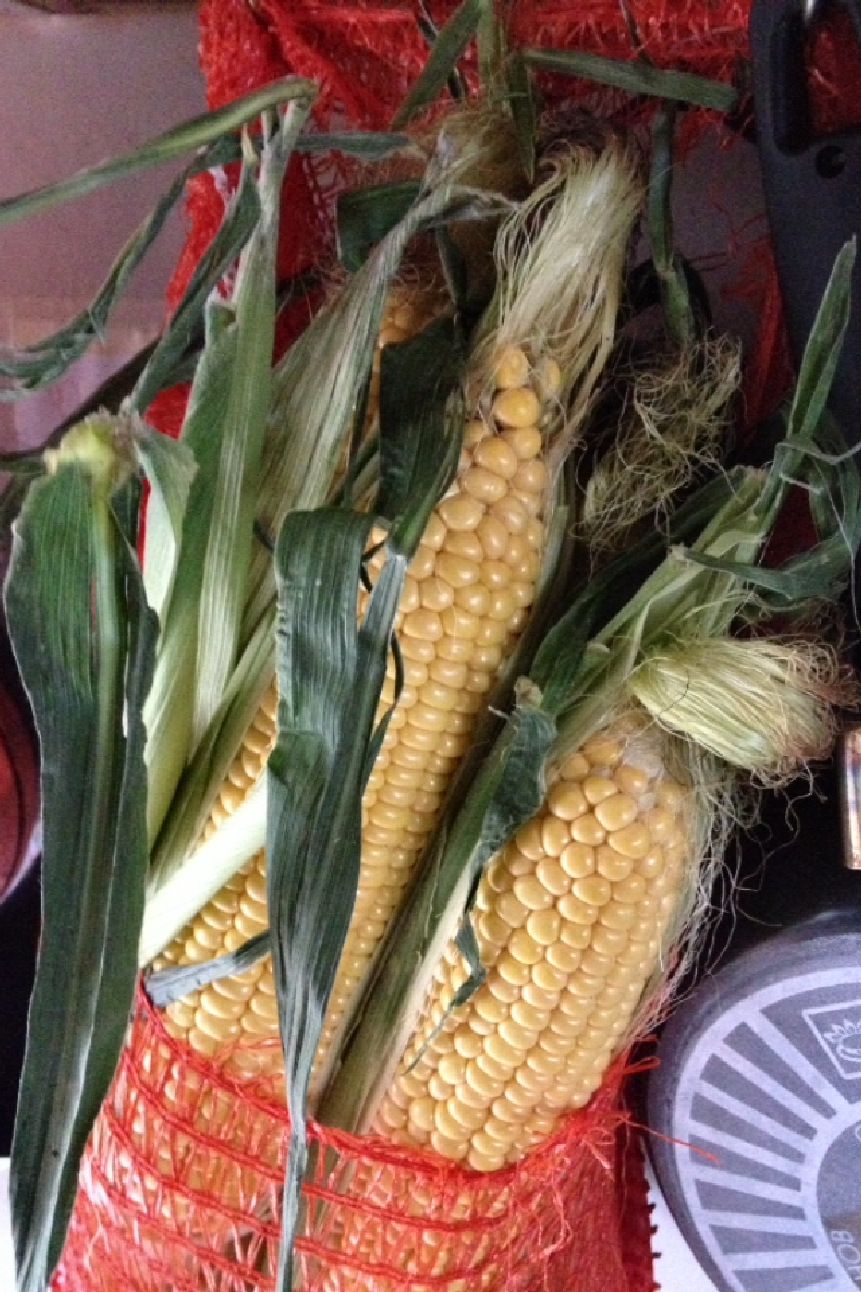
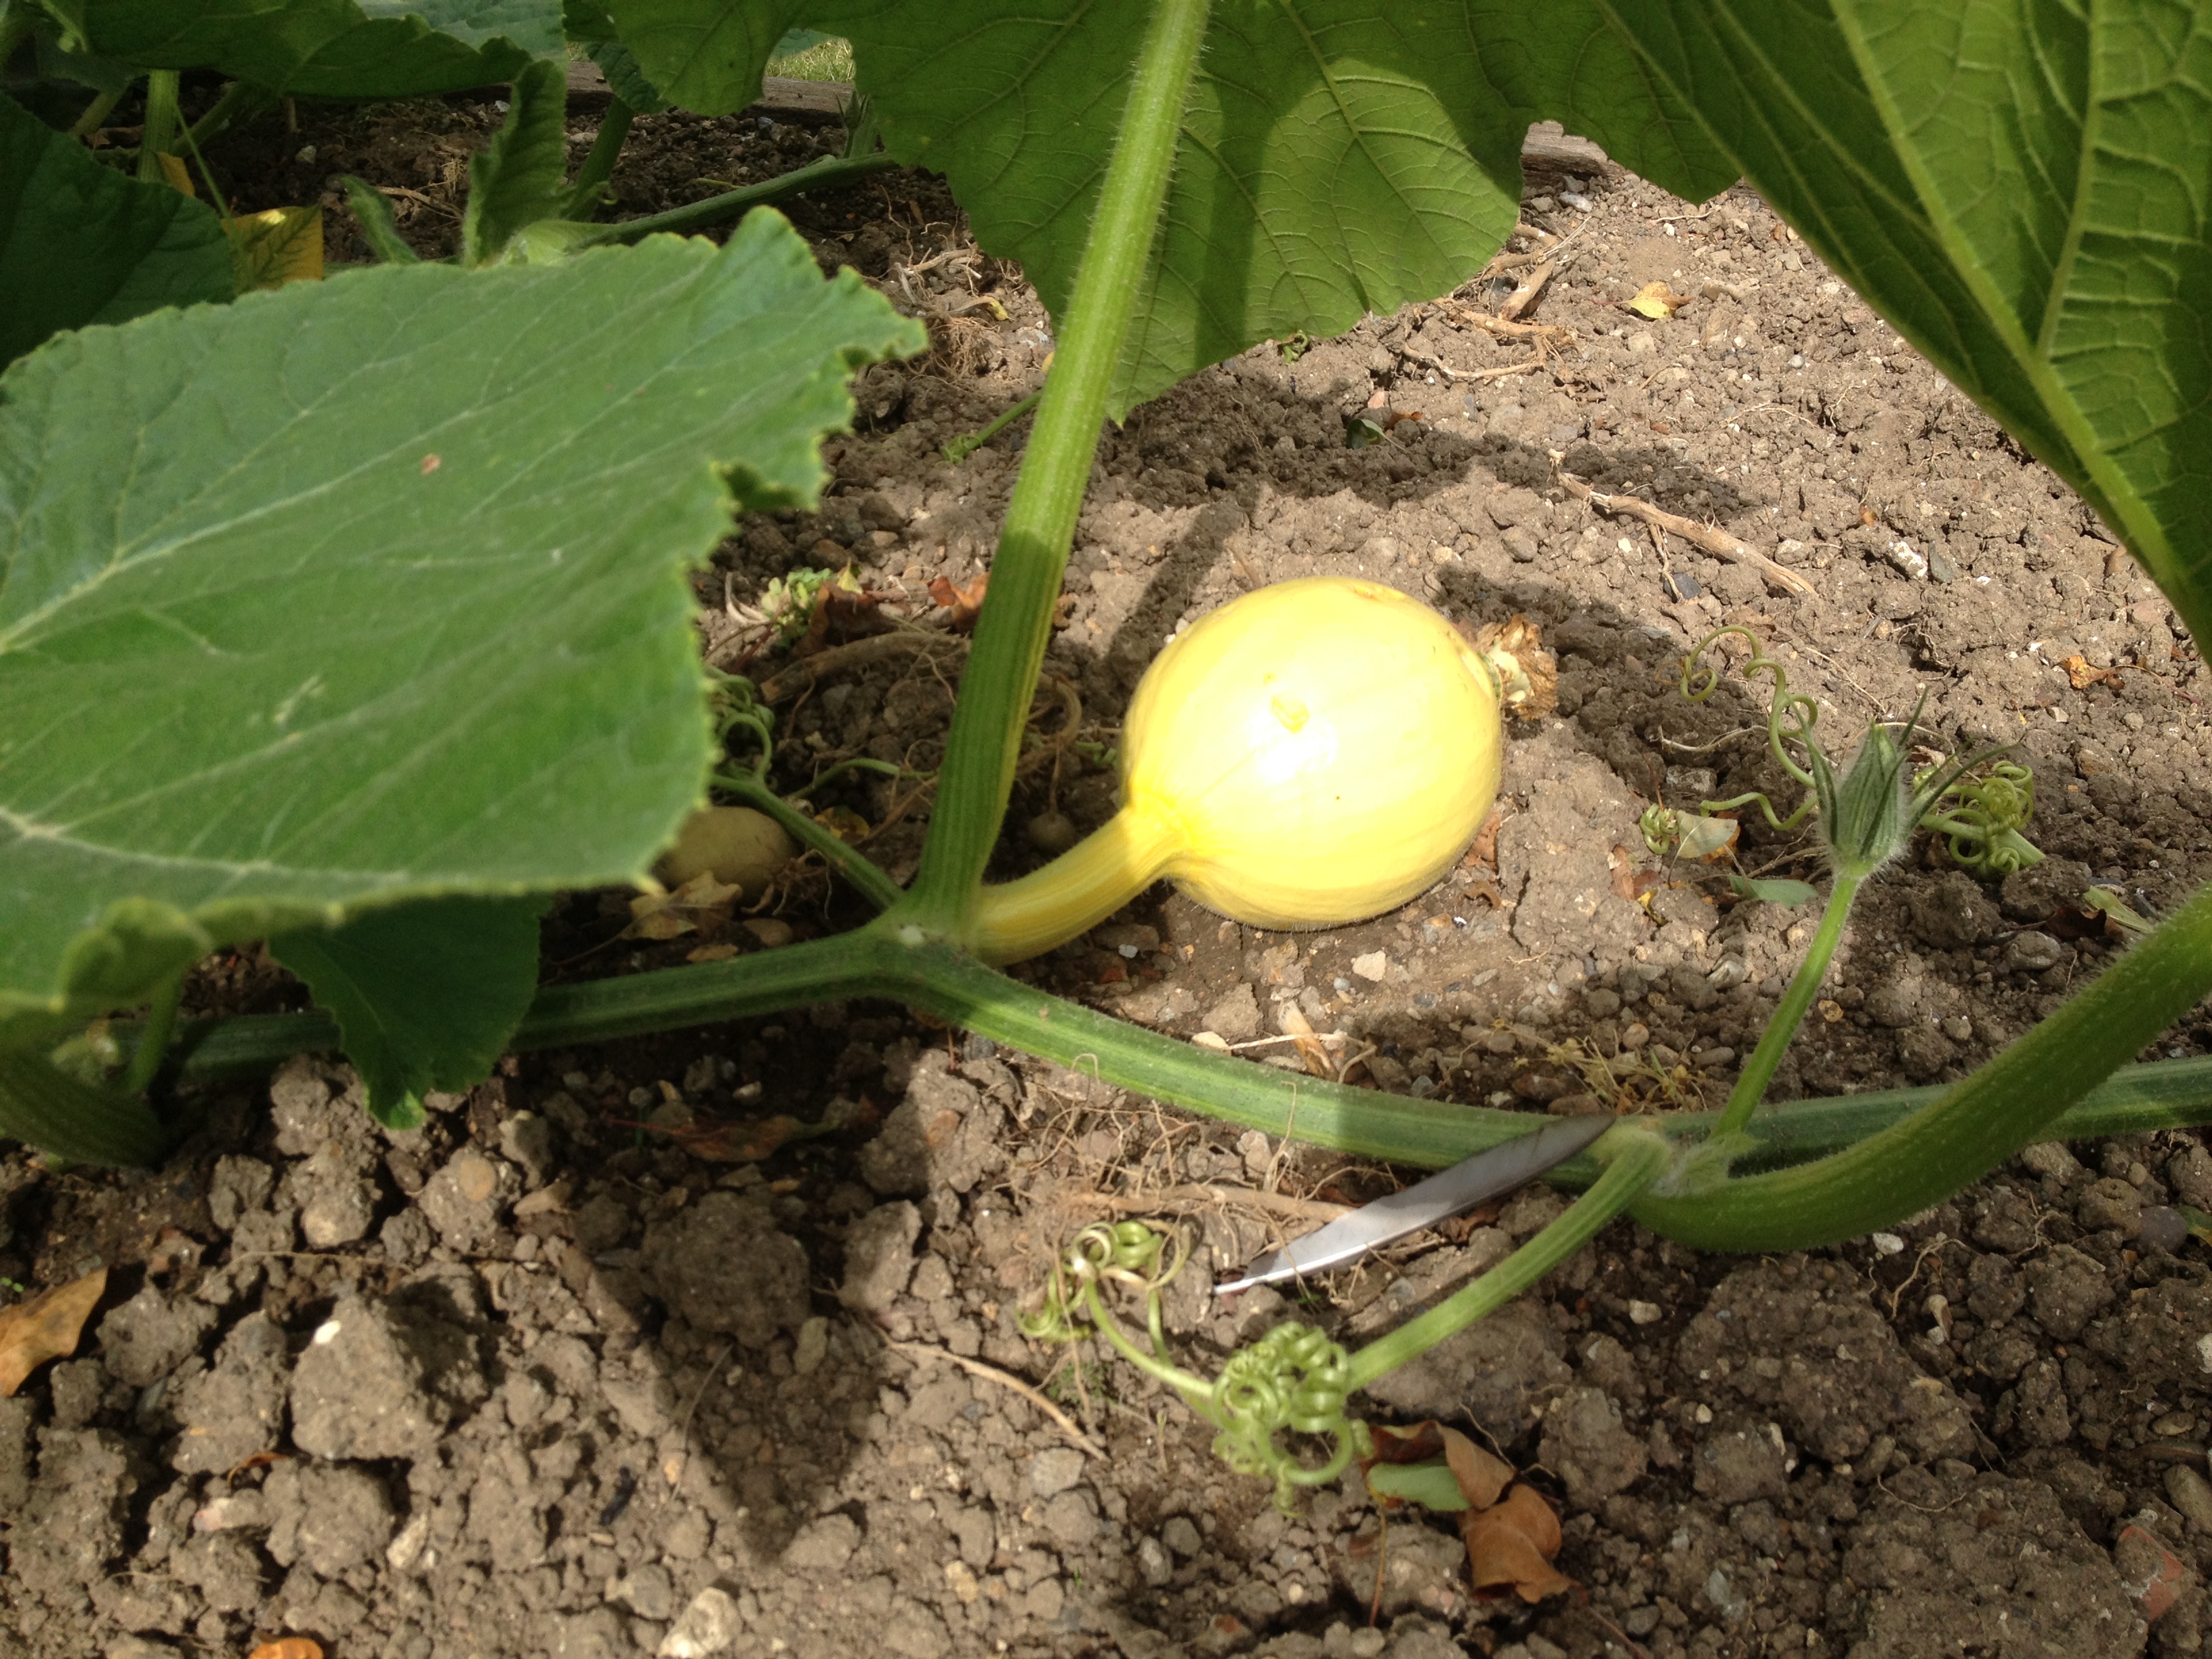
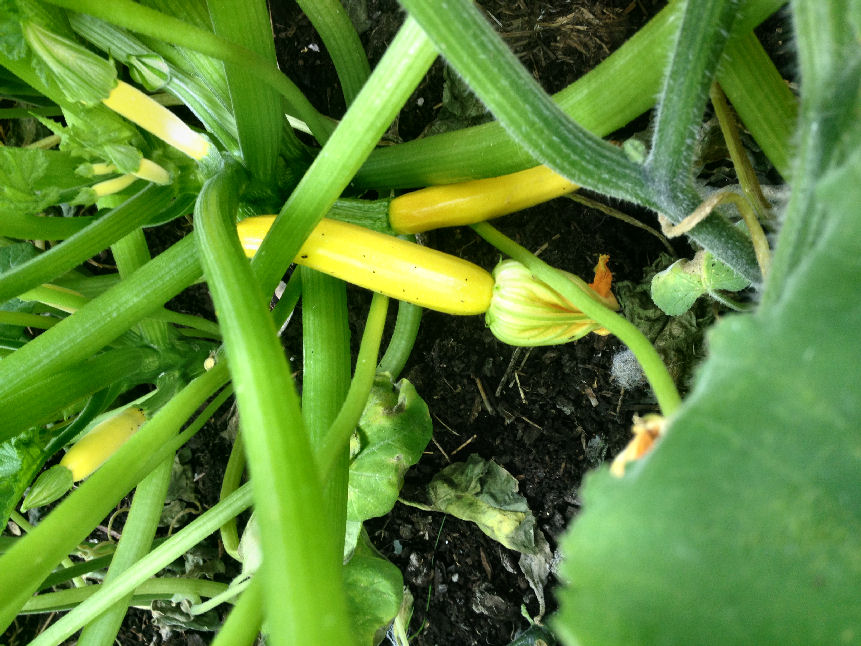
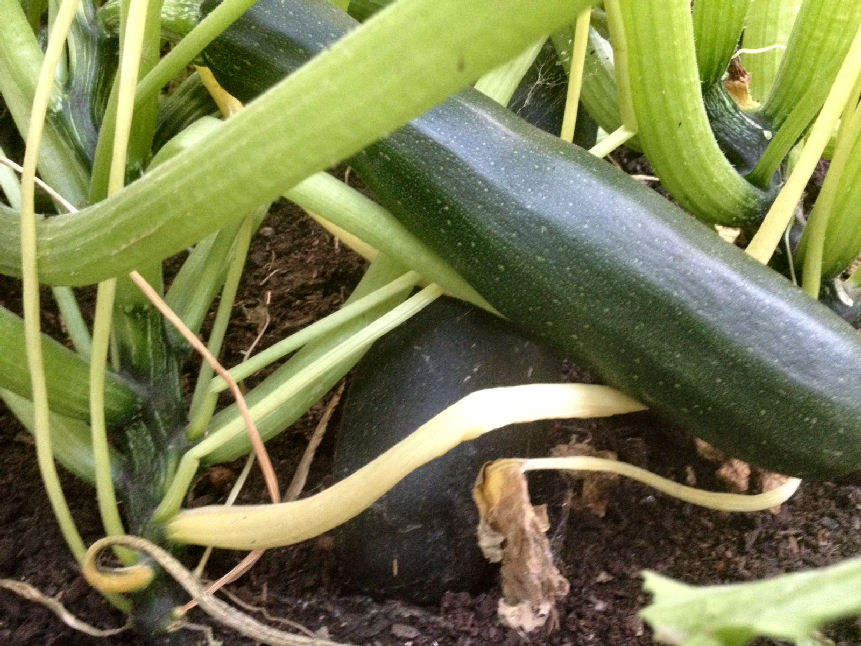
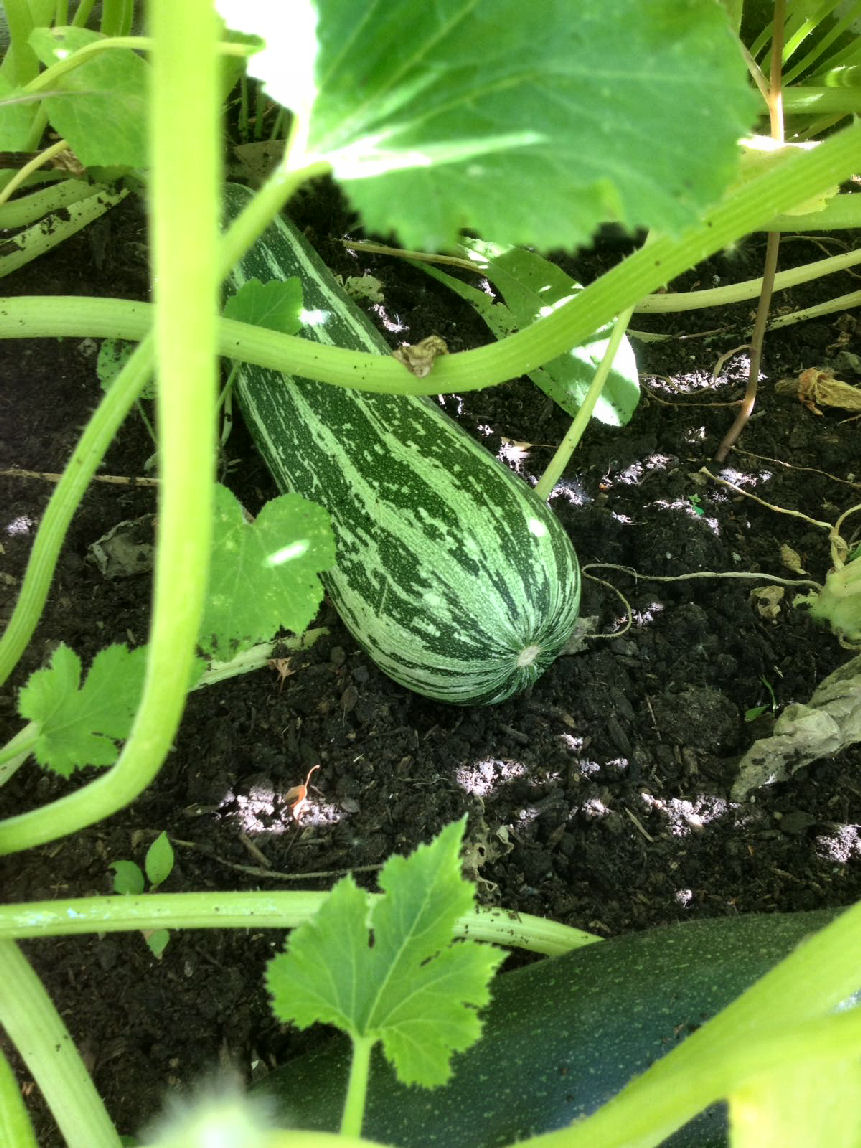
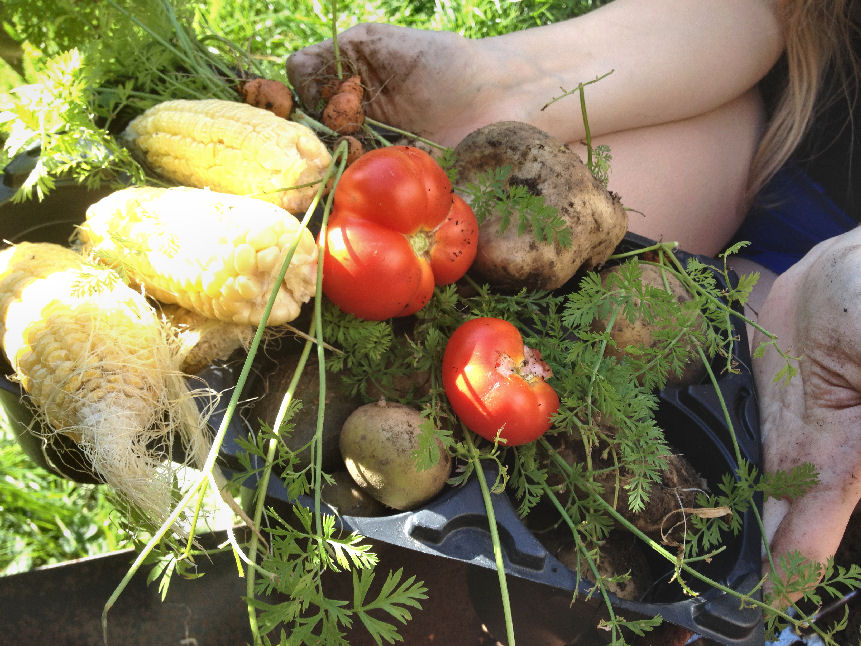
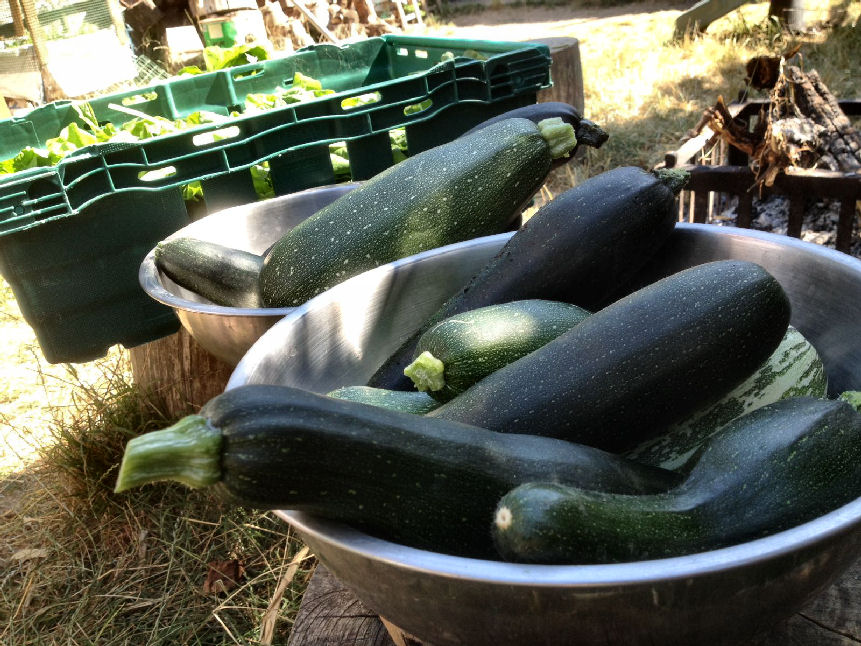
Sweetcorn..
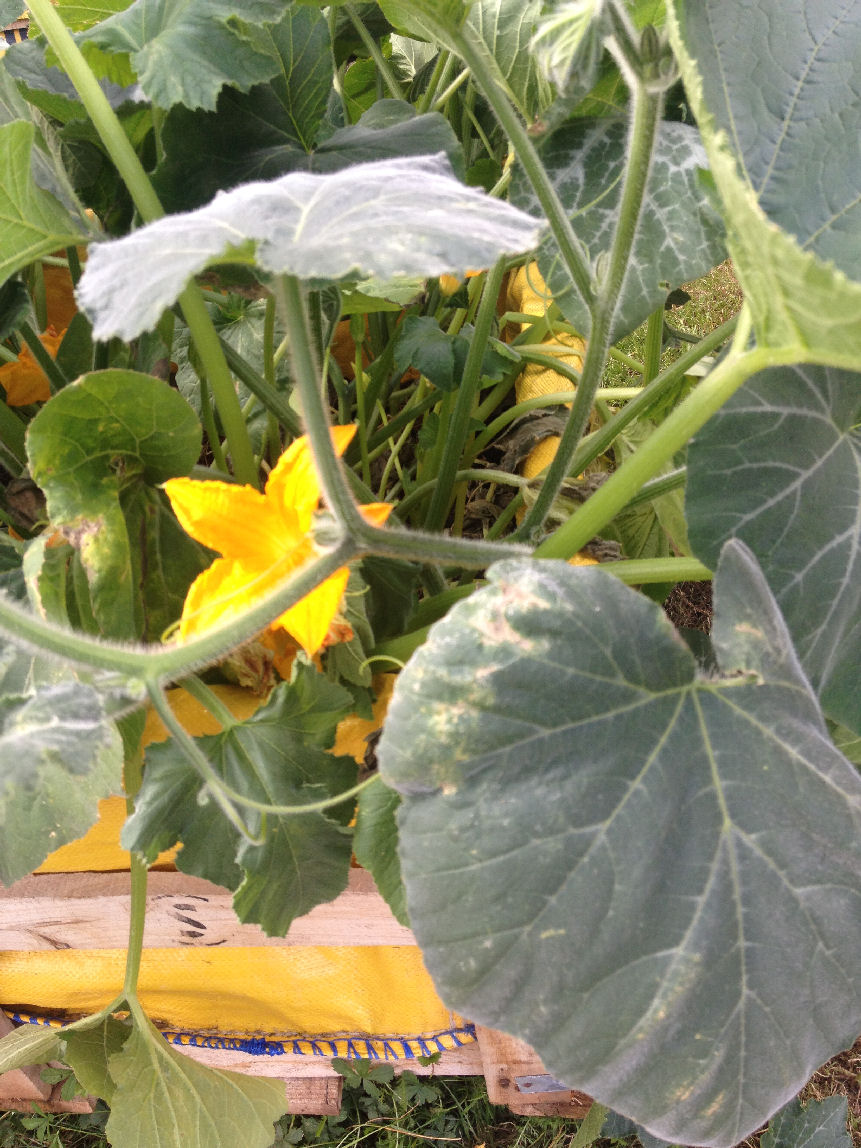
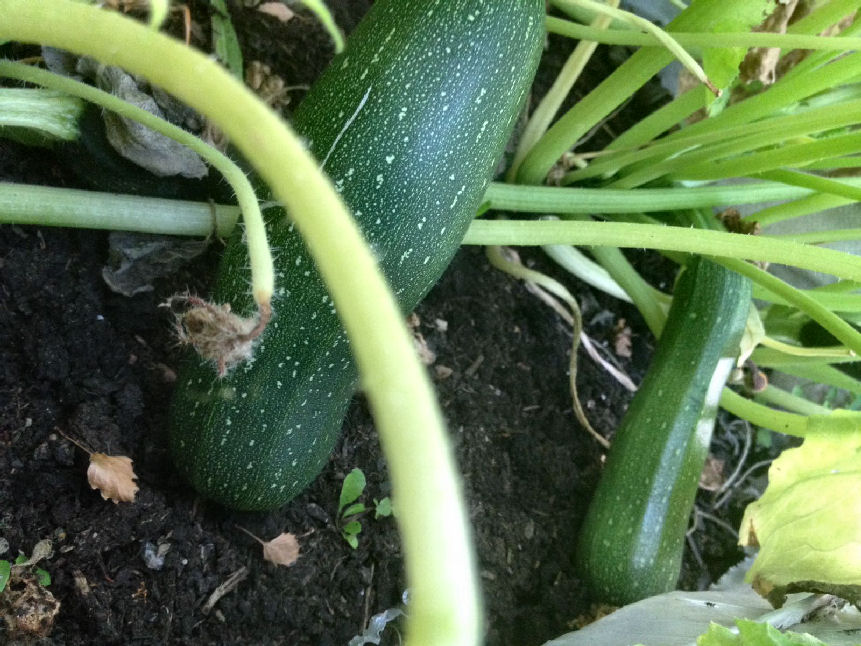
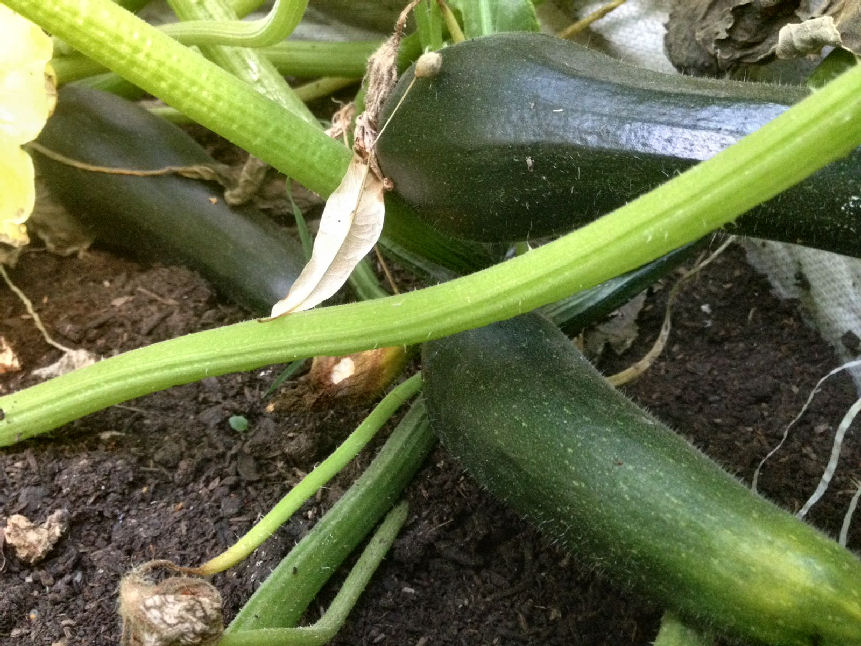
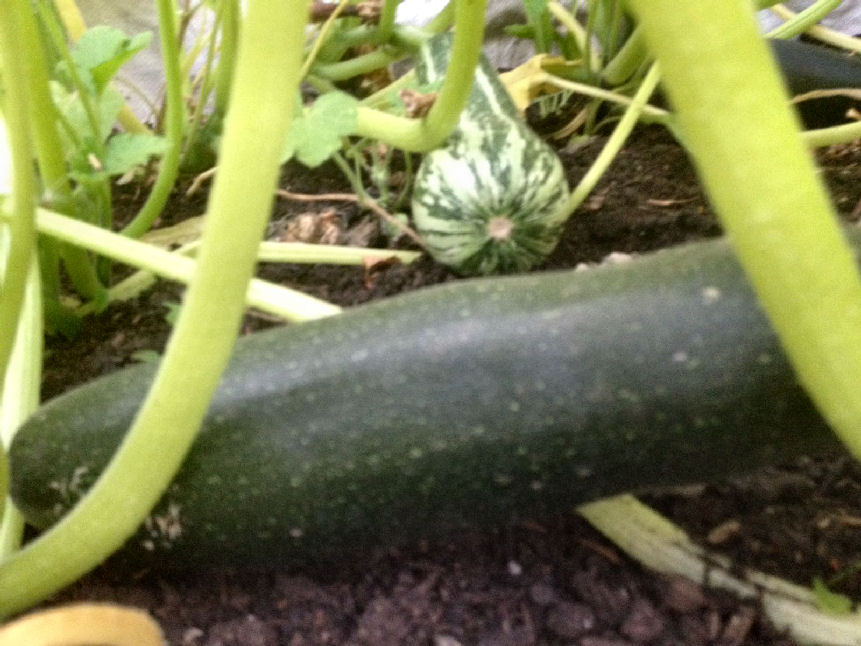
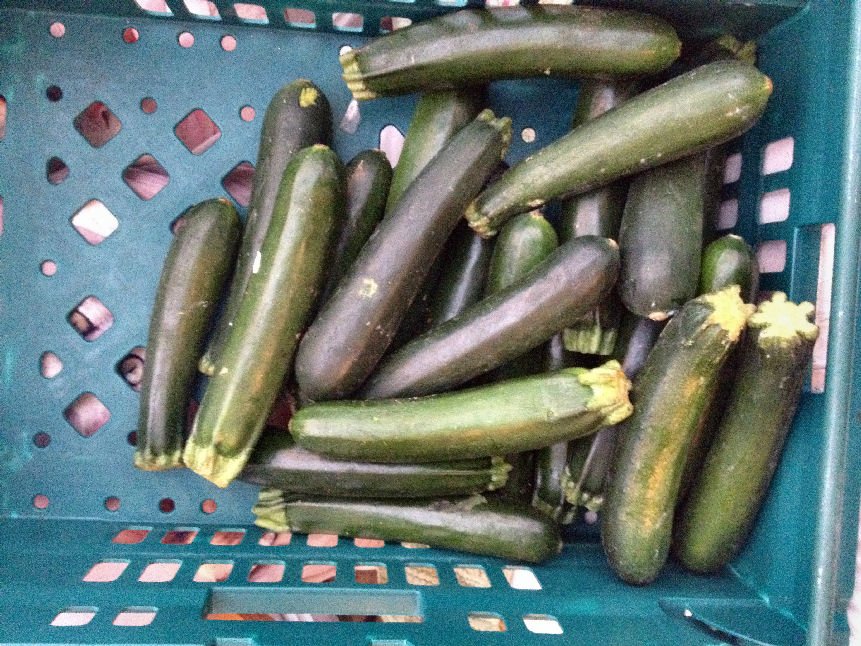
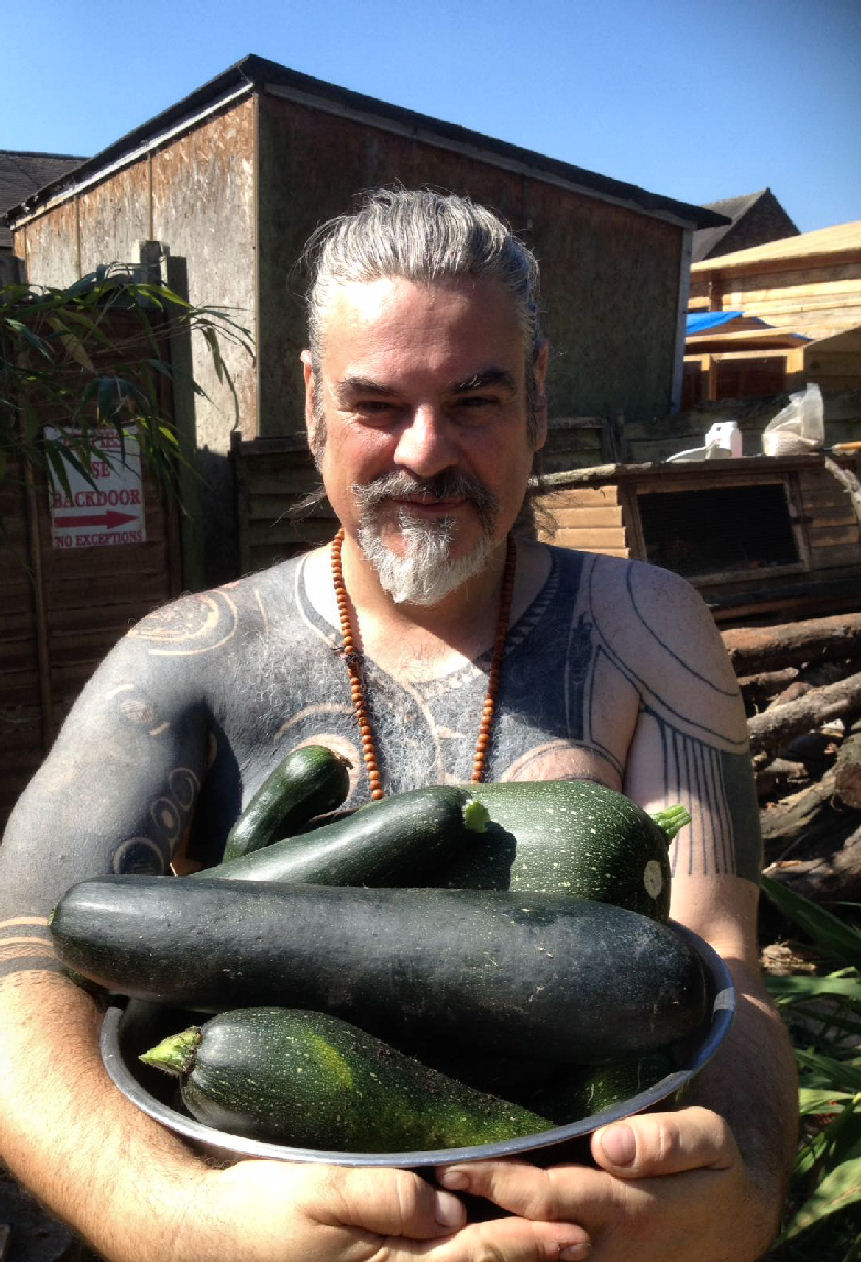
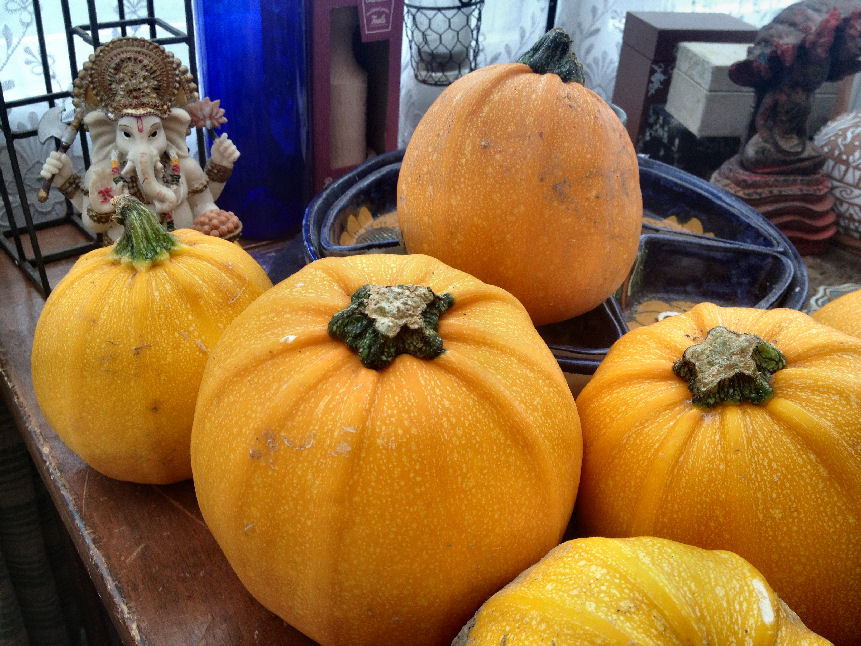
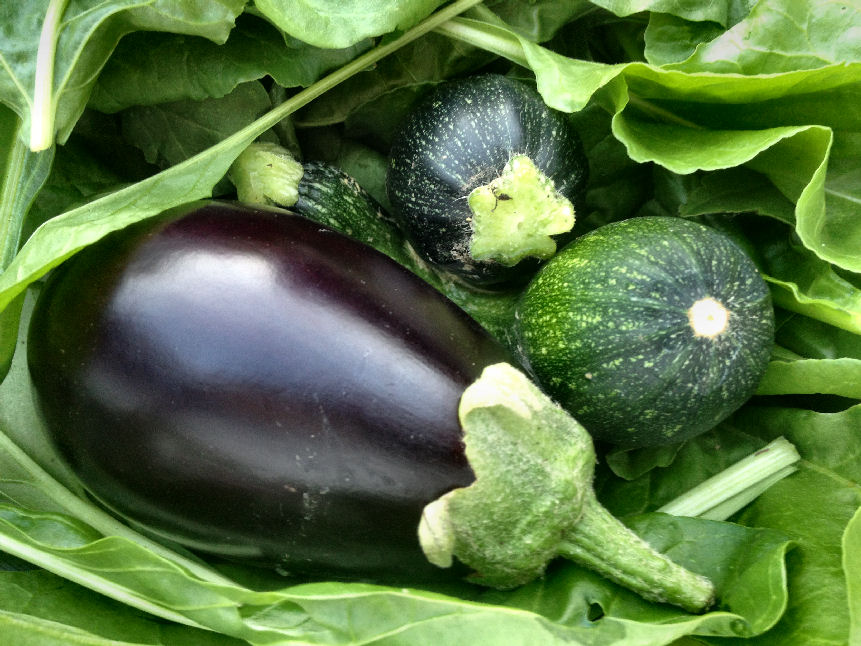
Squashes, Pumpkins, Courgettes, Zuccinnis. From 5 full tonne planters. We got 3 full annual yields of around 40 -55 a yield. 150 a year. after each harvest we cut back and composted dead leaf. The seeds were mixed so we were nto exactly sure what was going to come up as a apart form colour of seed (brown to blueish to red) you can’t really tell them apart. The planters were placed in full sum tray at rear and part shade in front, Leaf growth was larger in semi shade but yield only half of the rear planters.. just a pointer, root veg for semi shade and squashes, corns, tomatoes in full sun.
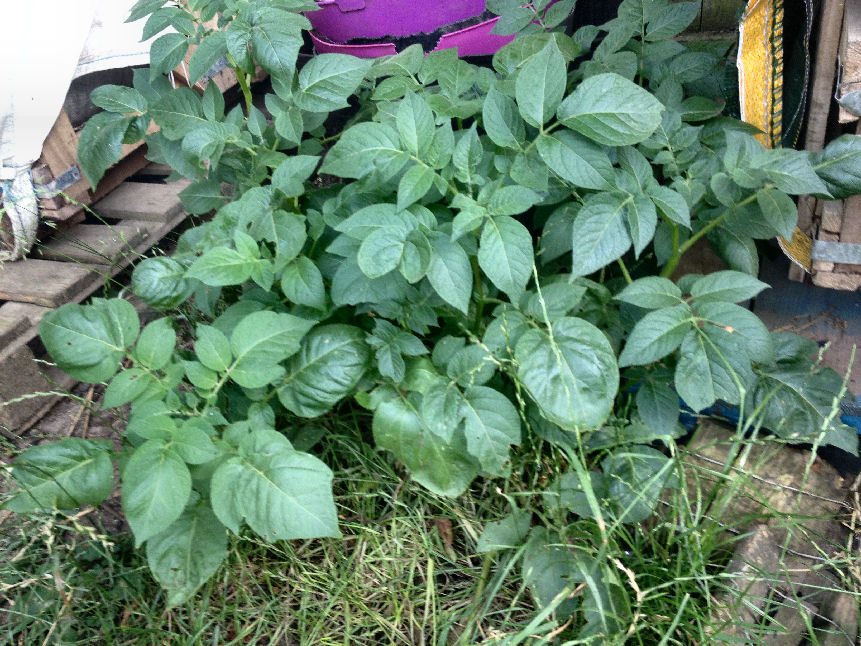
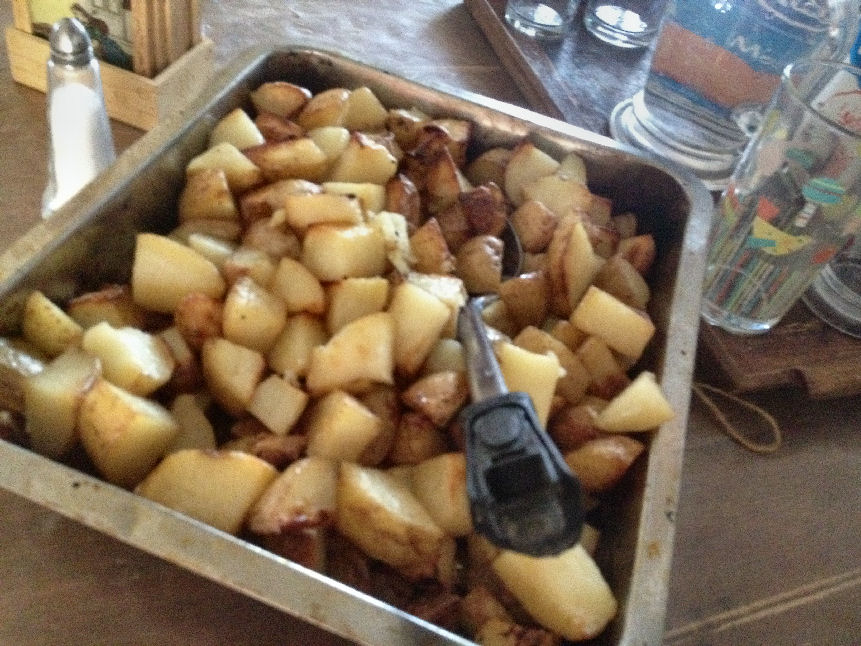
Potatoes…
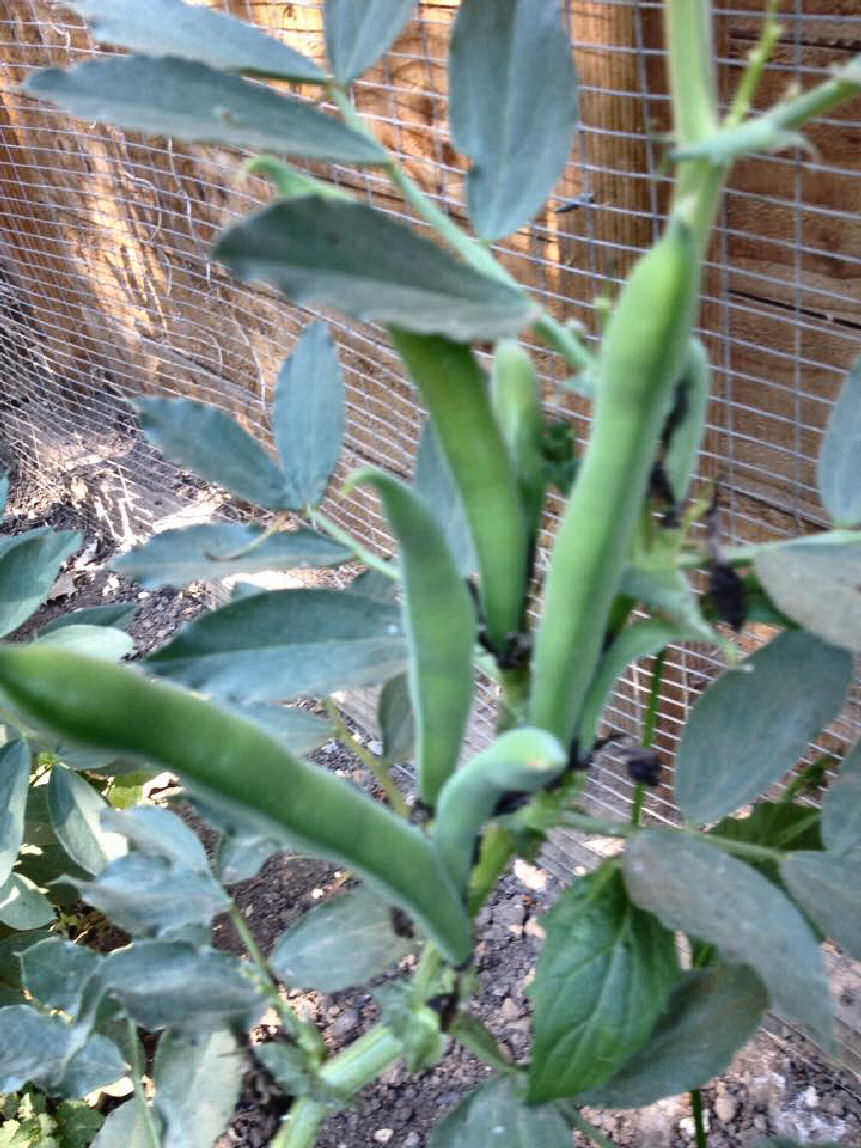
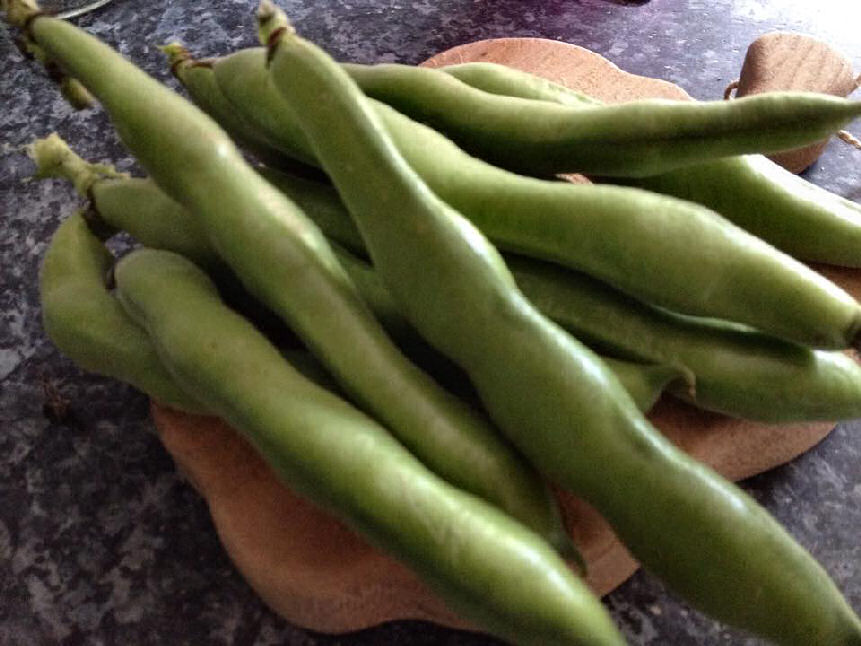
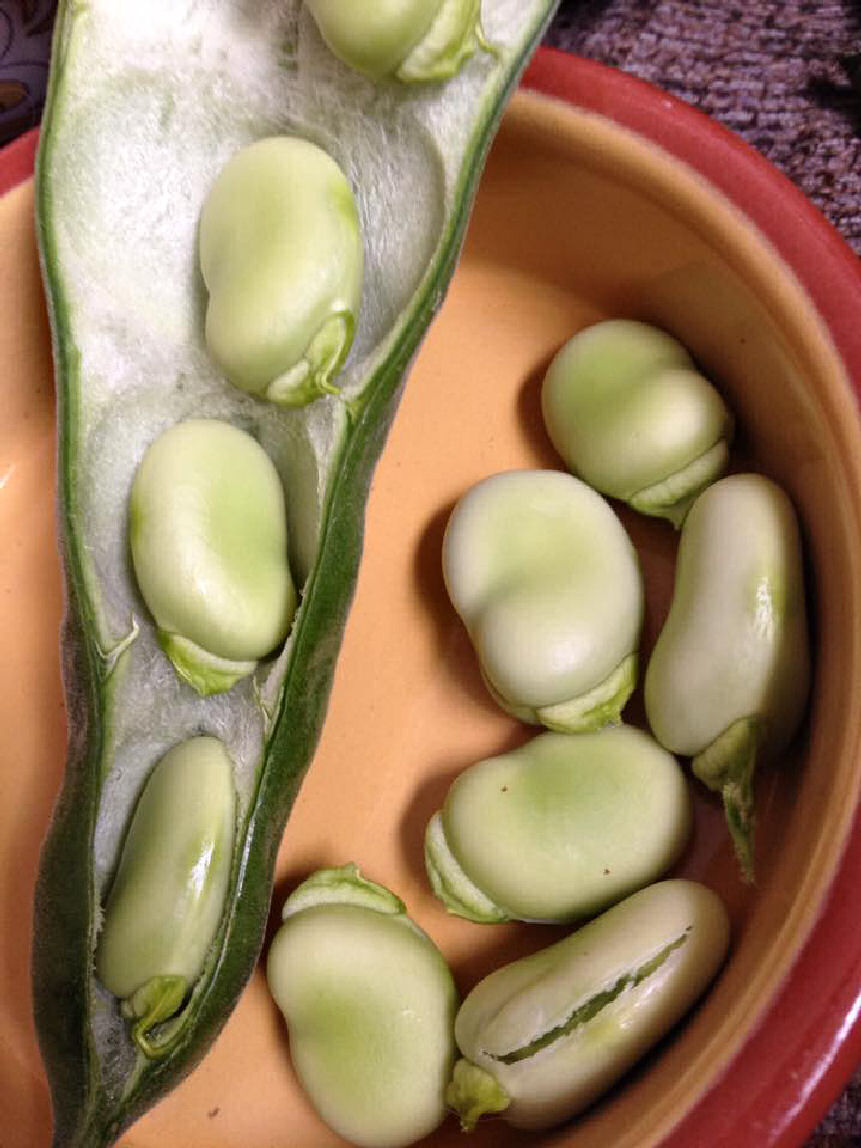
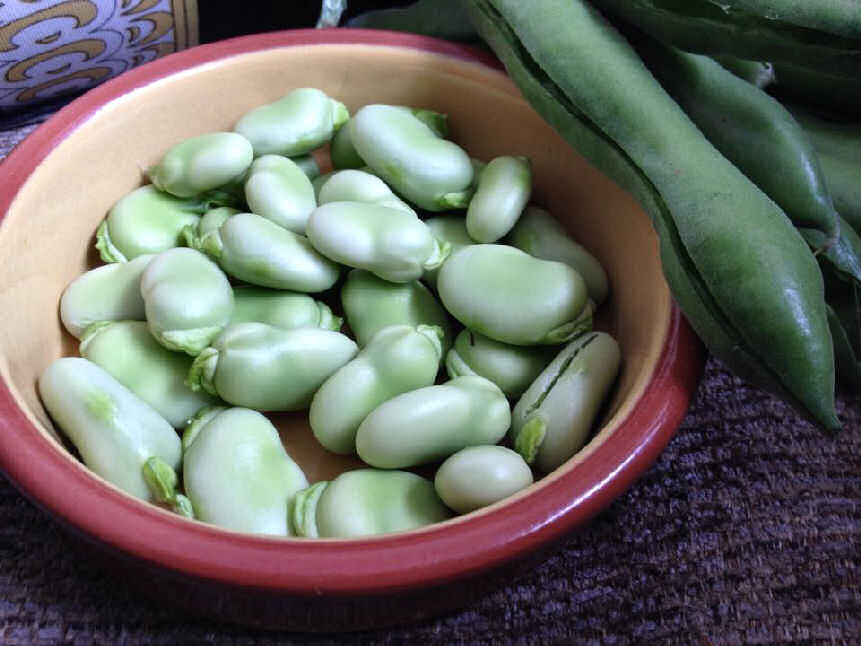
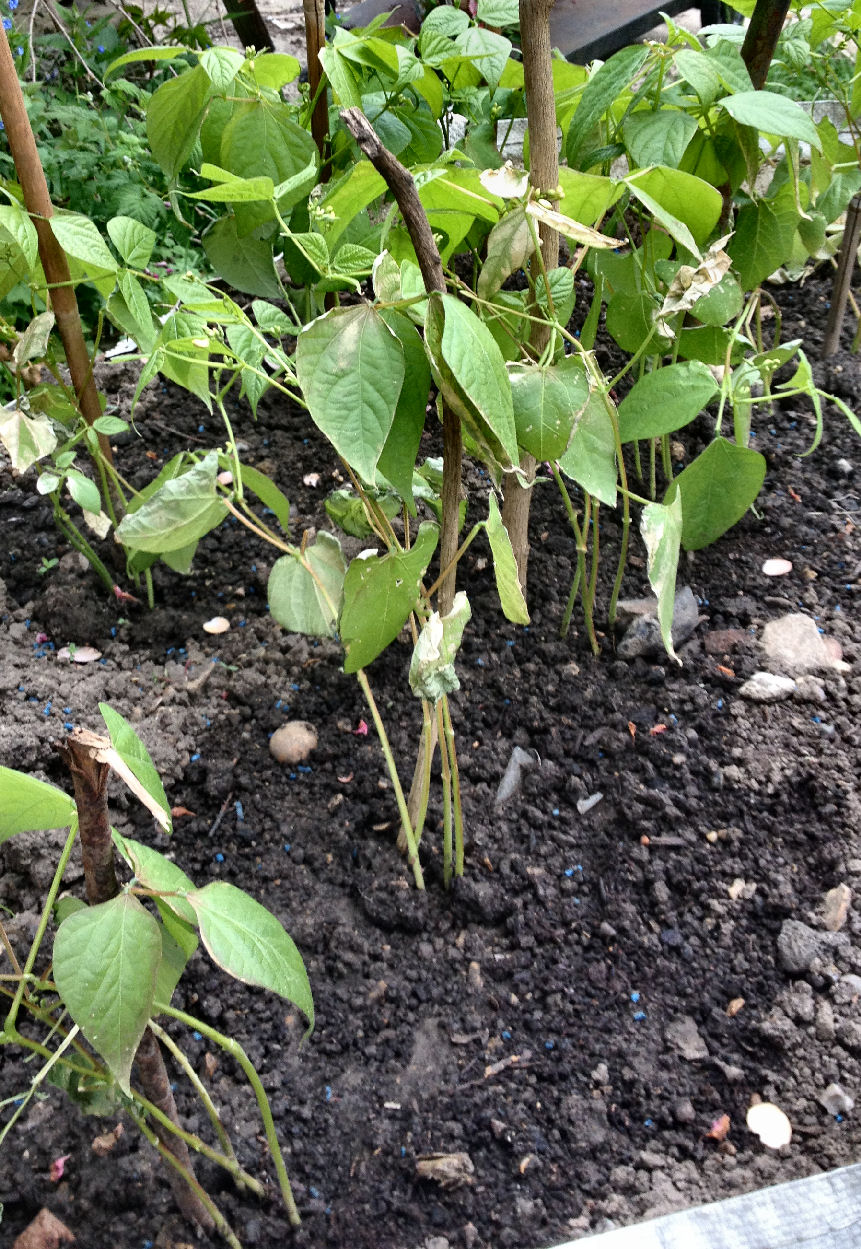
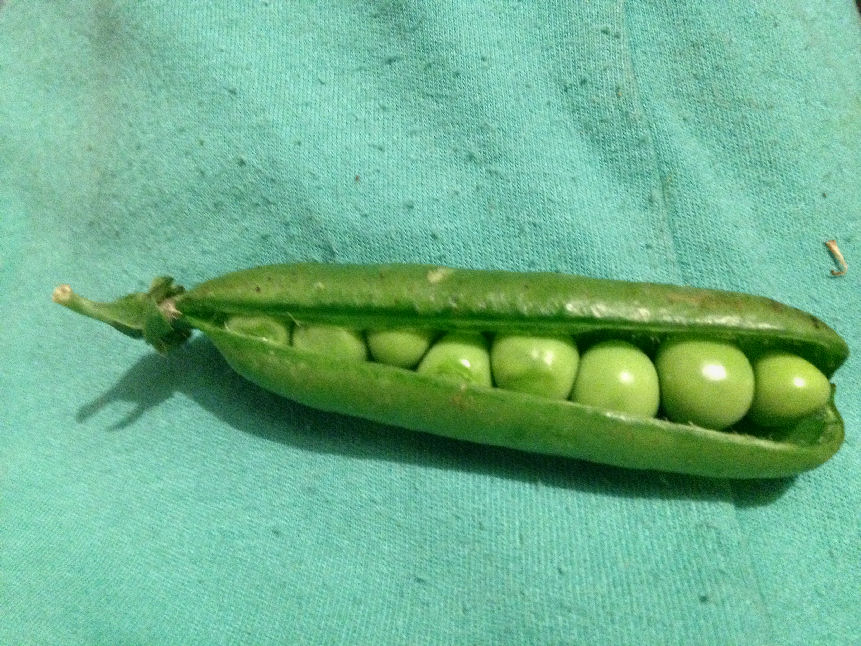
Peas and Beans..
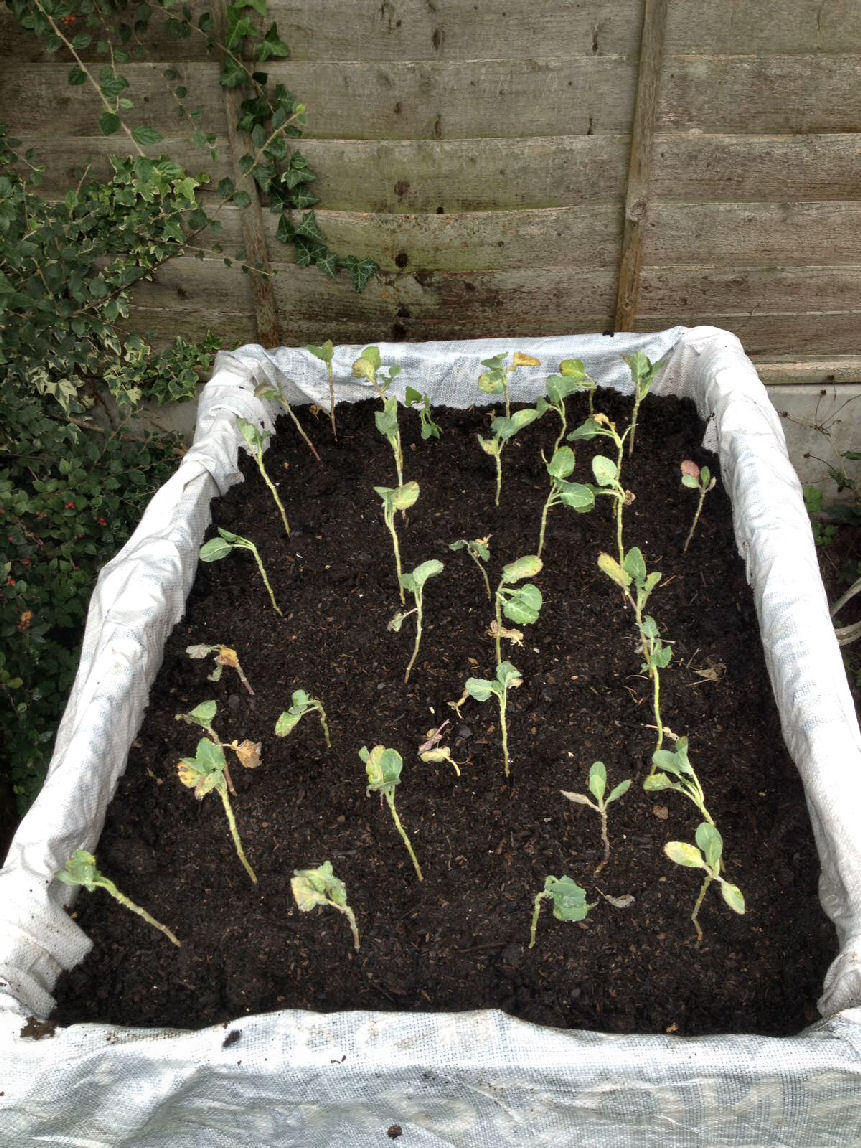
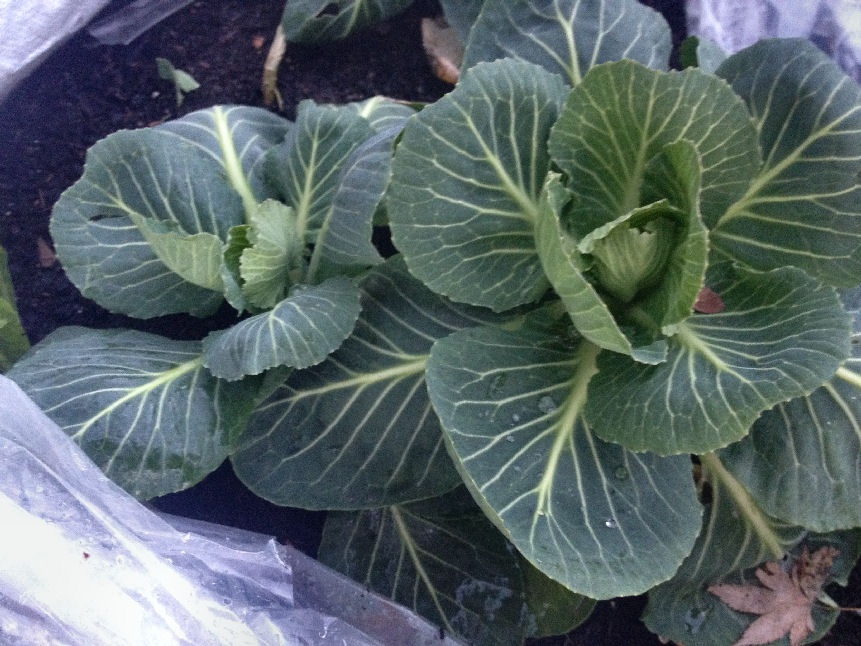
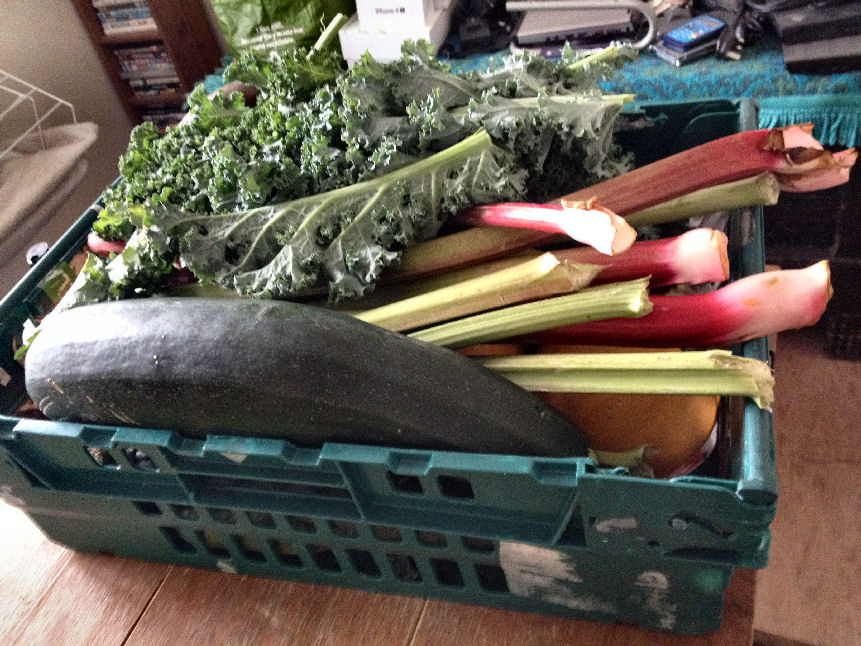
Cabbages..
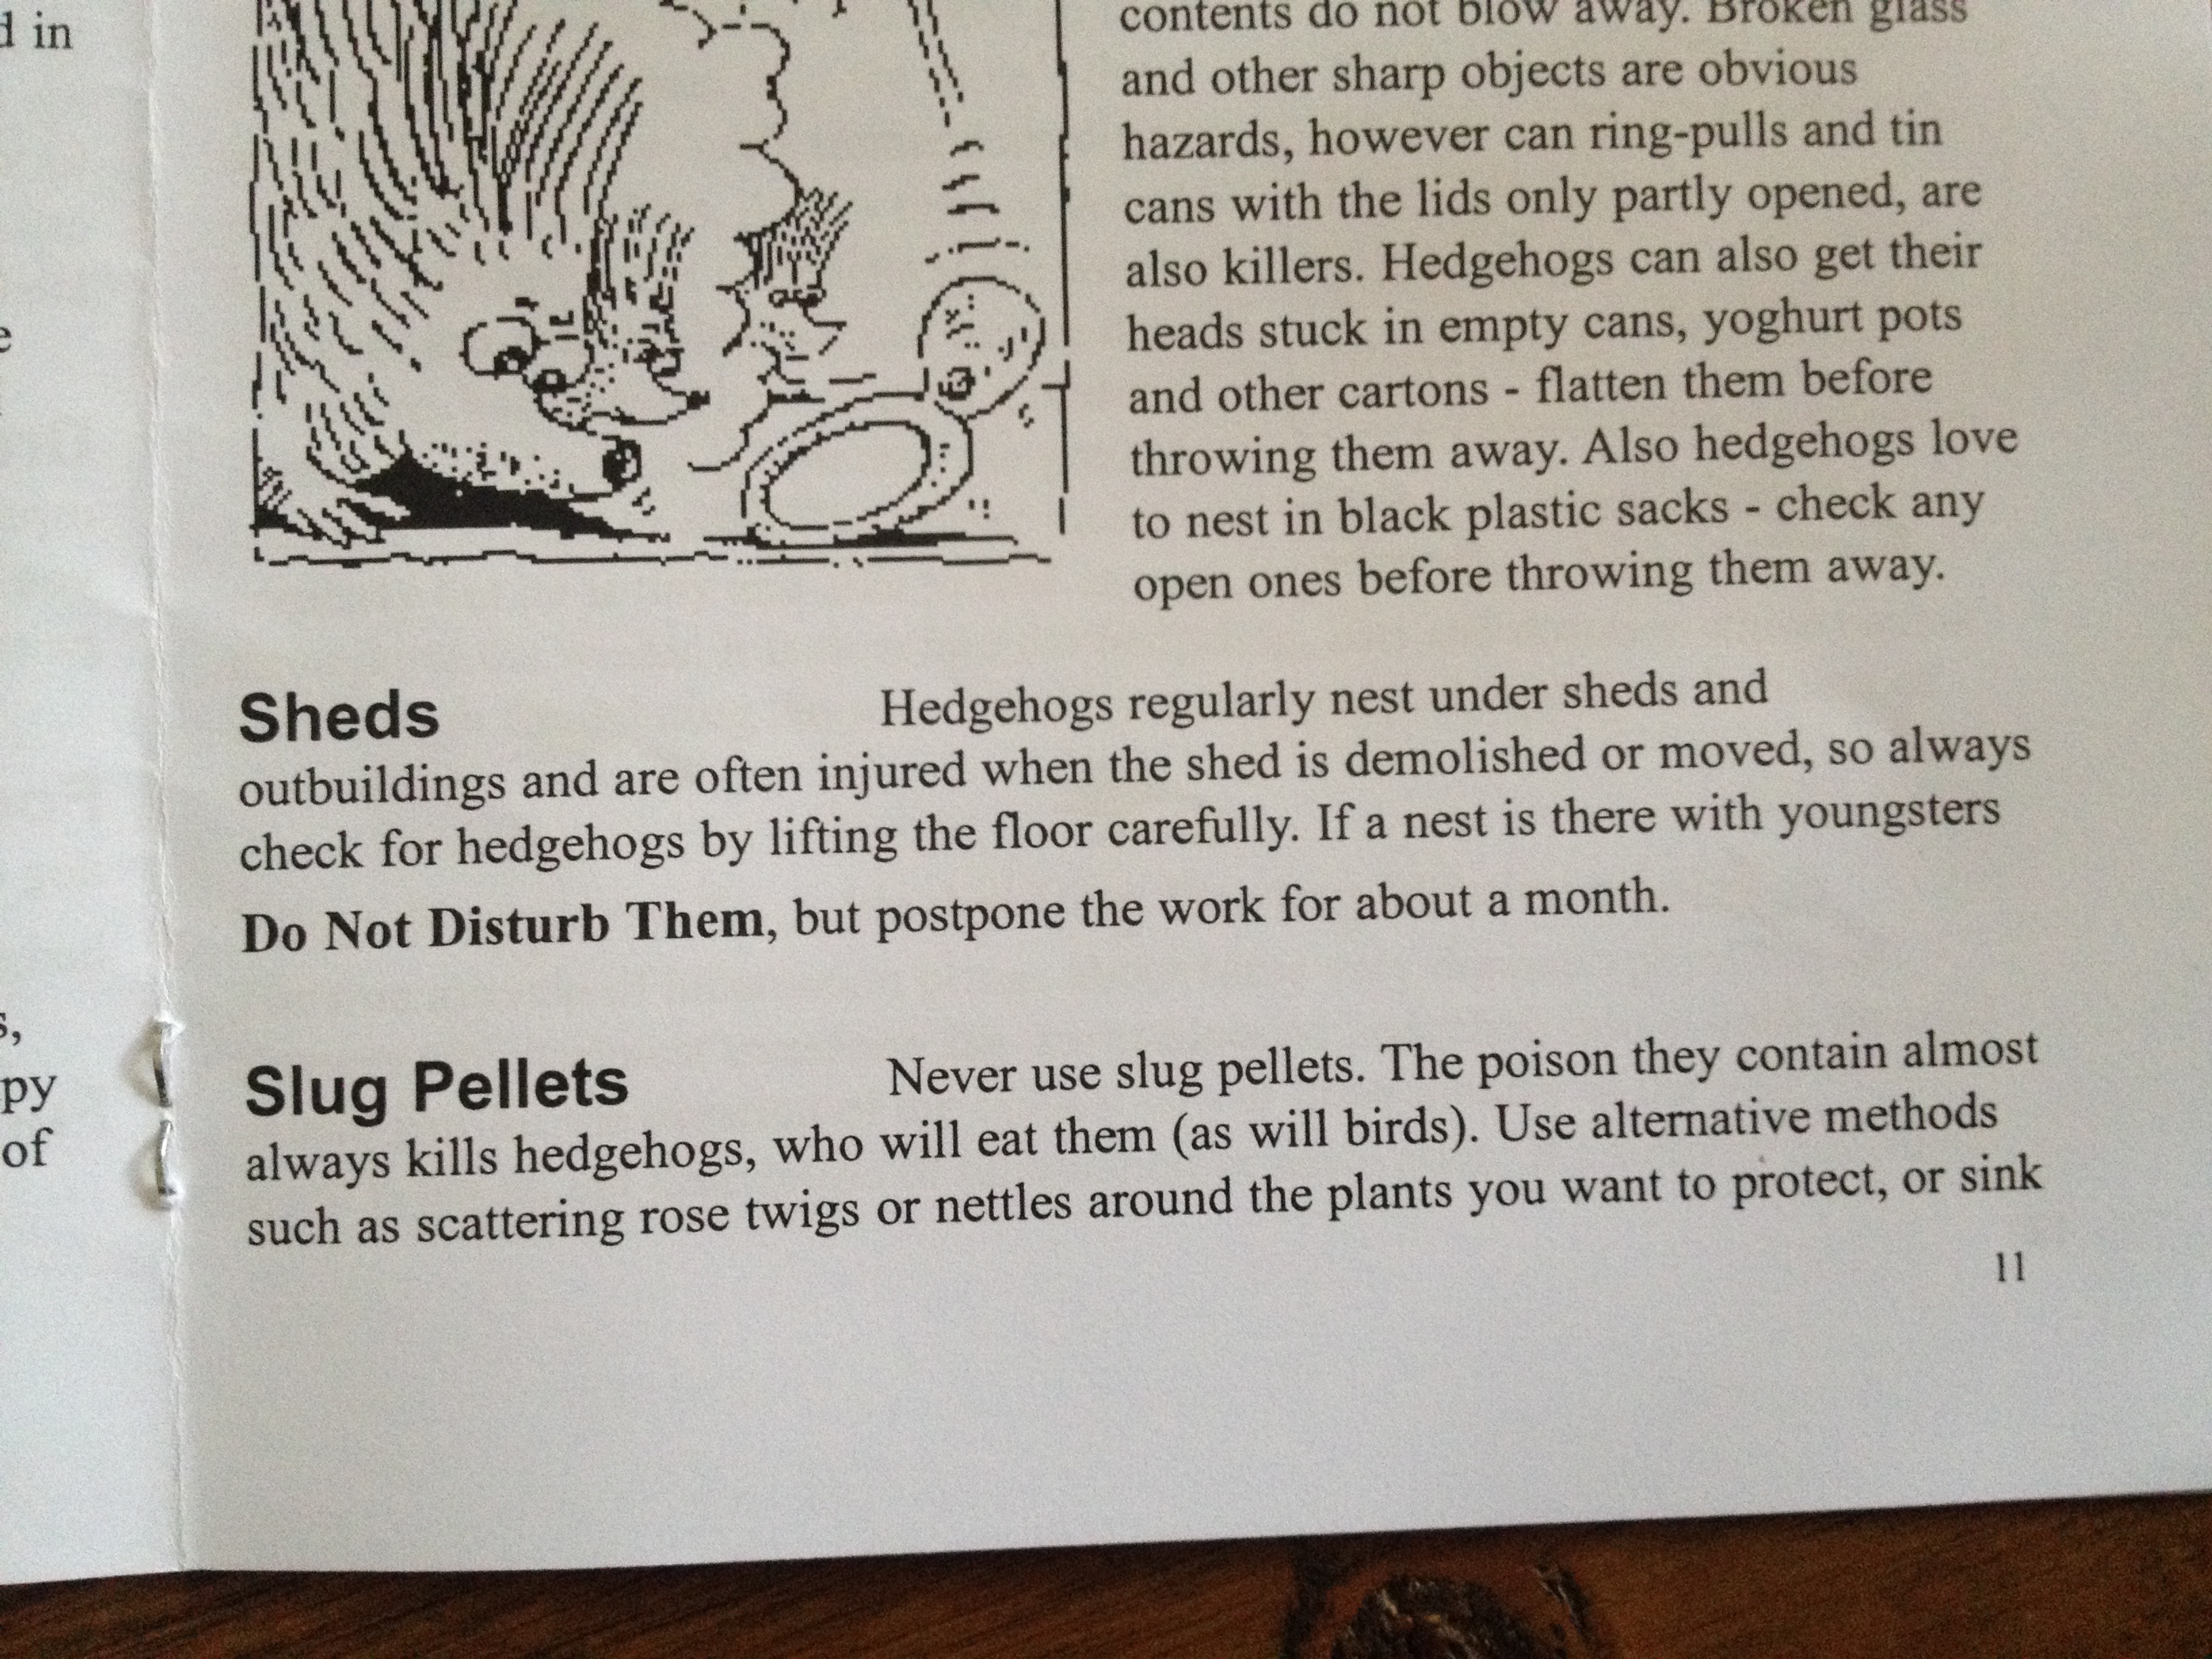
Cabbages, We sacrificed these to slugs and snails mostly planting between spinach and chard as fodder for the garden battlefield. We picked up 5400 cabbage seeds for 1.99, of which around 600, 700 grew . our yield was very low but it kept the snails and slugs off the aubergines, chard, spinach and salads which were the more important crops.
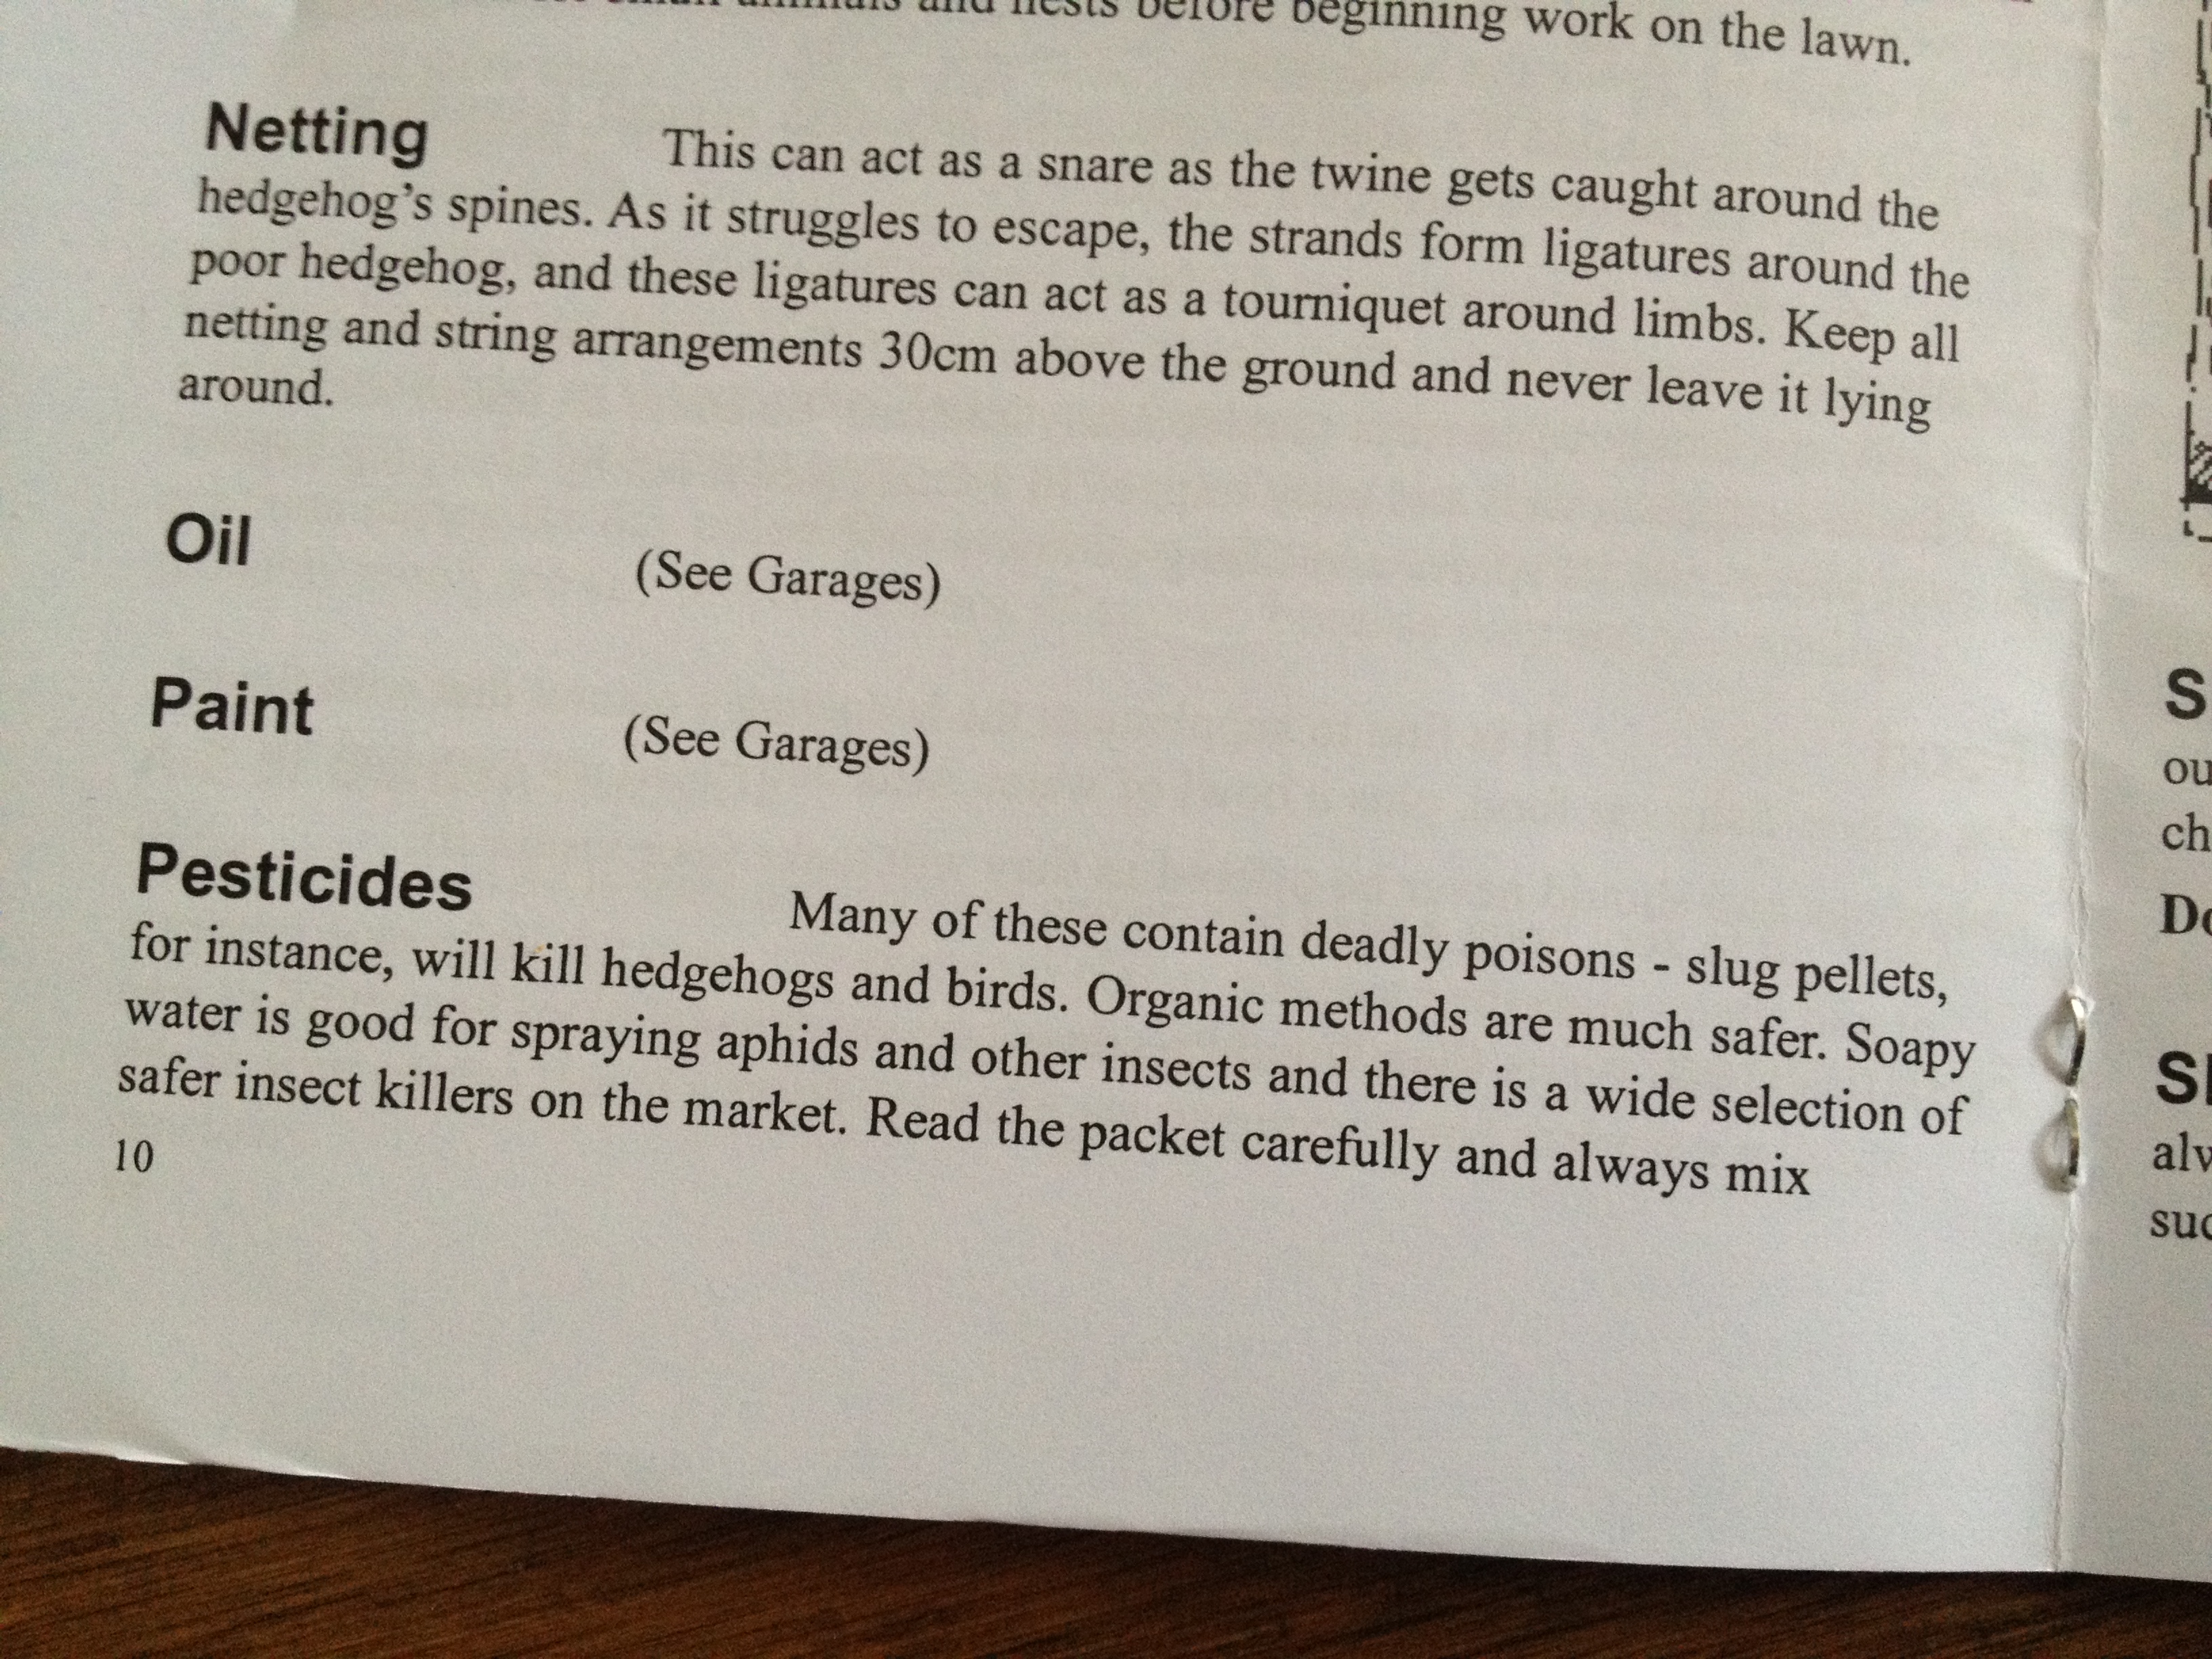
Why not use Slug Pellets or pesticides ?
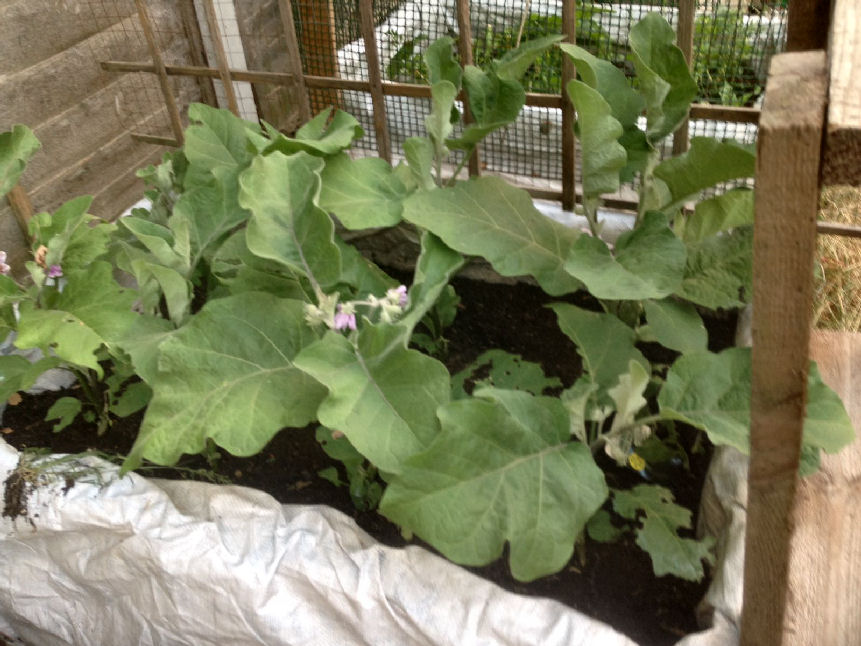
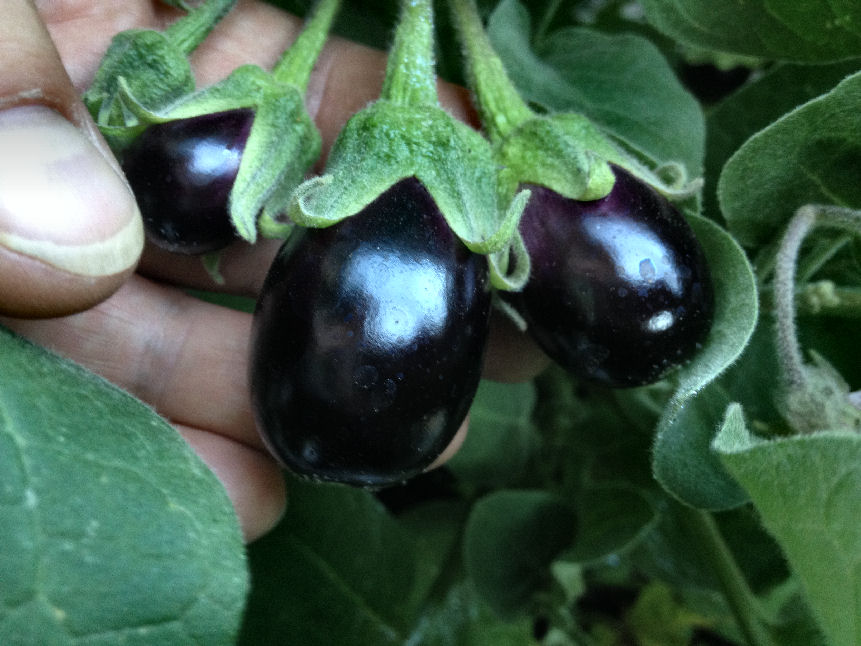
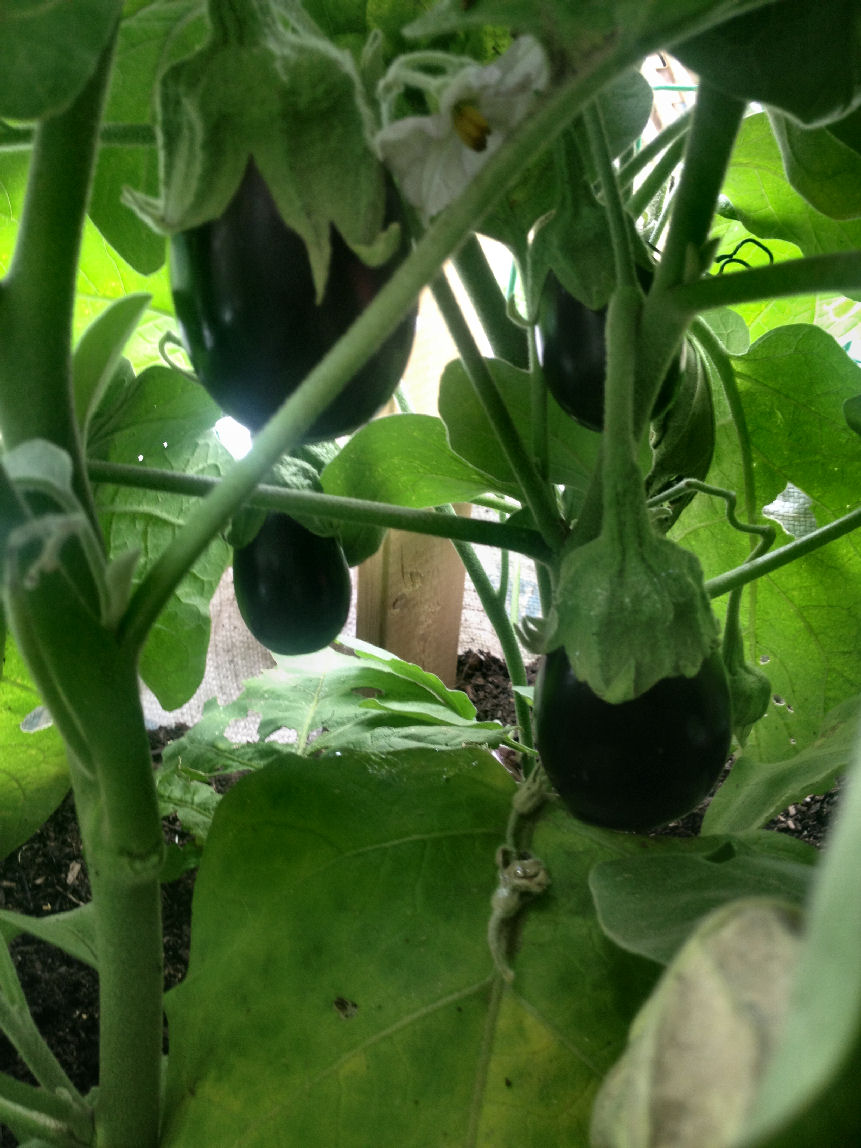
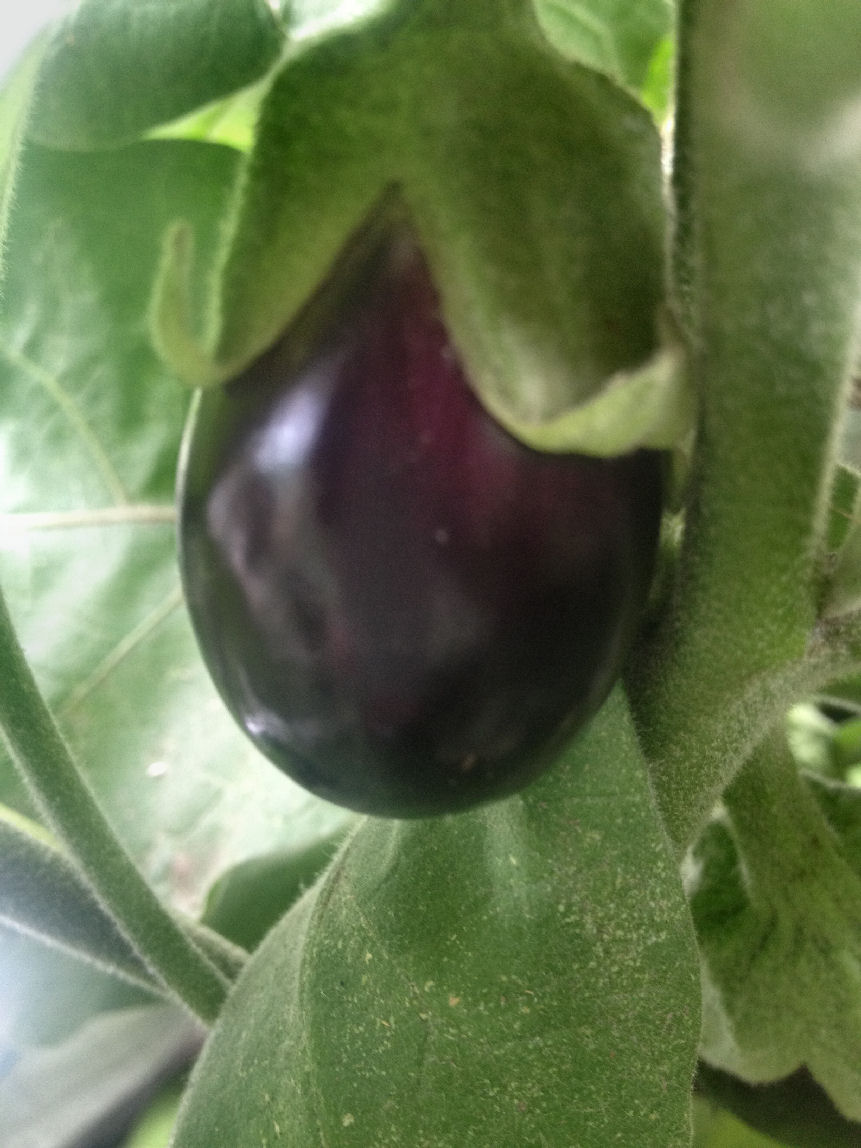
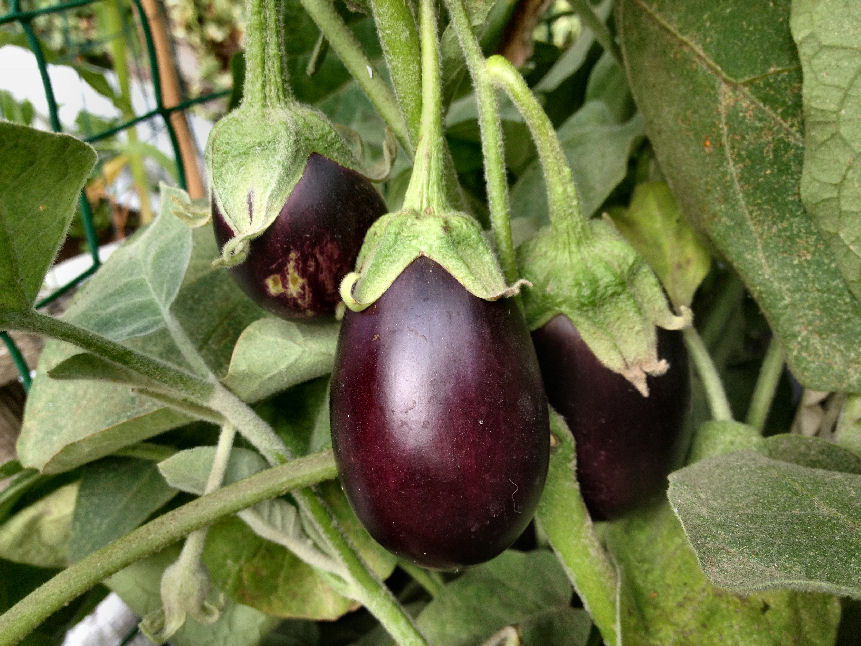
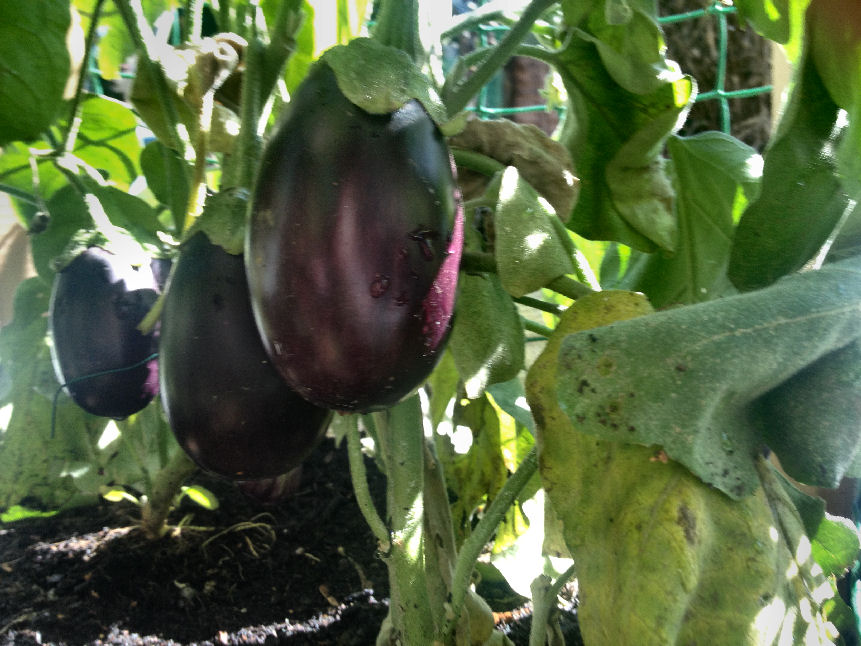
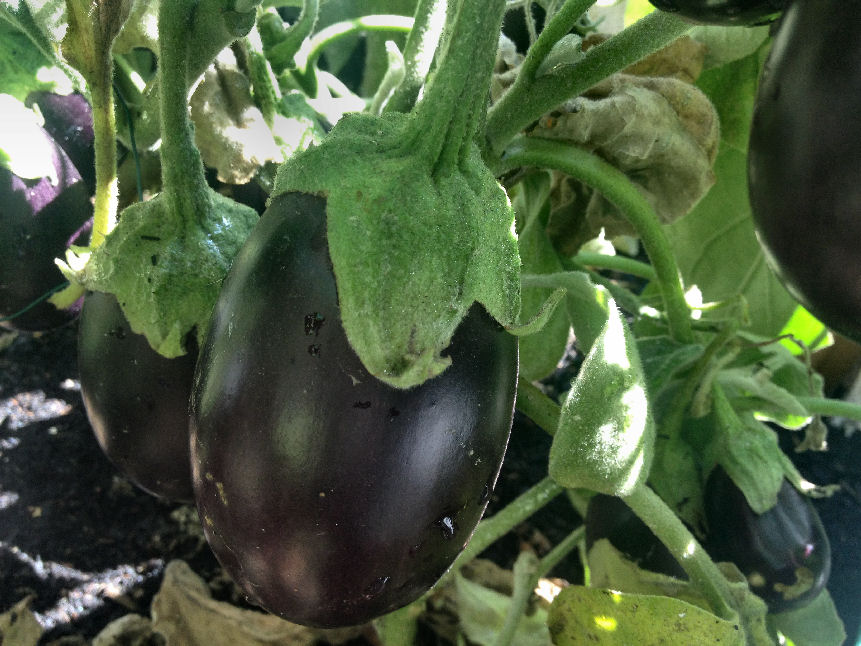
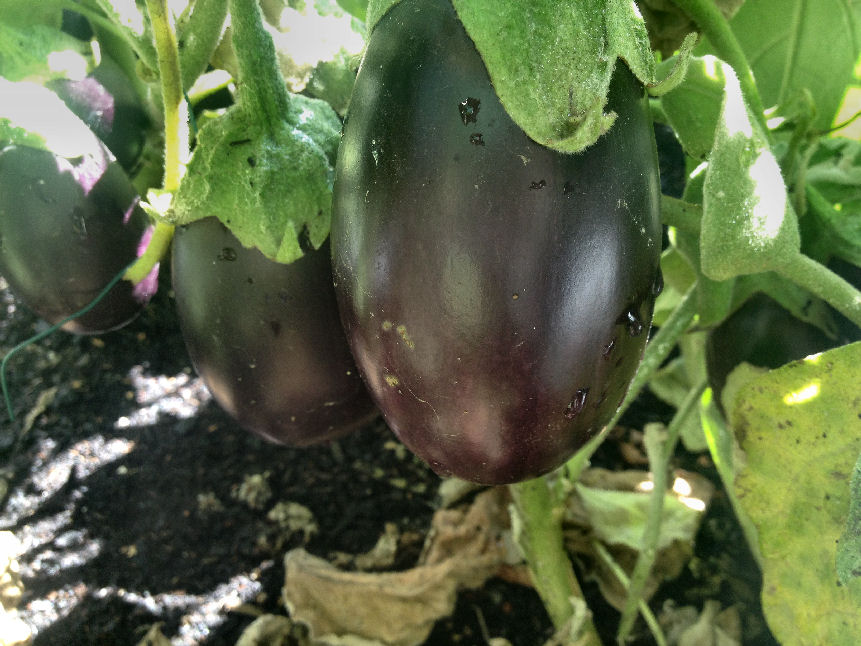
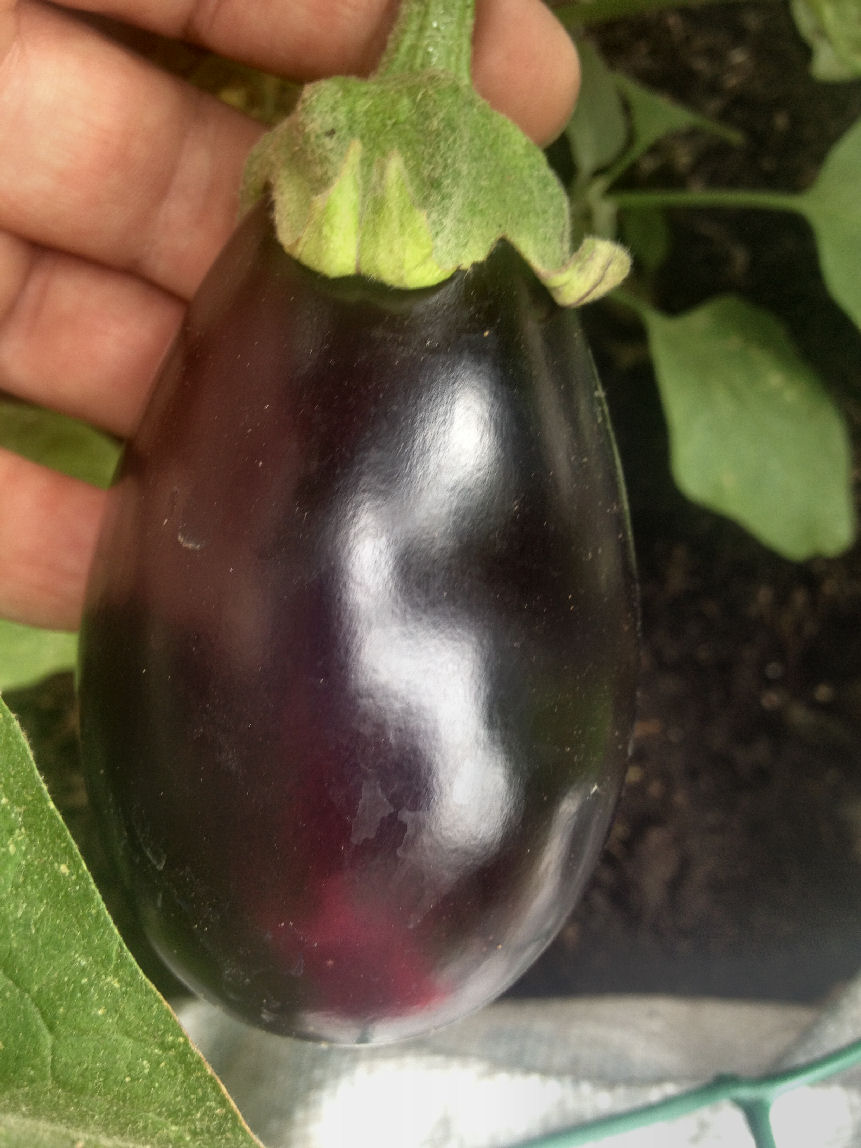
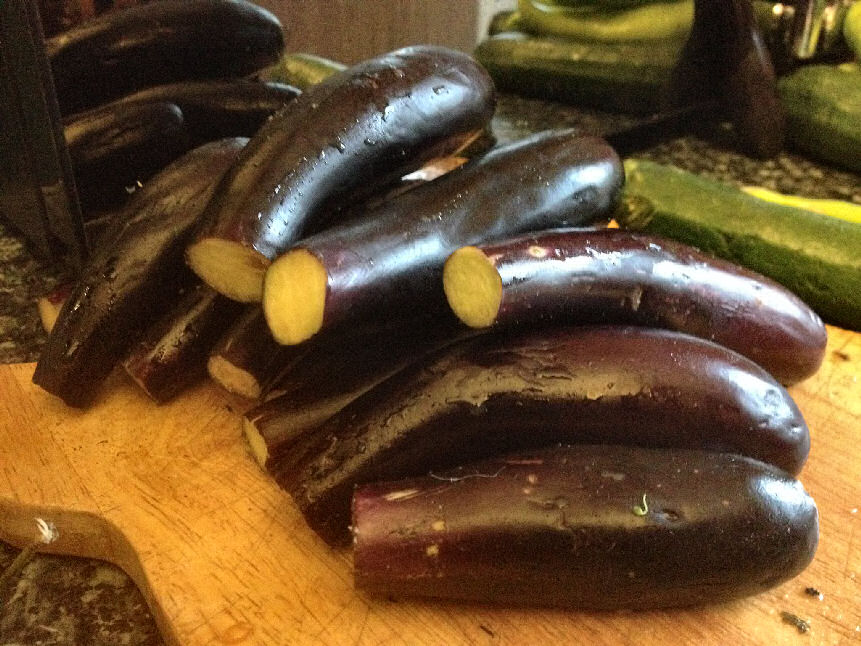
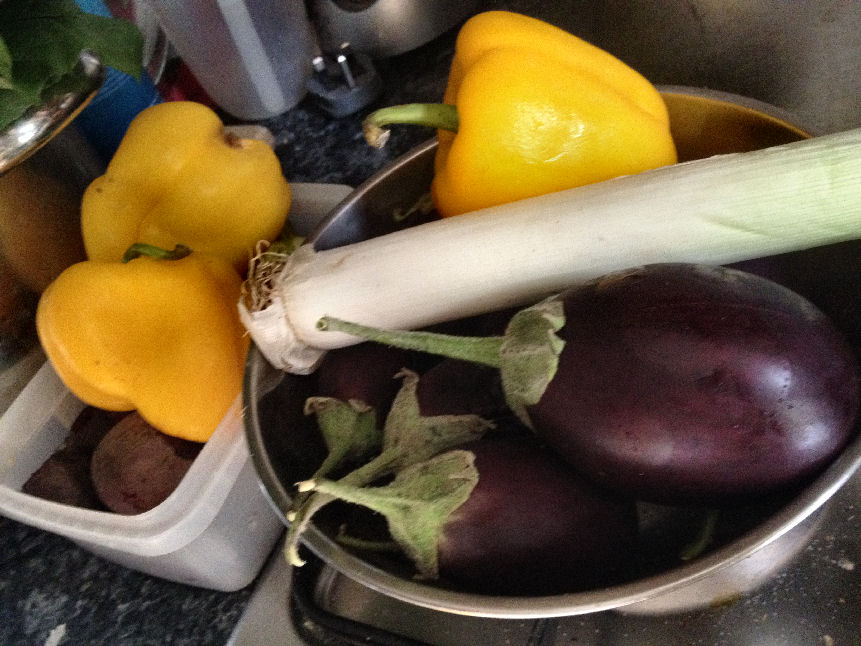
Aubergines… 8 plants, outdoor 1/2 tonne planter, yield 38 aubergines – long (late crop) and short (early crop)
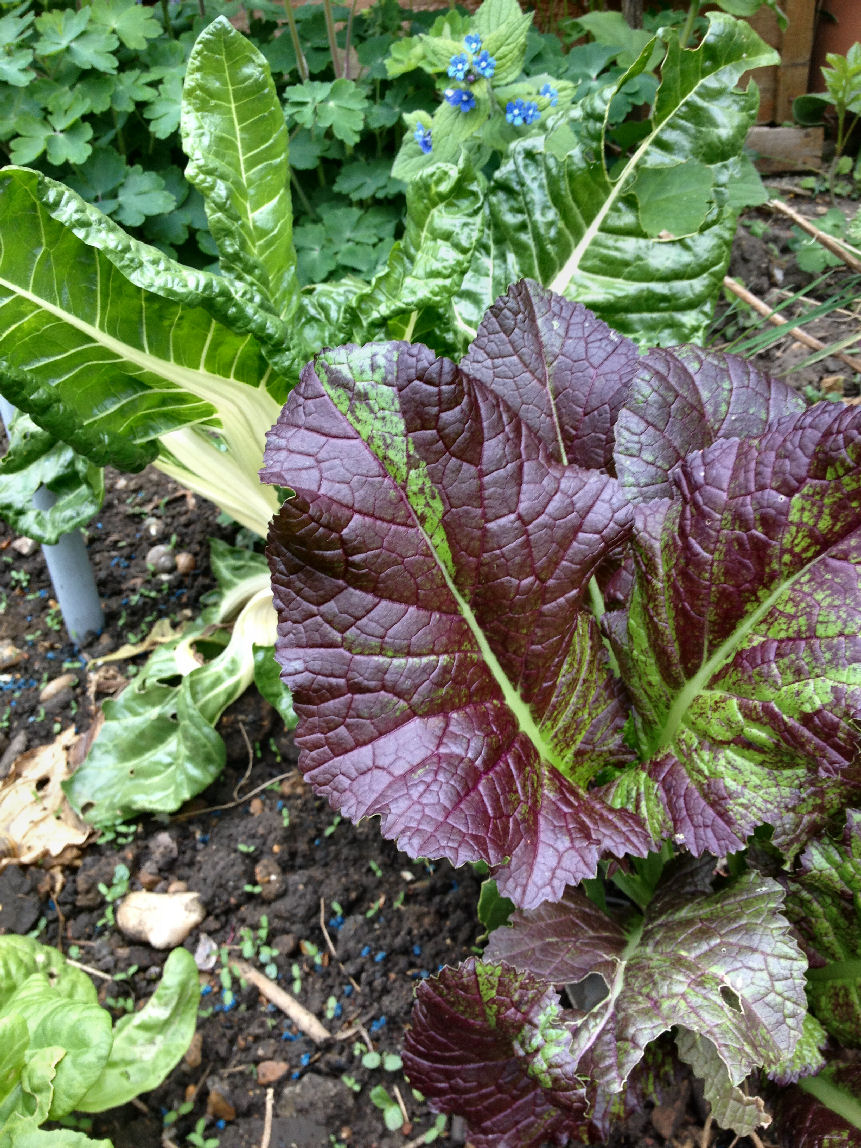
Mustard Lettuce
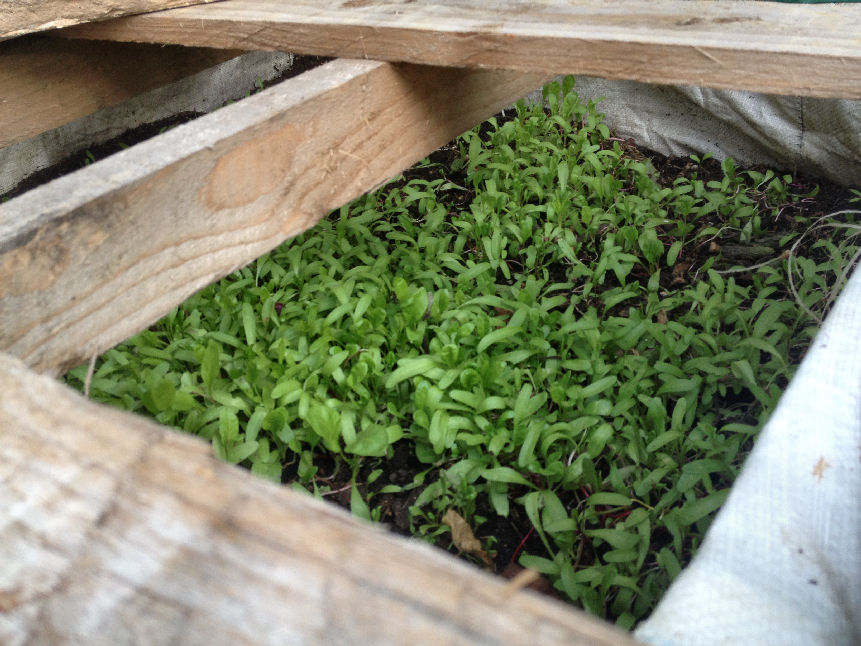
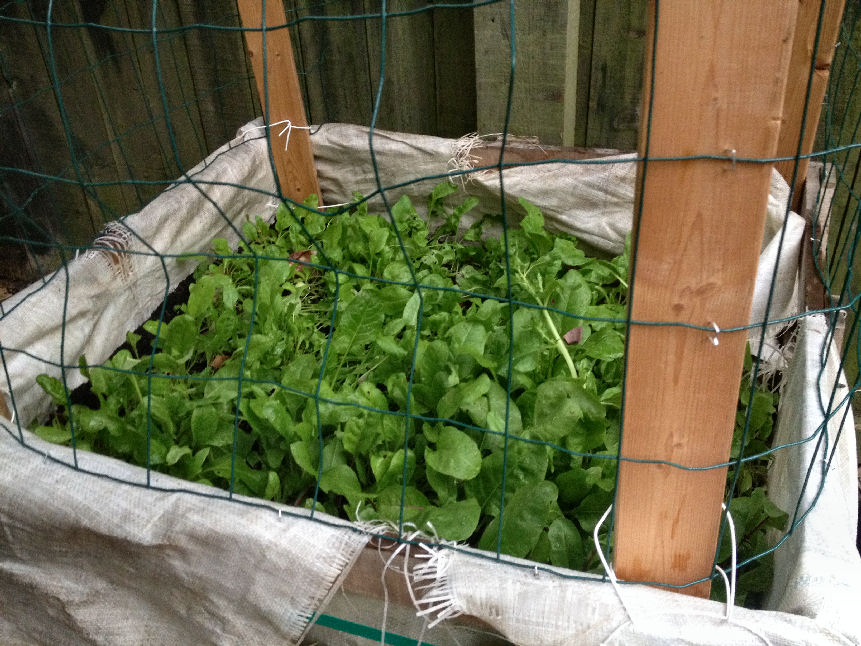
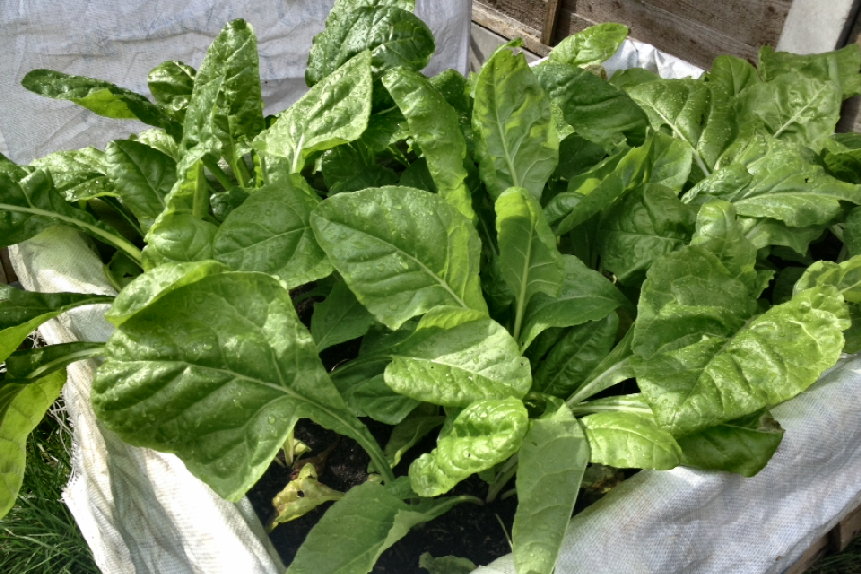
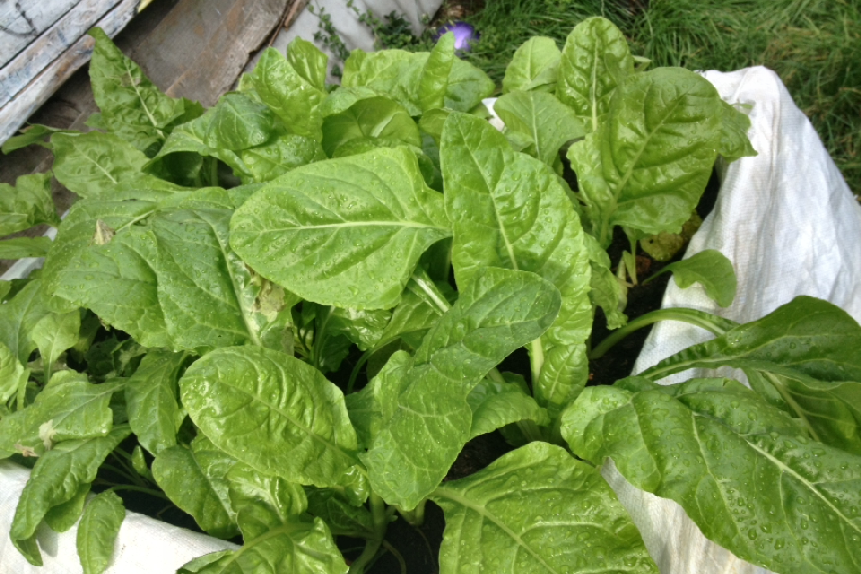
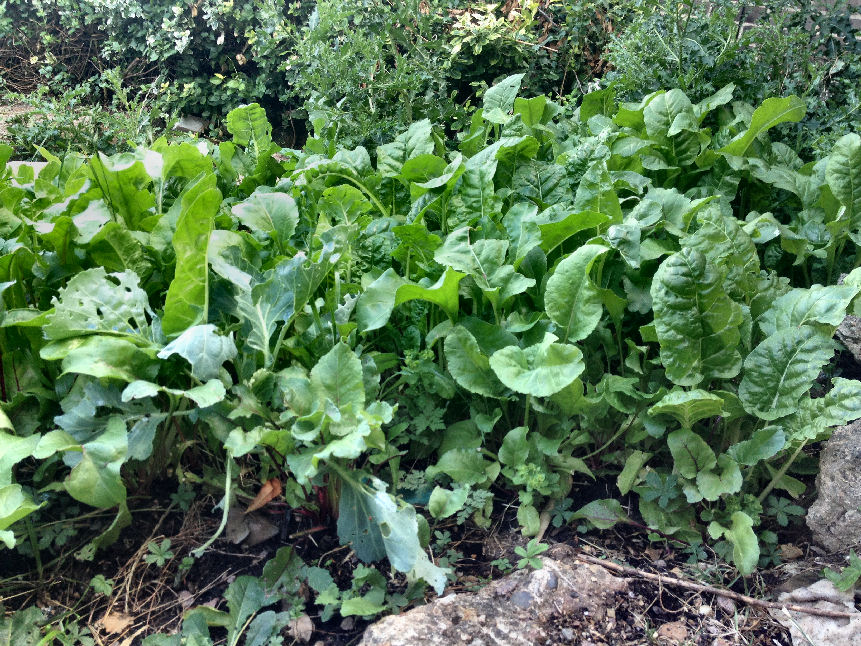
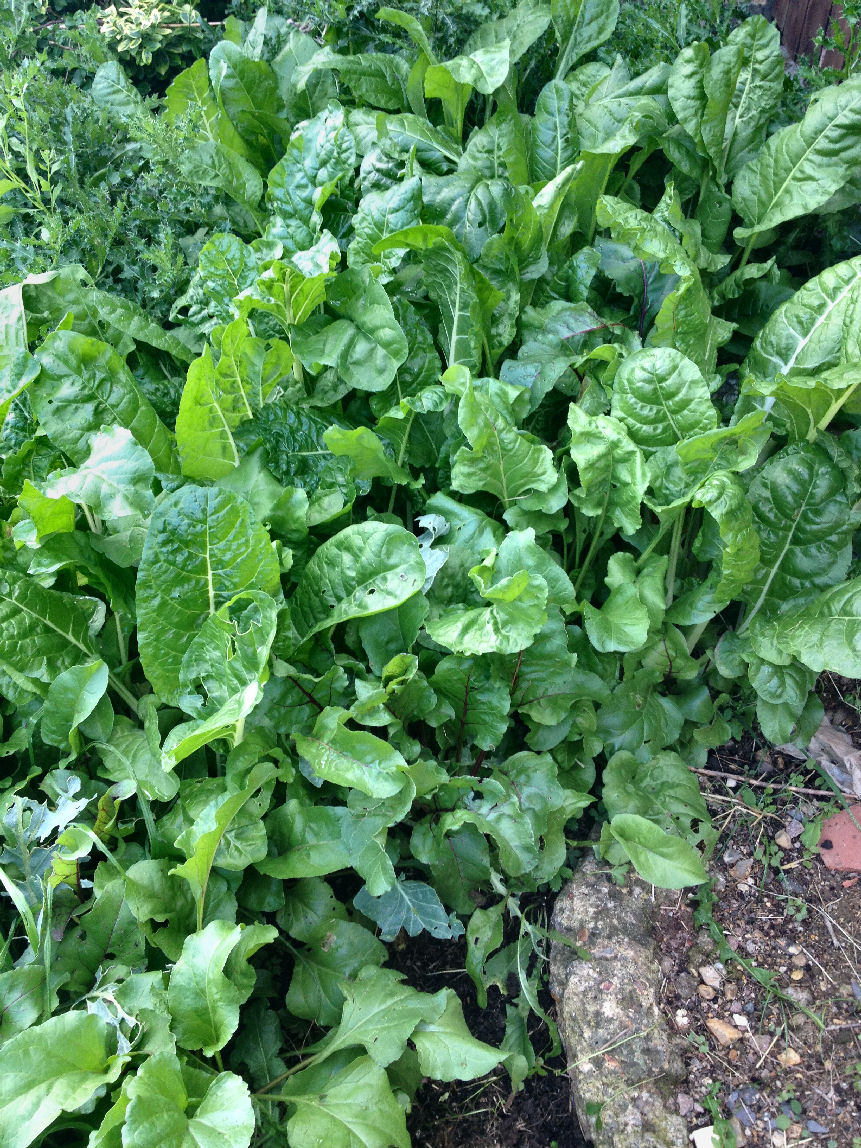
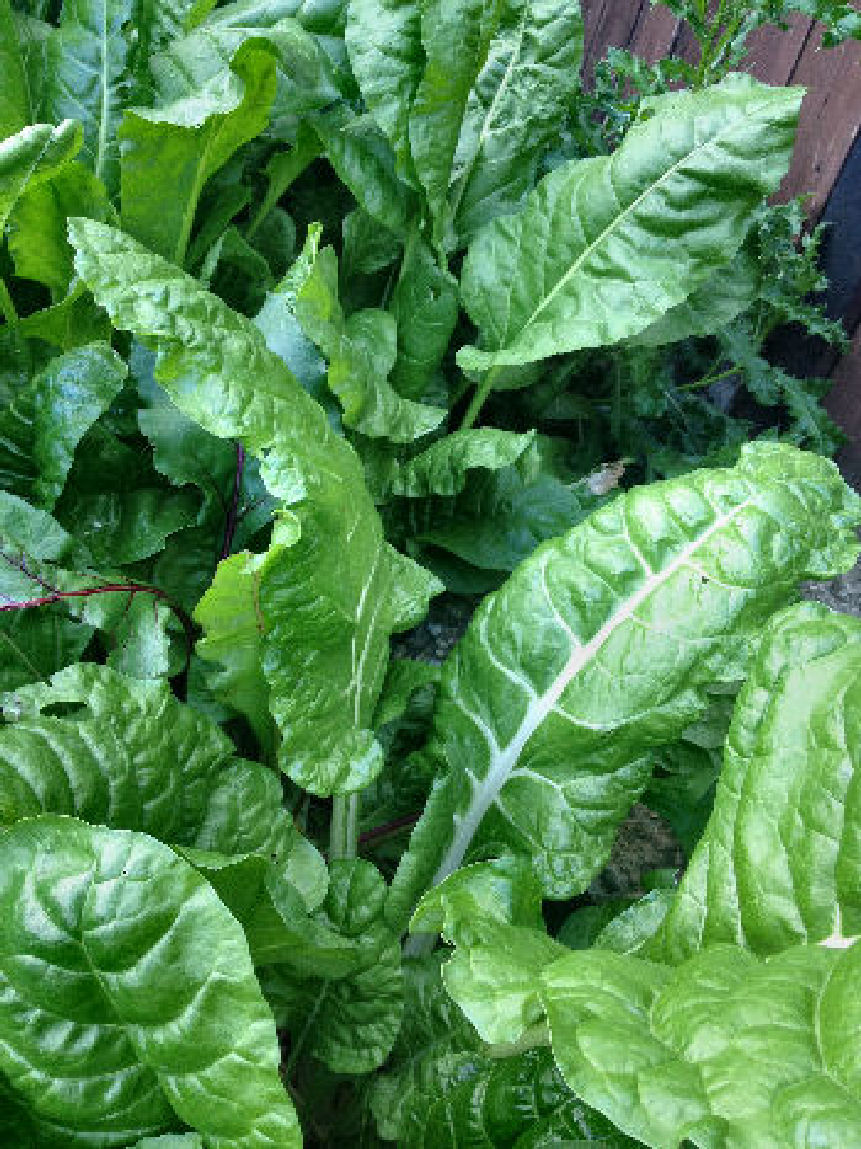
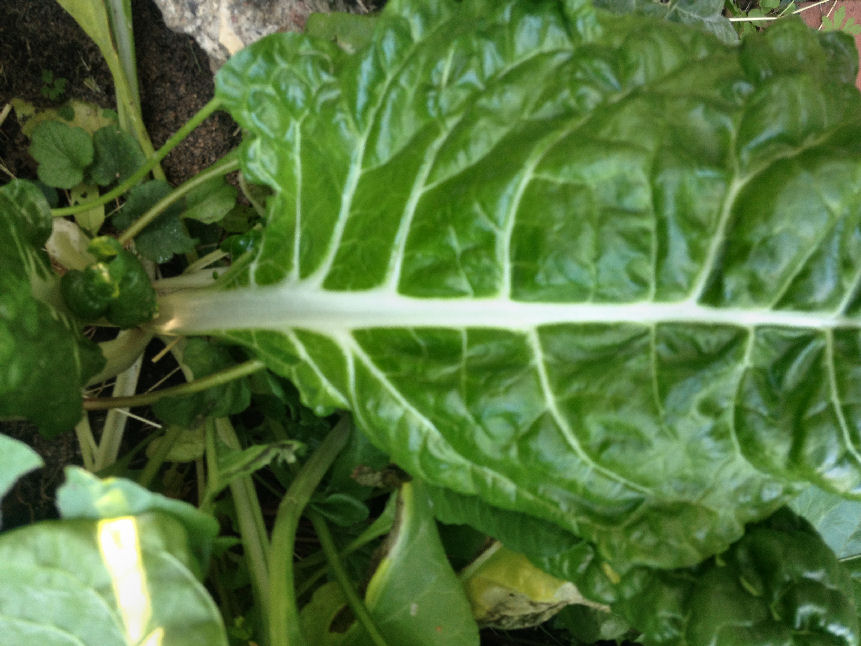
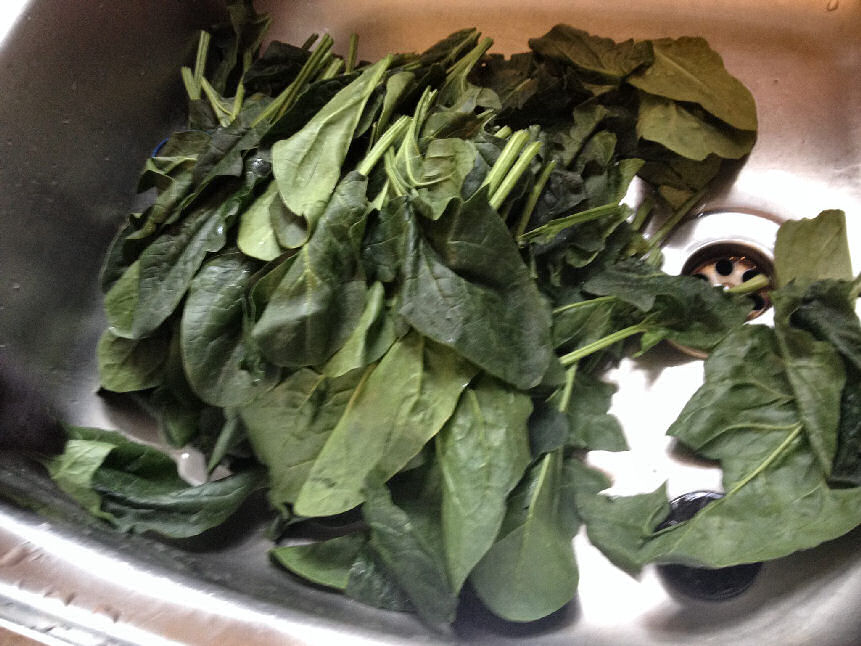
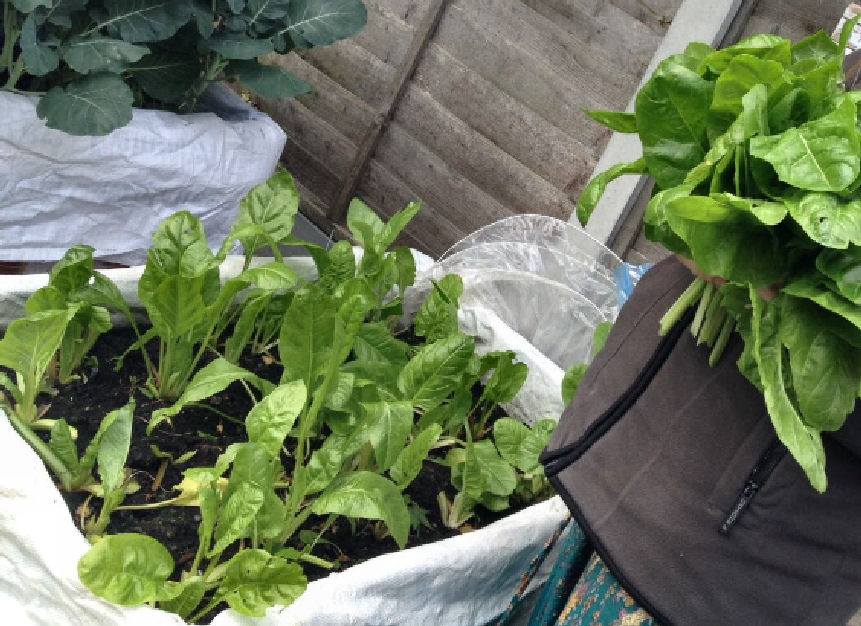
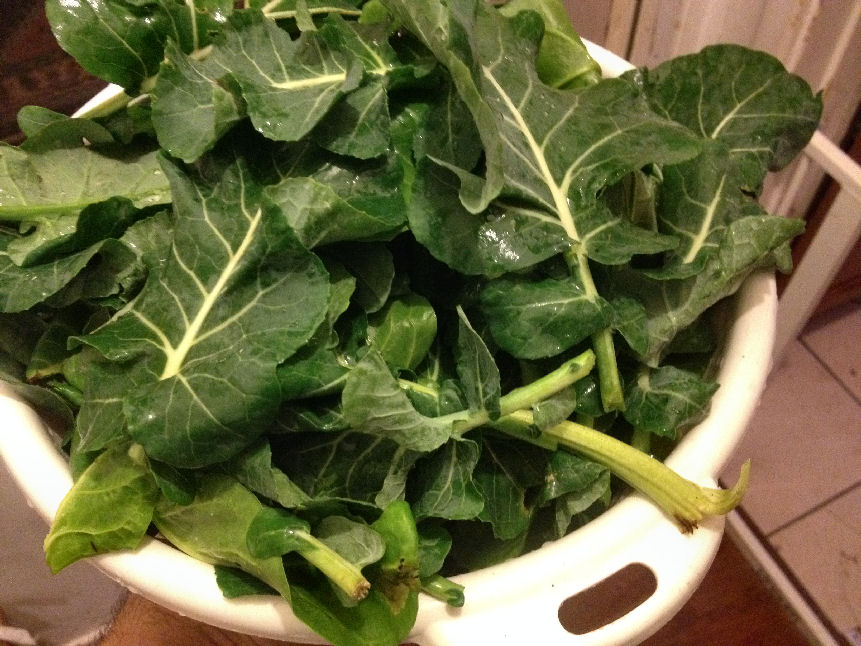
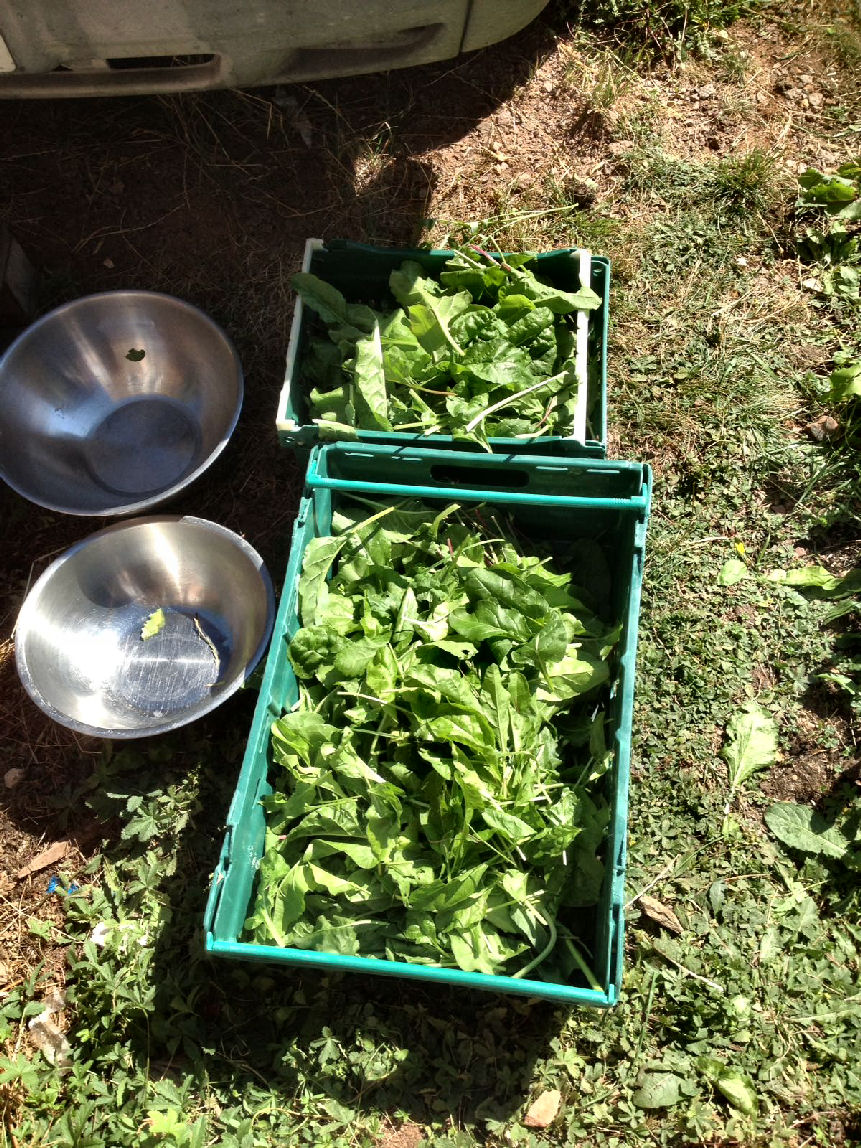
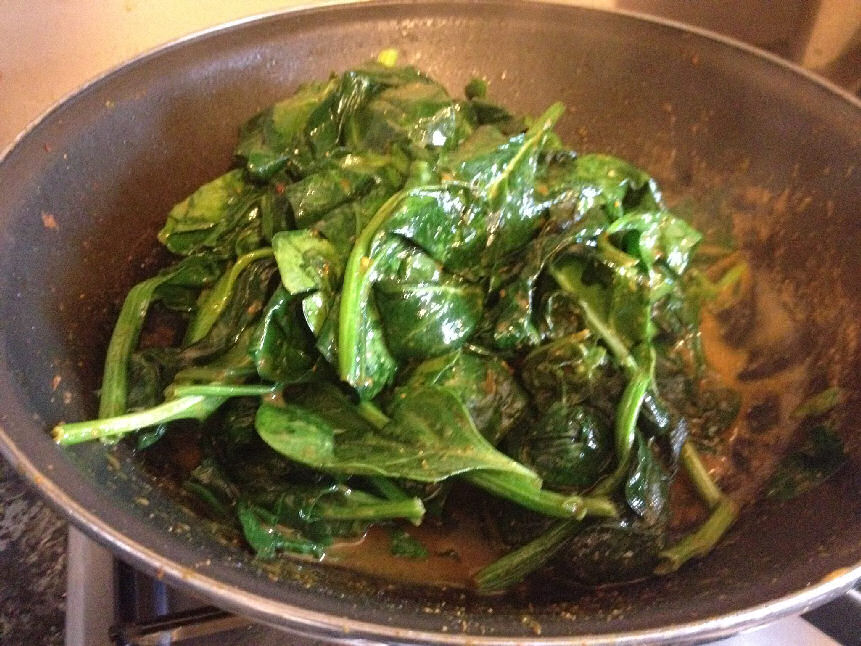
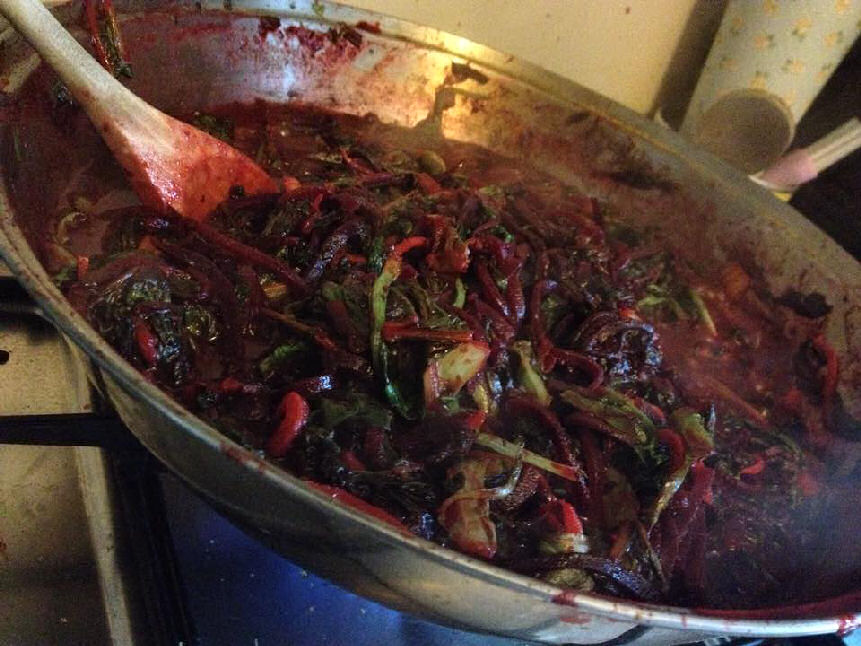
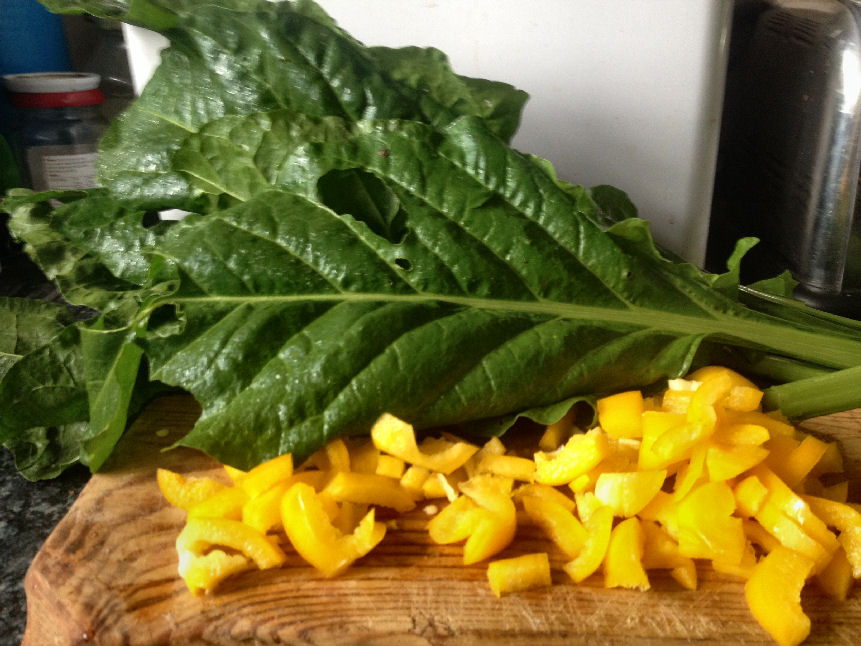
Spinach (Epinards) Planters 3 tonne all year round snow or dry
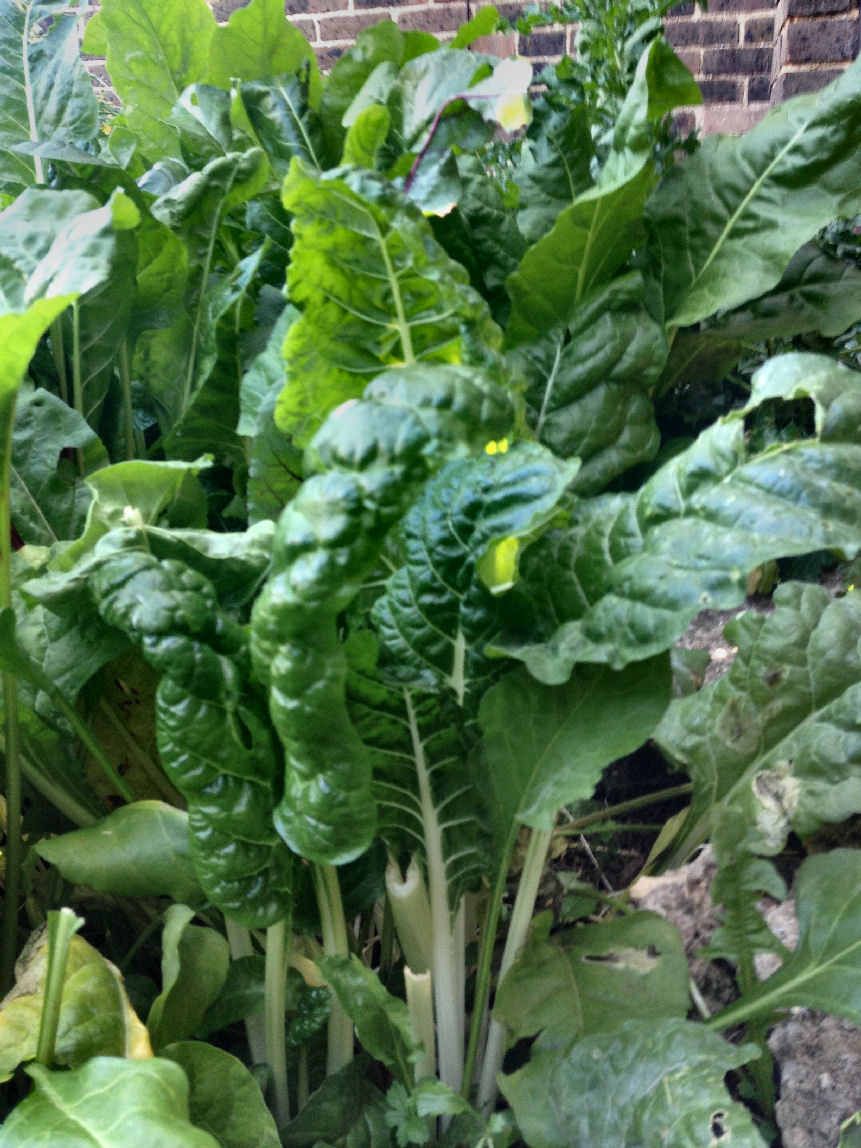
Chard all year (cut and come again, allow self seeding, never dies snow or dry) 2m sq Ground sewn
Chard and Spinach together delivered yield 4 carrier bags a week spring summer autumn and 1 bag a week in winter
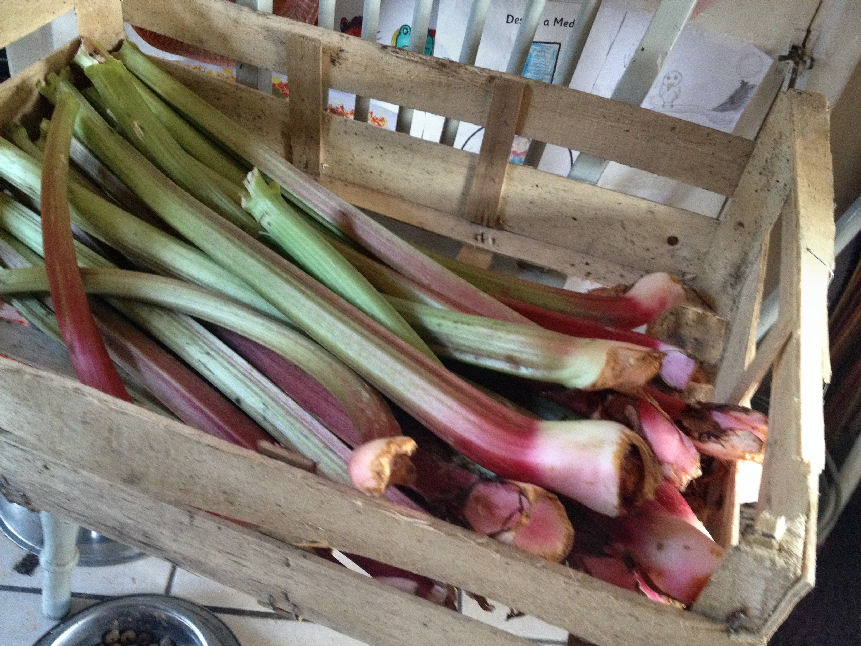
Rhubarb…
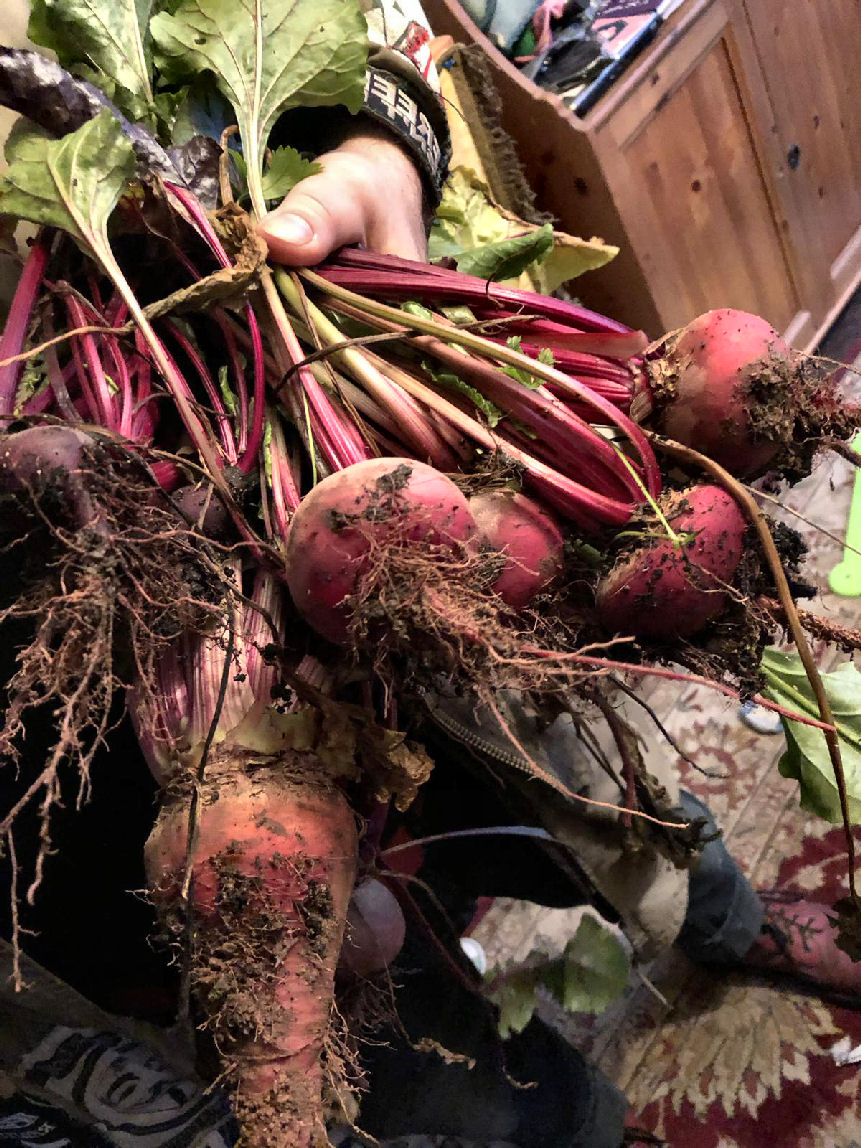
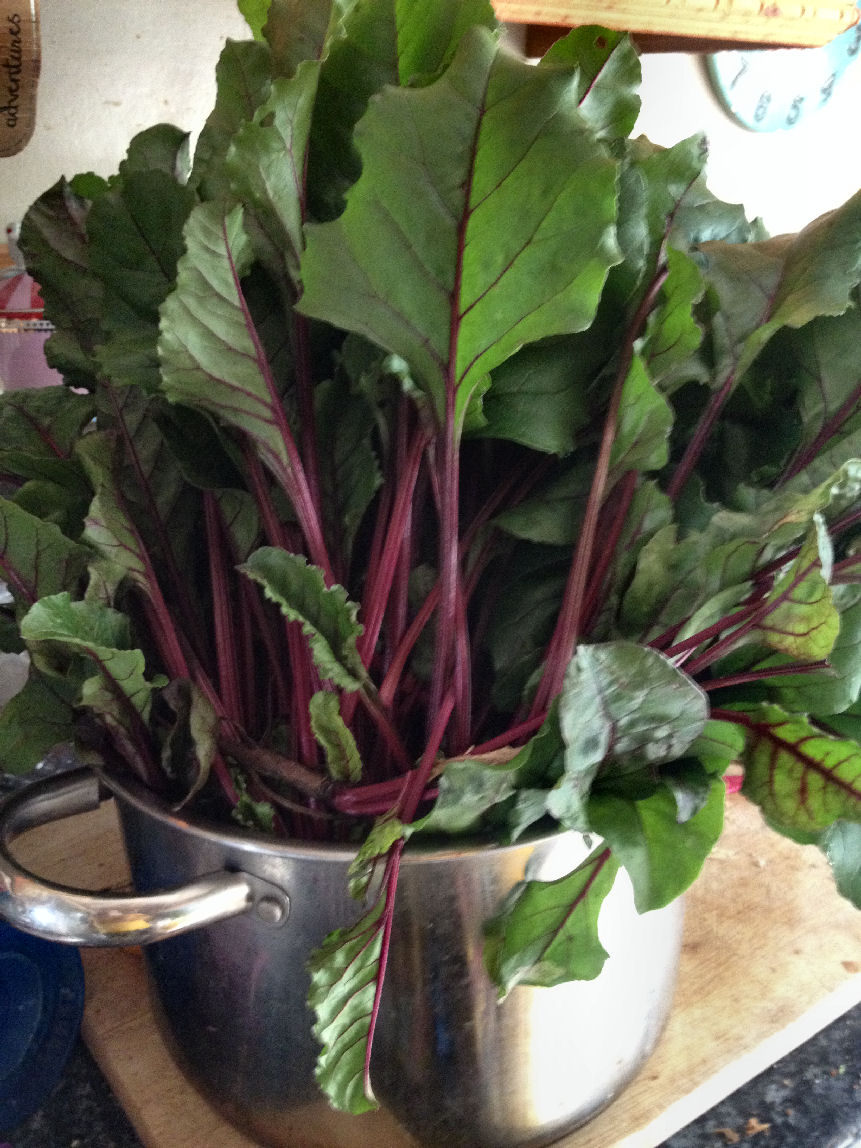
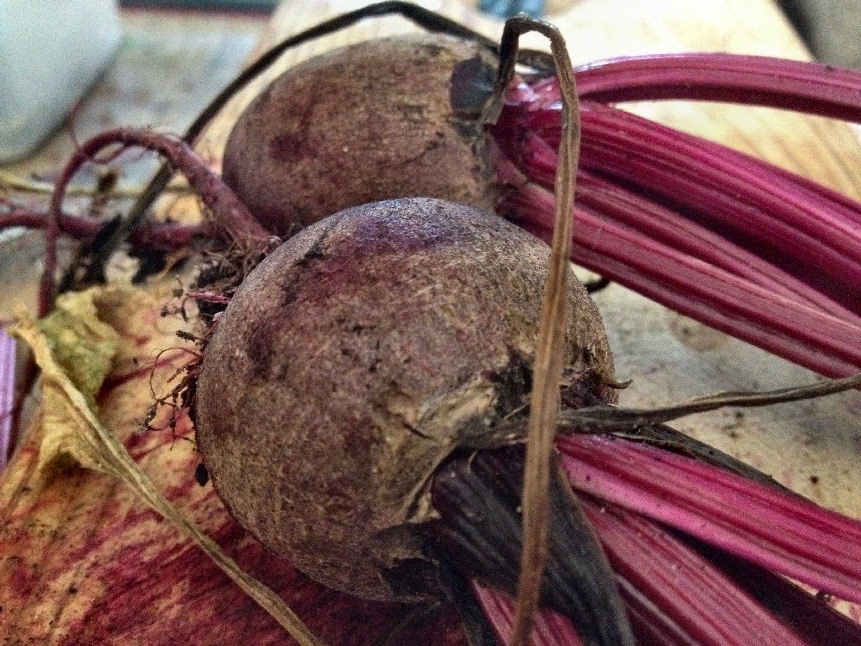
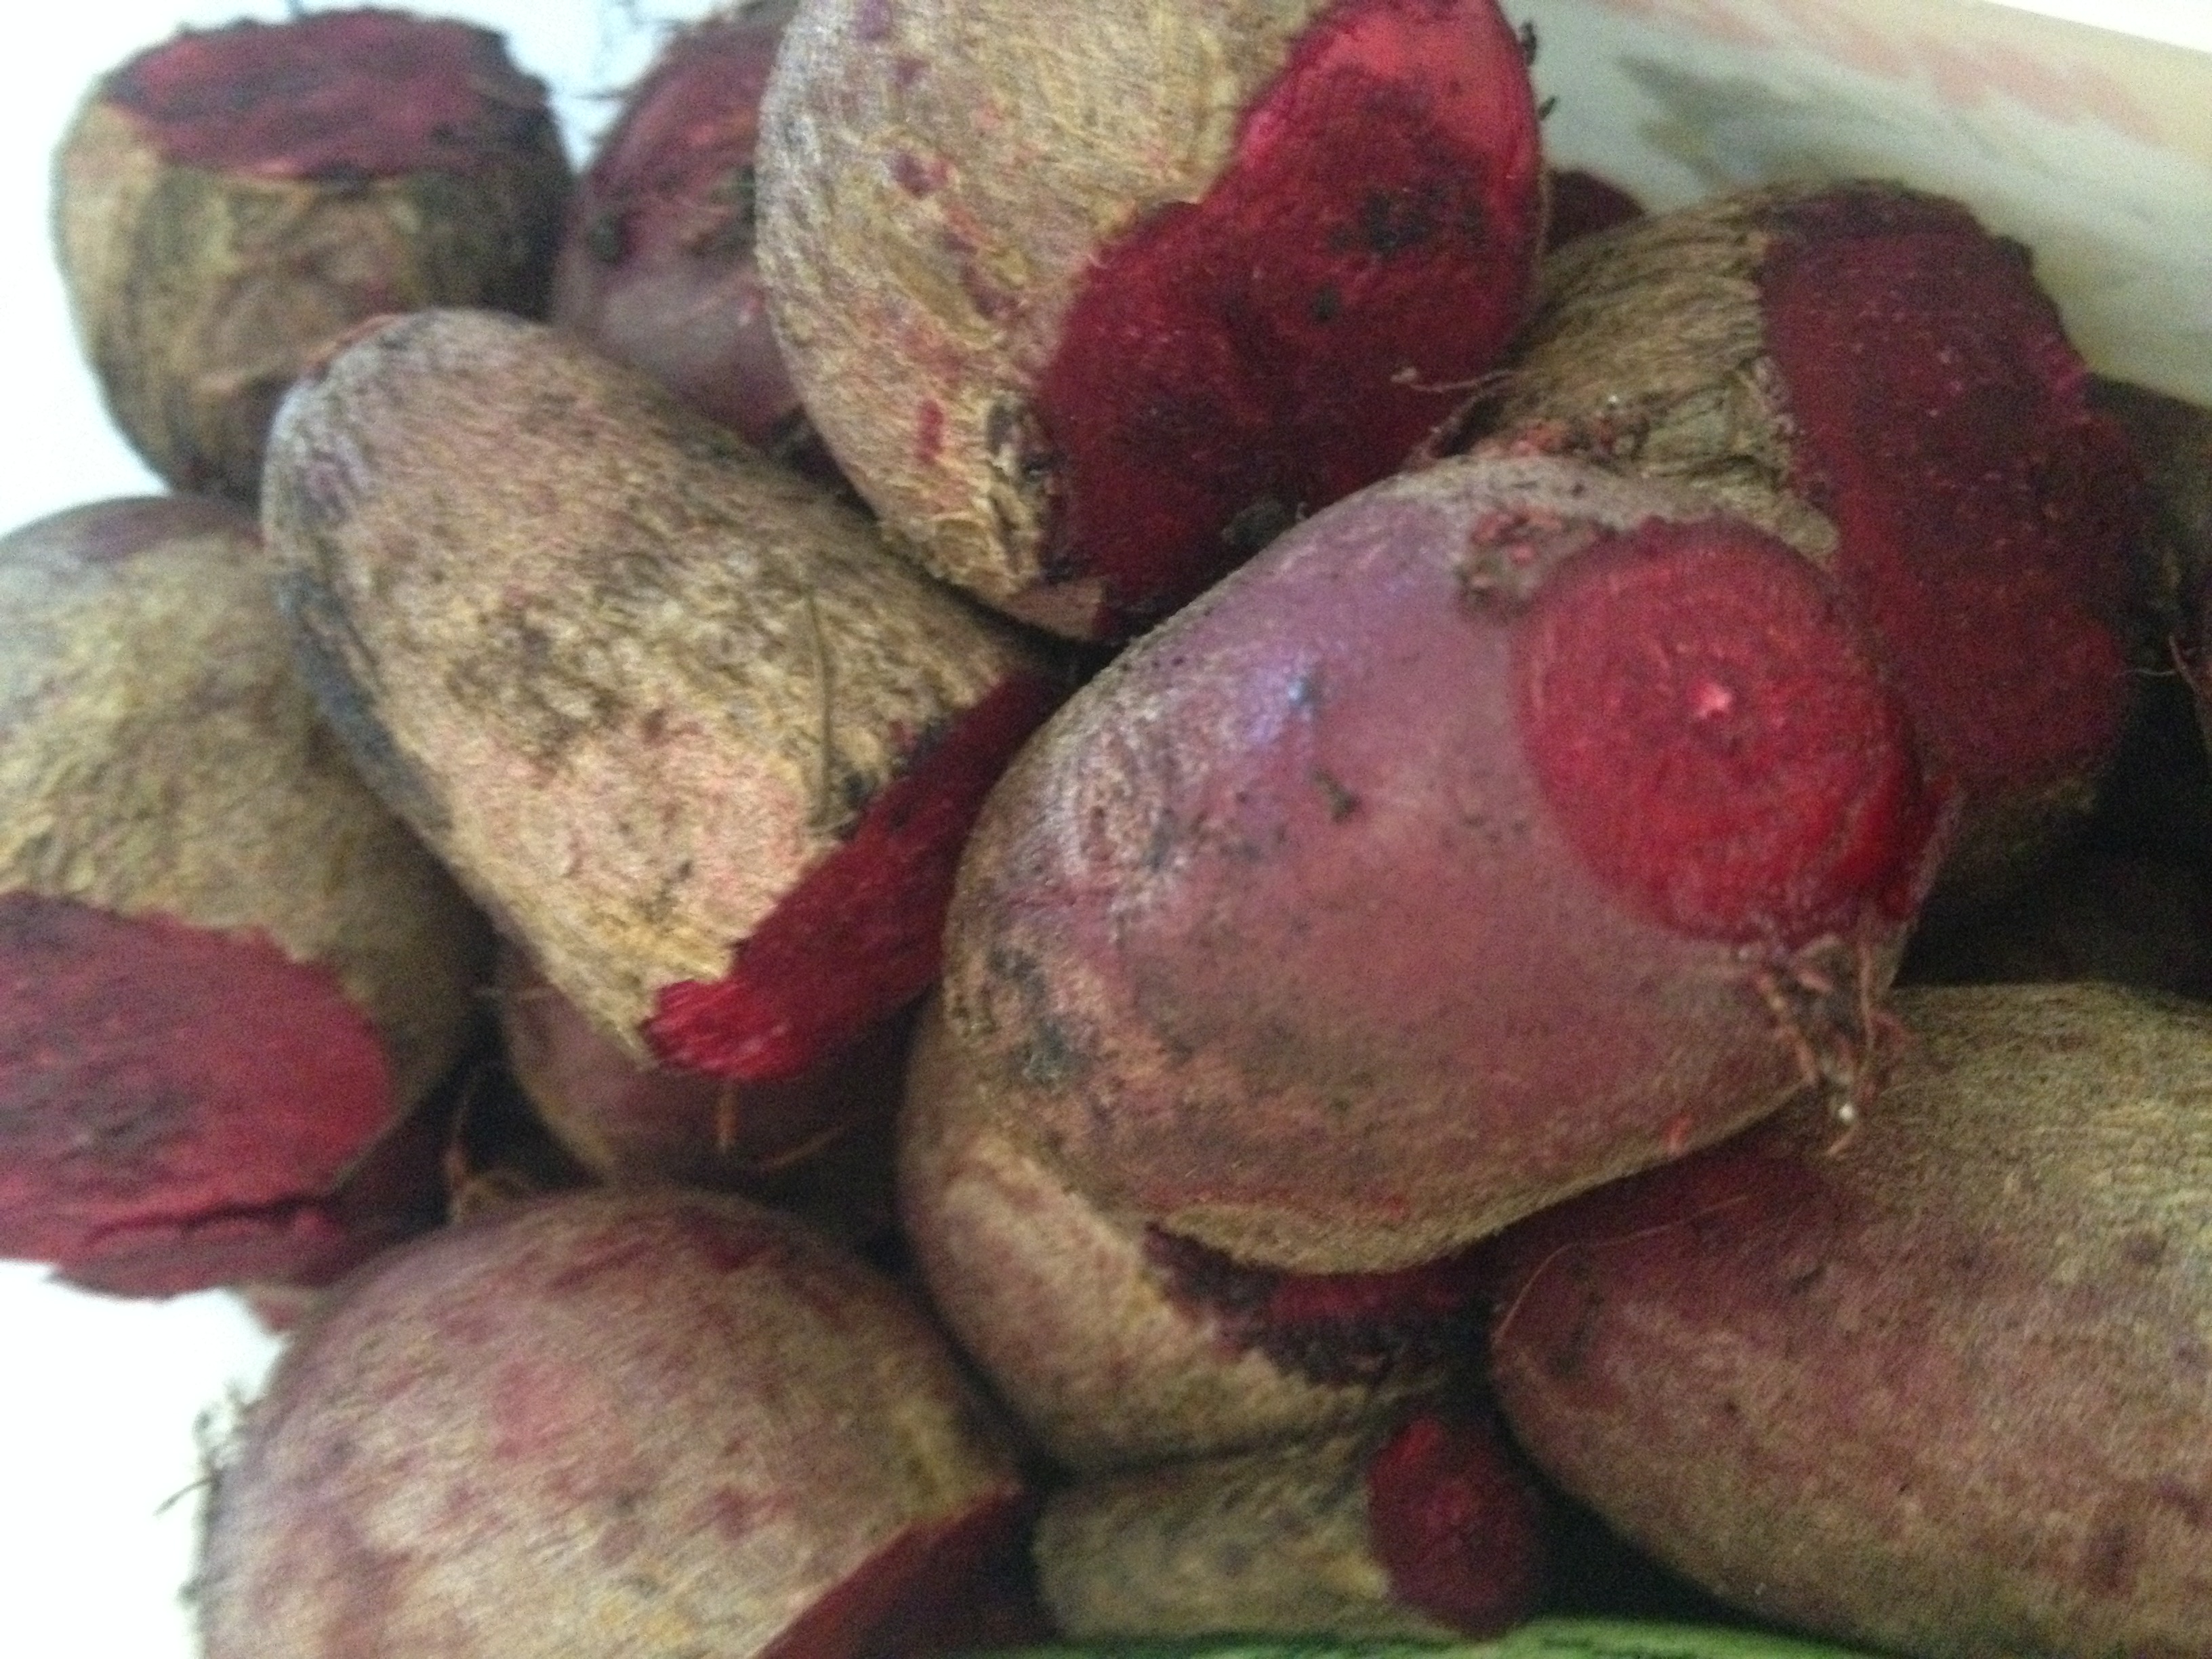
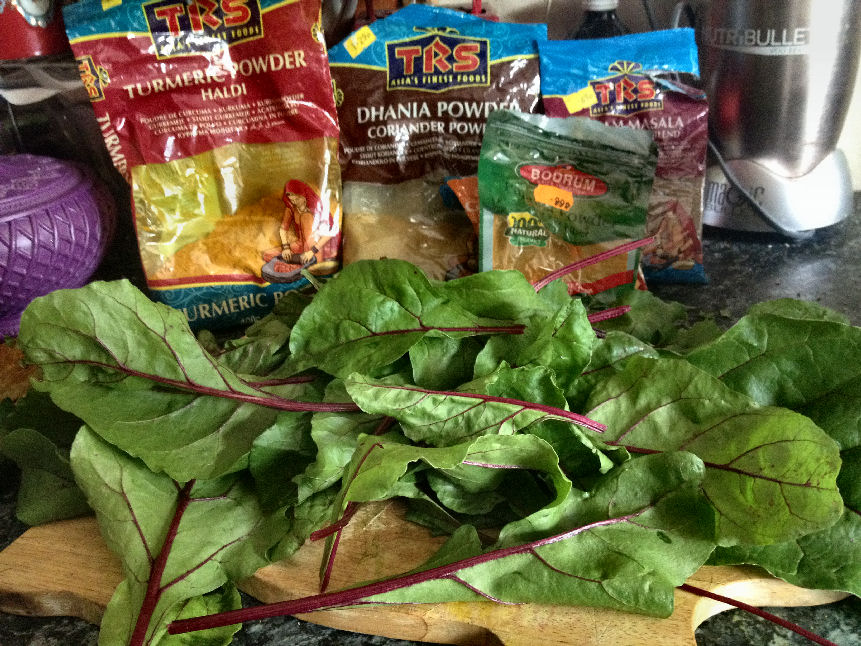
Beetroot (seeded and early growth over packed in 1 tonne planter cut and come again for the leaves then separated out twice and grown sewn to allow larger growth of the beetroots to continue)
Harvesting Beetroot leaves all year, beetroots constant supply from October to February. We seeded 500.
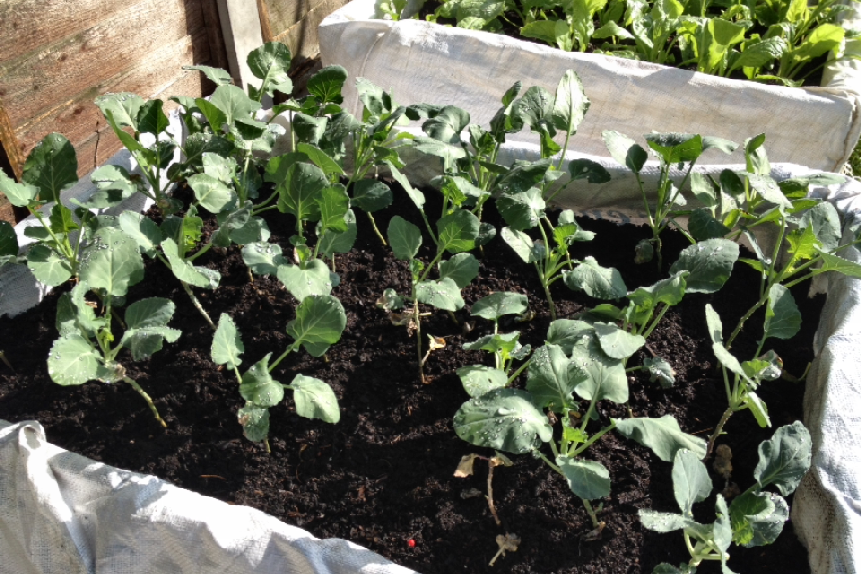
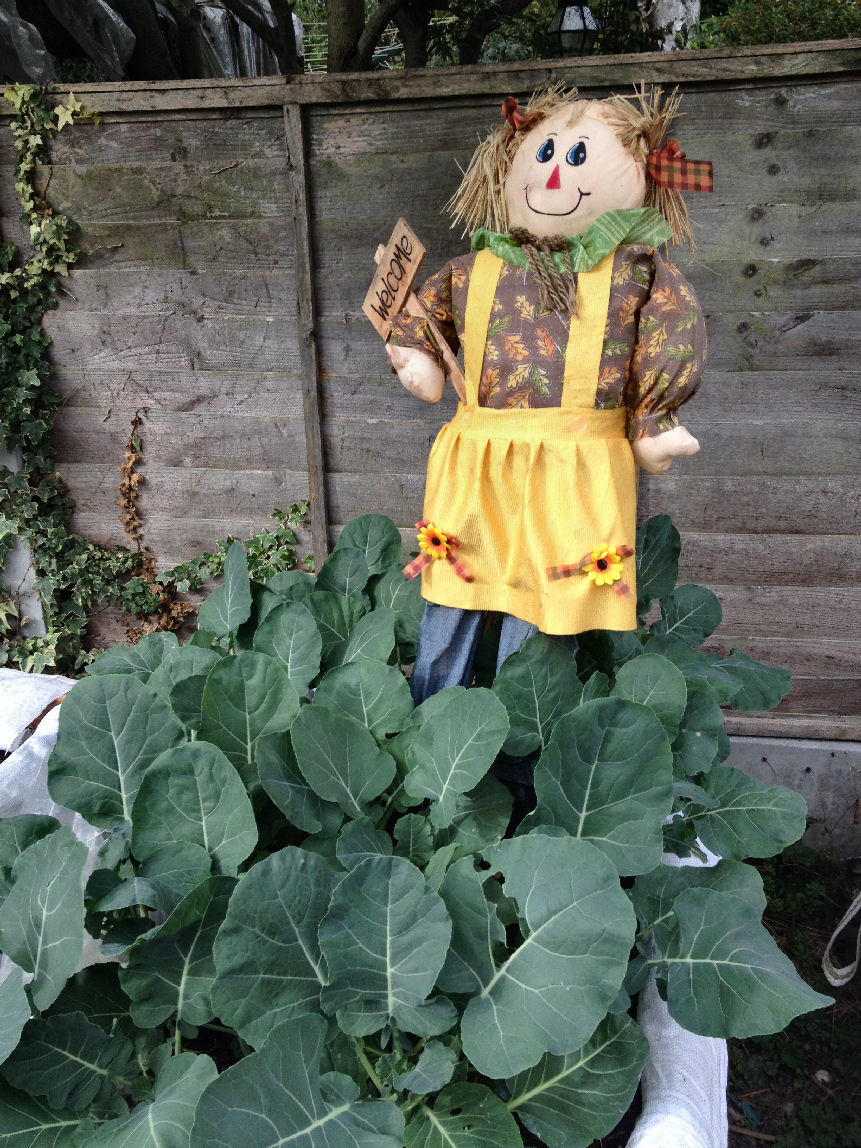
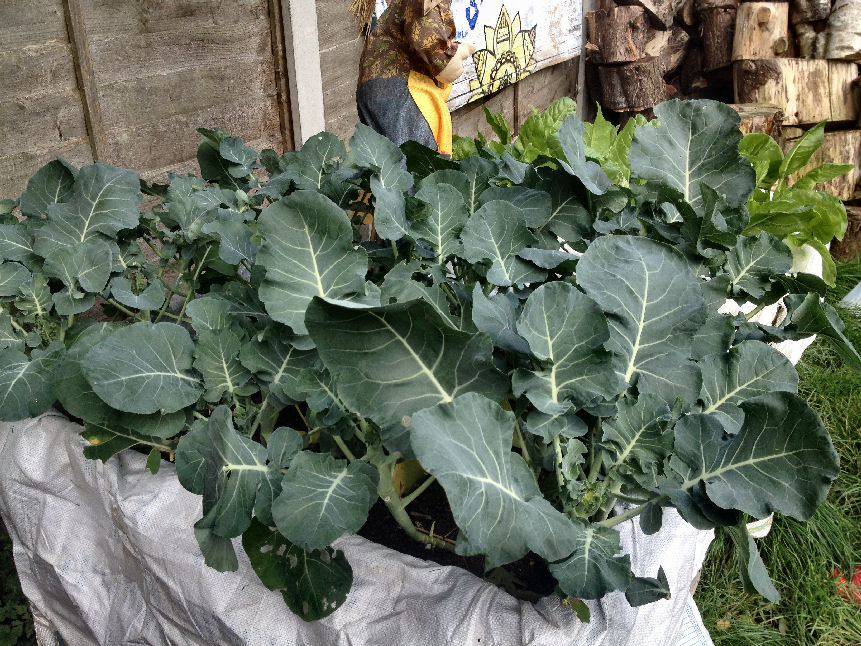
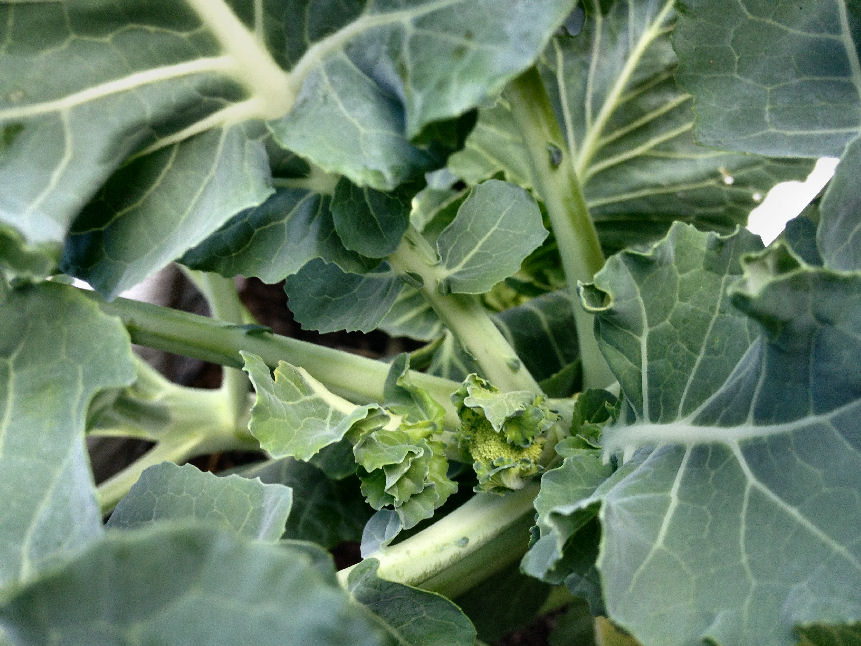
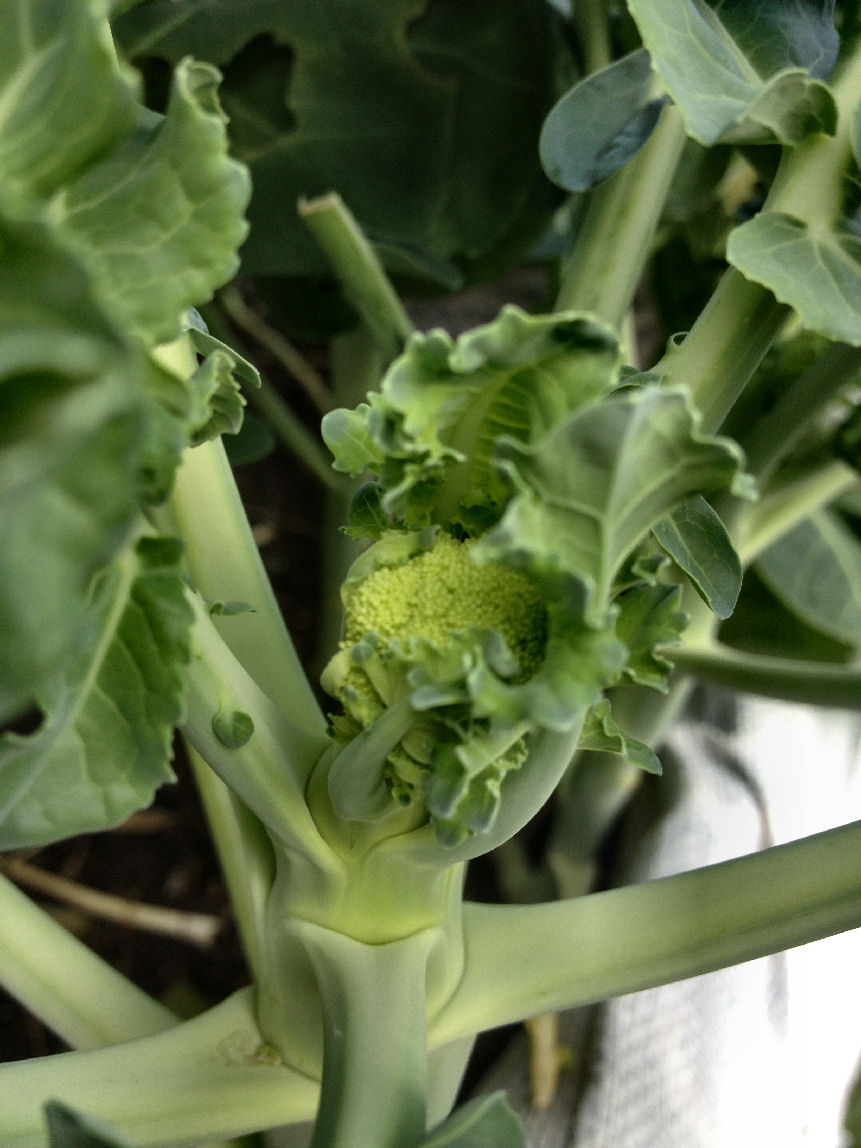
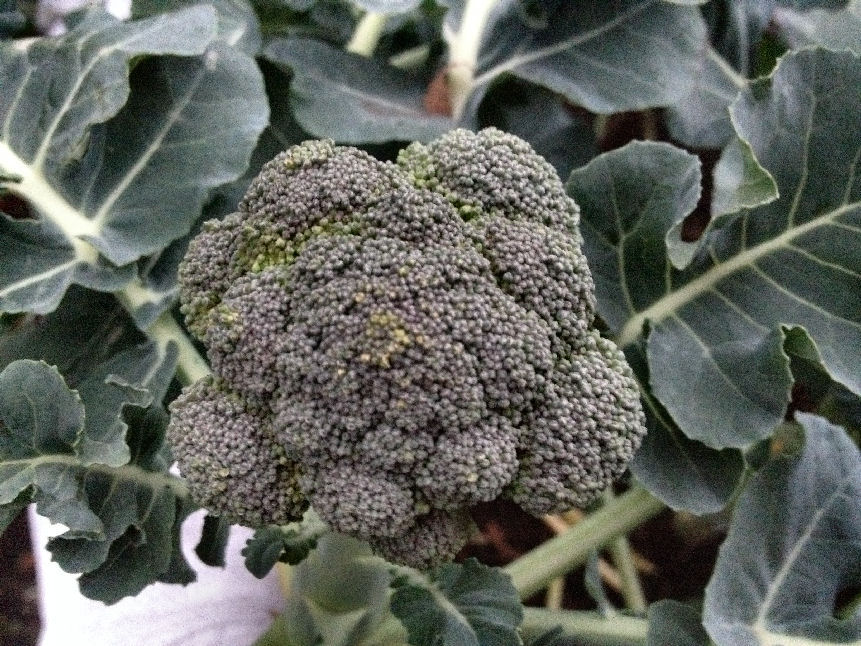
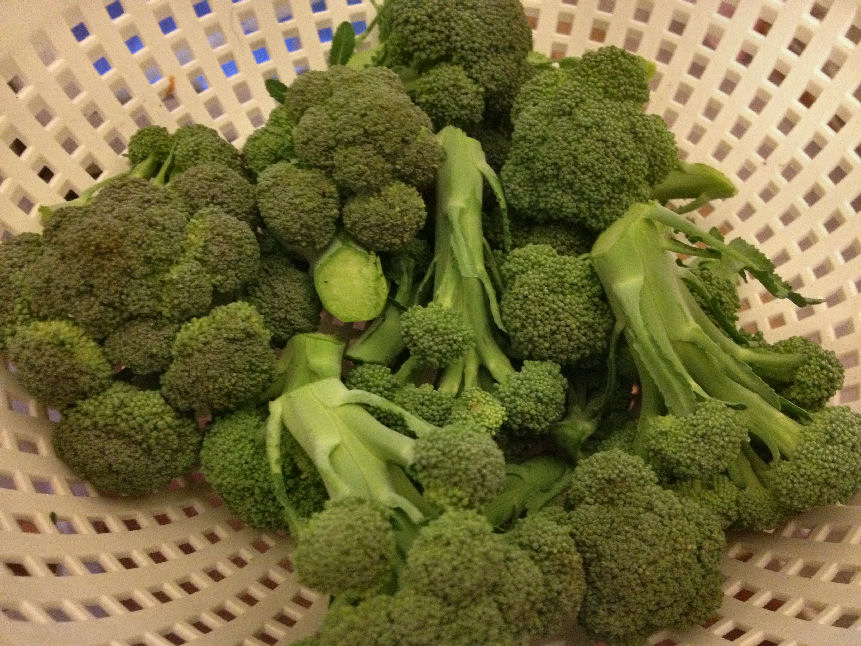
Broccoli – Autumn all through winter.. again harvest the leaves, over and over until the florets come through
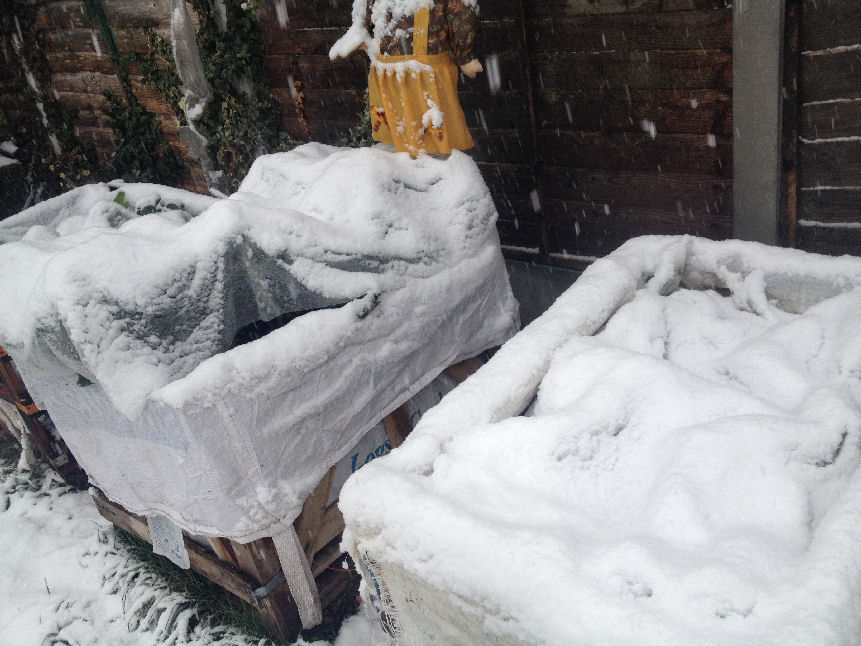
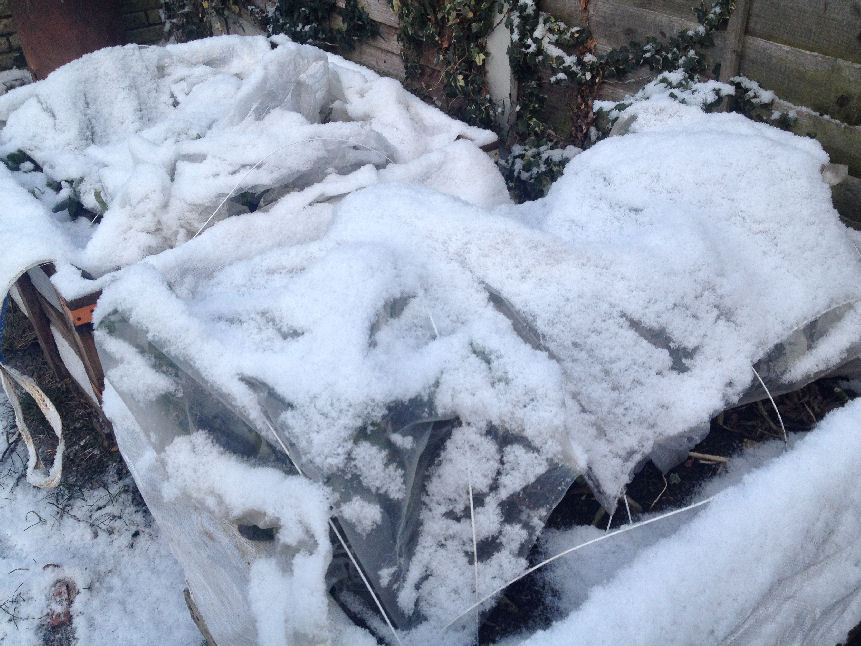
Through the frost and any snow just shake off the poly-tunnels every day, check moisture level ensure no exposed gaps. Frost under the poly tunnel will kill your crop.
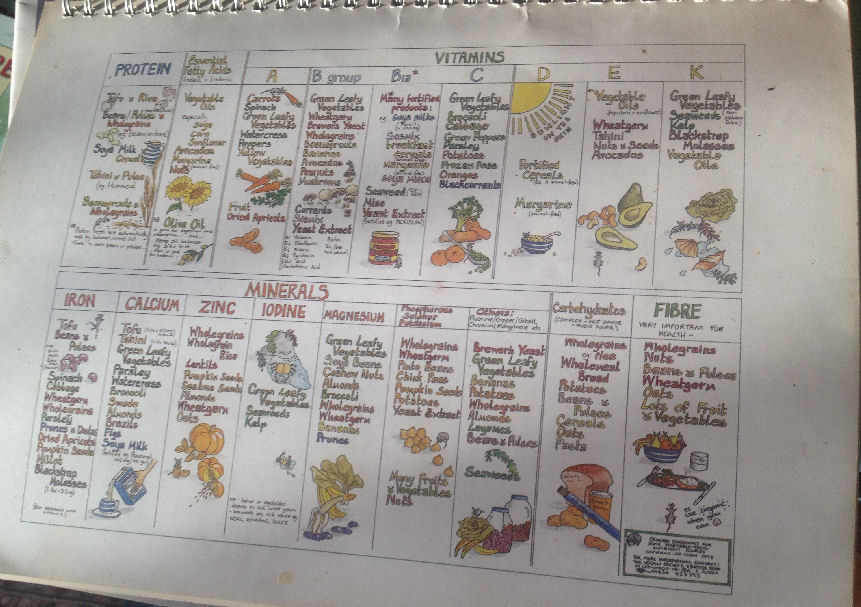
Nutrition –
Vegans get up to speed on nutrition very very fast. If you are new to having to think through and plan what you need to maximise health and performance, and, also translate that to what you put in the ground here is your essential must have bible:
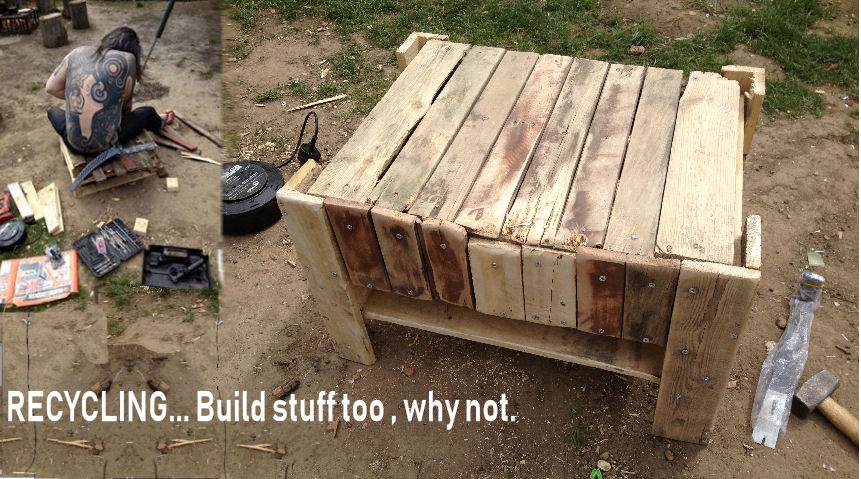
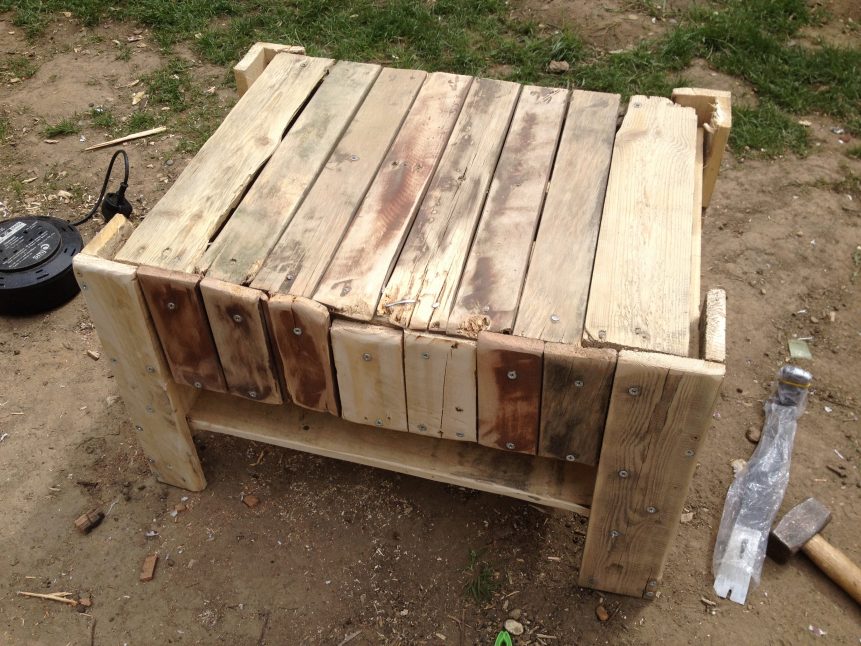
Any left over wood from planters or tree cuttings, build furniture , stools, seating..
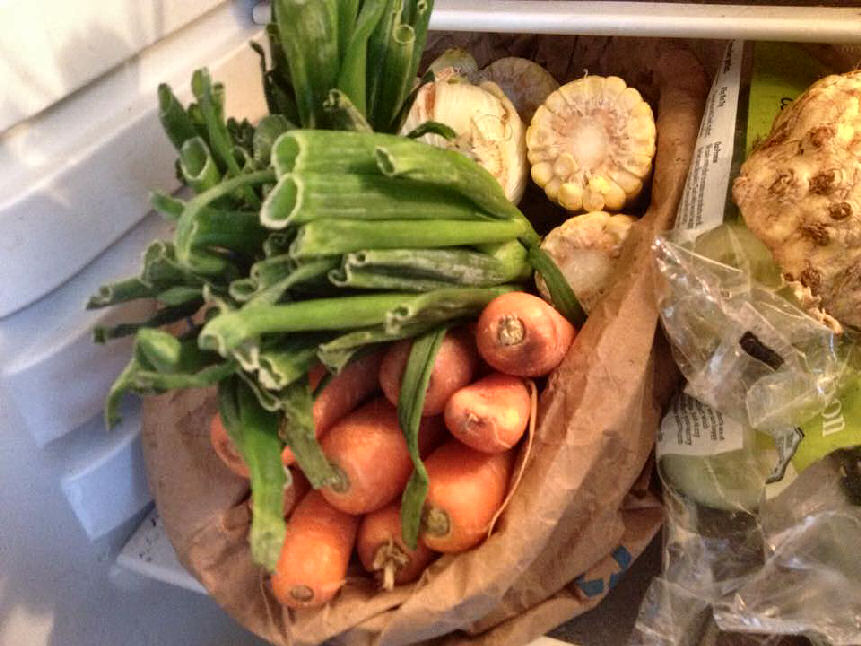
Harvest… Whilst the main crops come in season there are constant weekly , daily collections to be done of ripened crops, even when you get to the tail ends (corn for example) you can cut away any damaged veg and feed it back to the Chickens.
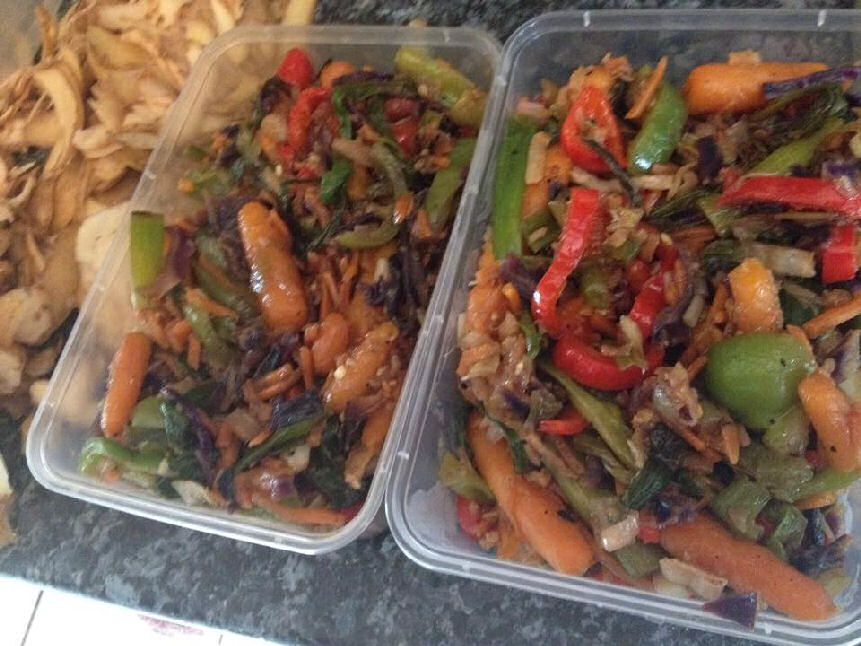
Preserve it, Cook it , Eat it ..
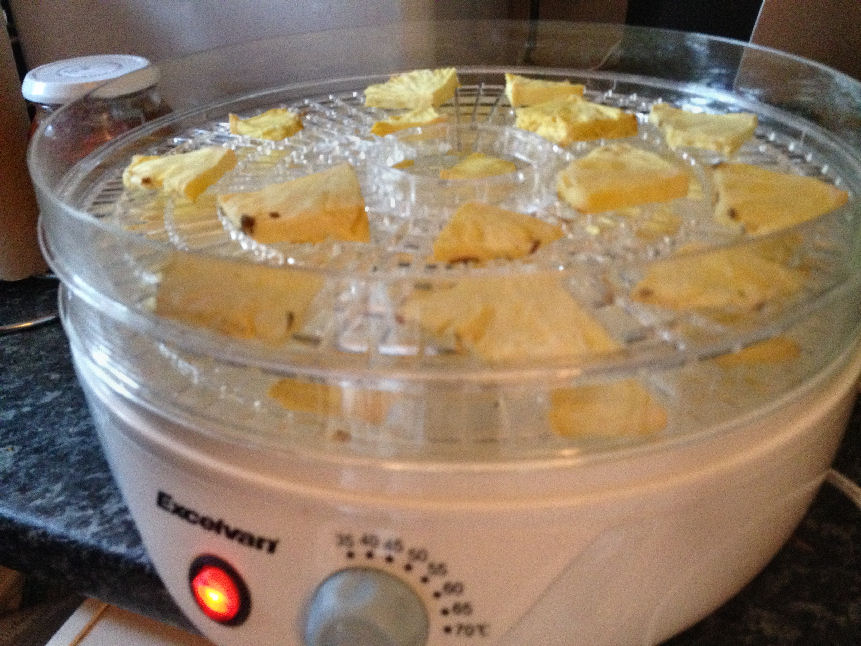
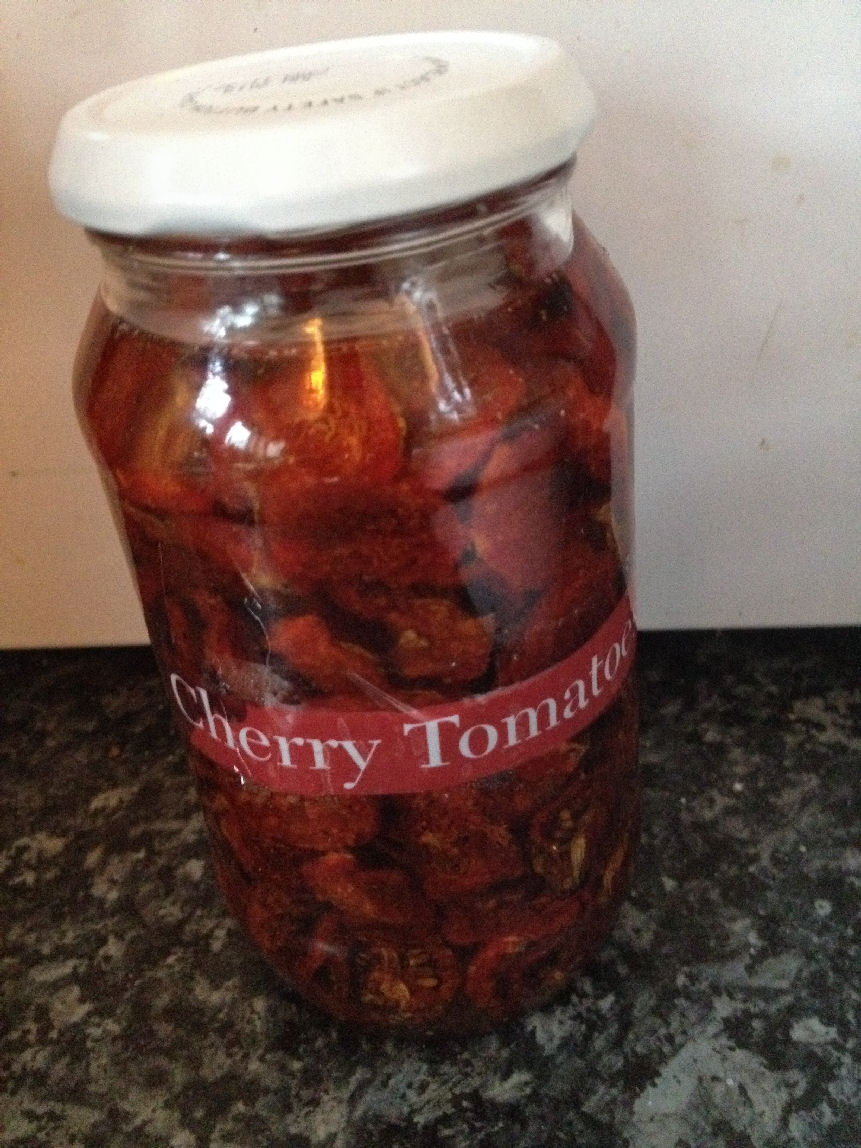
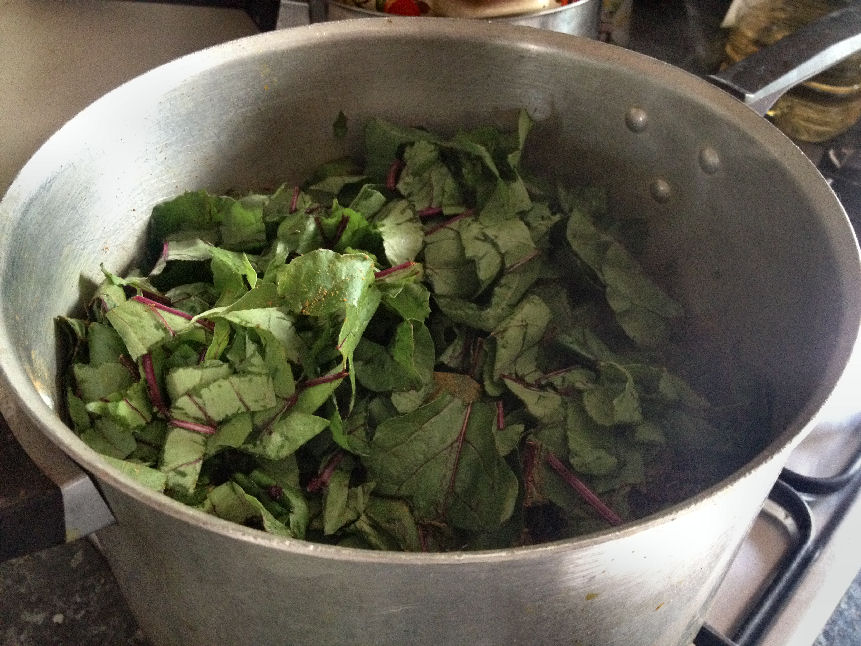
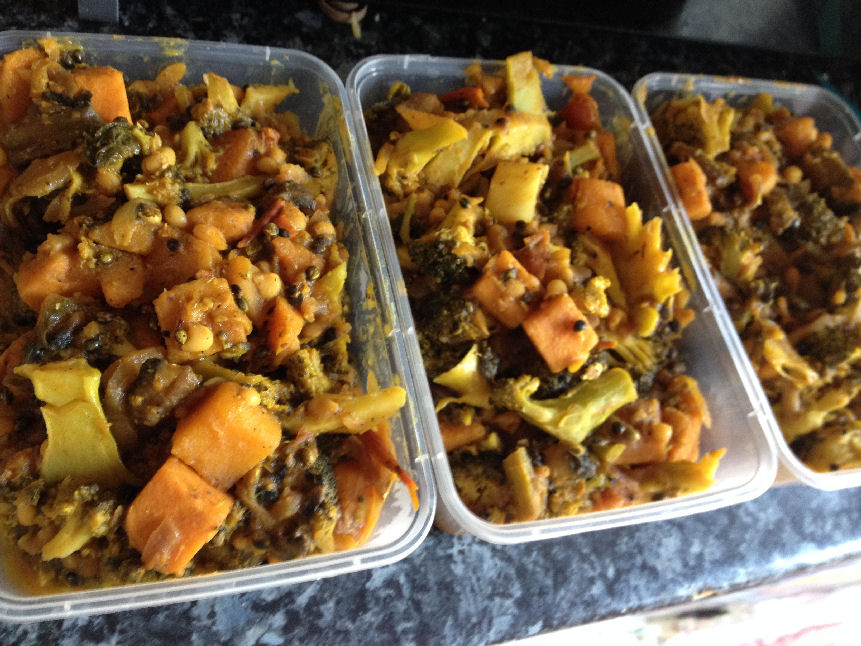
Process your fresh grown supply as fast as possible, stew it, bake, it, curry it, stir fry it, dehydrate it, freeze it get your meals processed and stored as back up for Winter short supply and for any shortage fail in any type crop.
Over he Project life of 24 months, we reduced food monthly spend reduced by £600 to £150 – 200 by supplementing with an urban home grown program of vegan permaculture.
Our new spend covered all food and drink for (in our case) a live in family of 6 average and visiting additional 3 two weekends a month.
Being able to live “The Good Life” in an urban environment,the stranglehold that Austerity has on so many of us through crippling finances was pushed right back.
There is a large time and responsibility commitment needed through out the project to ensure that crops are protected, tended and watered without fail. Be proactive, don;t let the basic gardening slip and your yields will stay high.
The focus gained in understanding our immediate environment and how to maximise it for best return is highly satisfying, not only that, to be able to ensure that the majority of your food supply is free from pesticides, storage, contamination , stabilisers or other additives or processes, means that our food supply is the best we can offer our body’s and souls, the change in quality to home grown is something, from our experience, we firmly believe we can all thrive on.
With food tested and proven, our attention shifts to Power sources. We are all living in a box,. you don’t have to be told any more.. Break out.
DISCLAIMER:
Links to information on sites other than those operated by FISHINABOX RECORDS are for your convenience only and are not an endorsement or recommendation of those sites. FISHINABOX RECORDS does not control or provide any content or information at these sites, makes no representation or warranty of any kind with respect to these sites or their content, and does not maintain, operate, or take responsibility for information provided. Any Liability or copyright lies in the user content provider from where the content has been sourced.
FISHINABOX RECORDS does not endorse and is not responsible for the uploading, maintenance, reproduction, accuracy or reliability of such content or information and any use thereof is solely at the user’s risk.


